Do you love the beauty and elegance of butterflies? If so, you will enjoy learning how to draw them! This will show you how to complete a beautiful butterfly line drawing. We will walk you through each step and provide accompanying images to help you follow along.
Introduction
Hi, welcome to our guide on butterfly line drawing. Covering everything from finding the perfect reference photo to sketching out your butterfly to adding color and final details.
Butterfly line drawings can be created with pencil, pen, and Sharpie markers.
They make for lovely illustrations in journals or as part of a larger work of art. And they're not as difficult to draw as you might think!
With a little practice and some helpful tips, you'll be drawing butterflies like a pro in no time.
What You Will Need:
- A4 paper- Pencil- Eraser- Black fine-tip marker or pen
- Optional:- Colored pencils or markers- Ruler
Finding a Reference Photo
Drawing is easy with a little online research. Here are some tips: Start by finding a general image of the type of butterfly you want to draw.
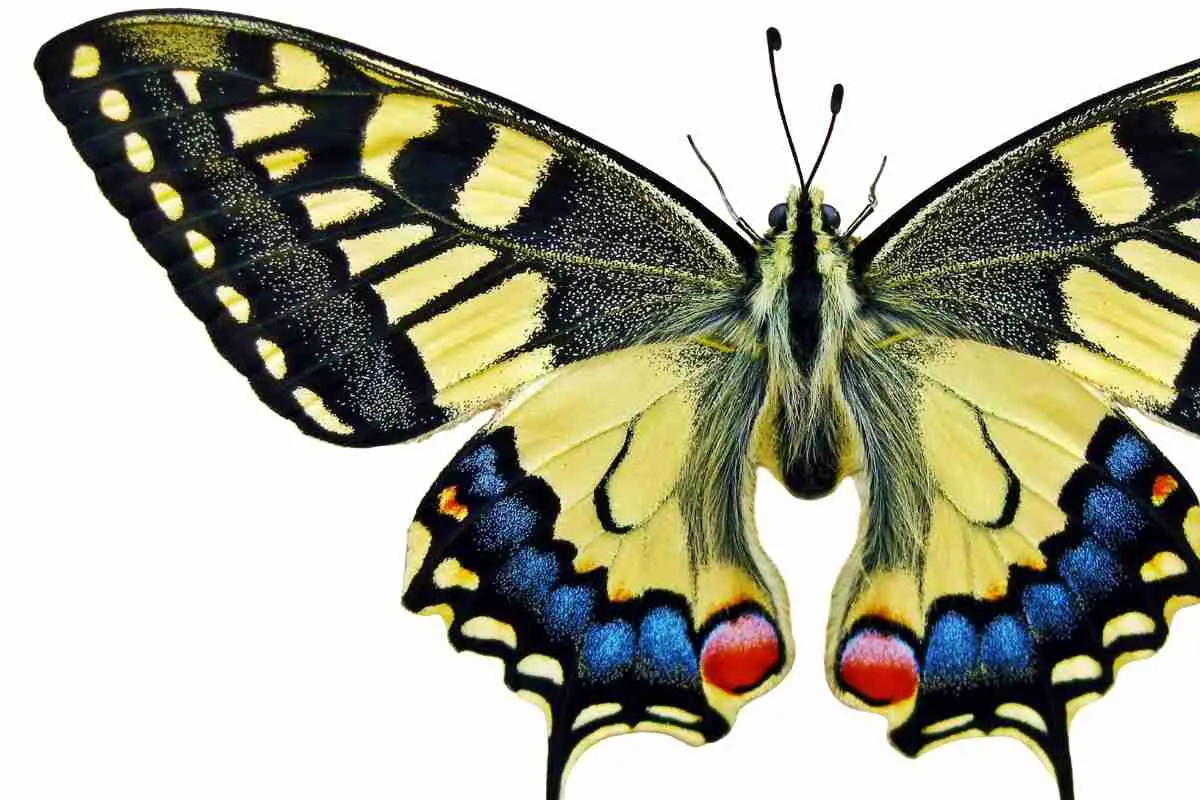
Try searching for a reference photo or butterfly drawing. Once you have found a few images, narrow down your selection by looking for photos that are high-resolution and well-lit.
If you can't find a photo that meets these criteria, don't worry – you can still use a lower-quality image, but it may be more difficult to get the details right in your drawing.
Once you have found the perfect reference photo, print it out or open it on your computer screen so you can begin tracing.
Sketching the Butterfly's Body

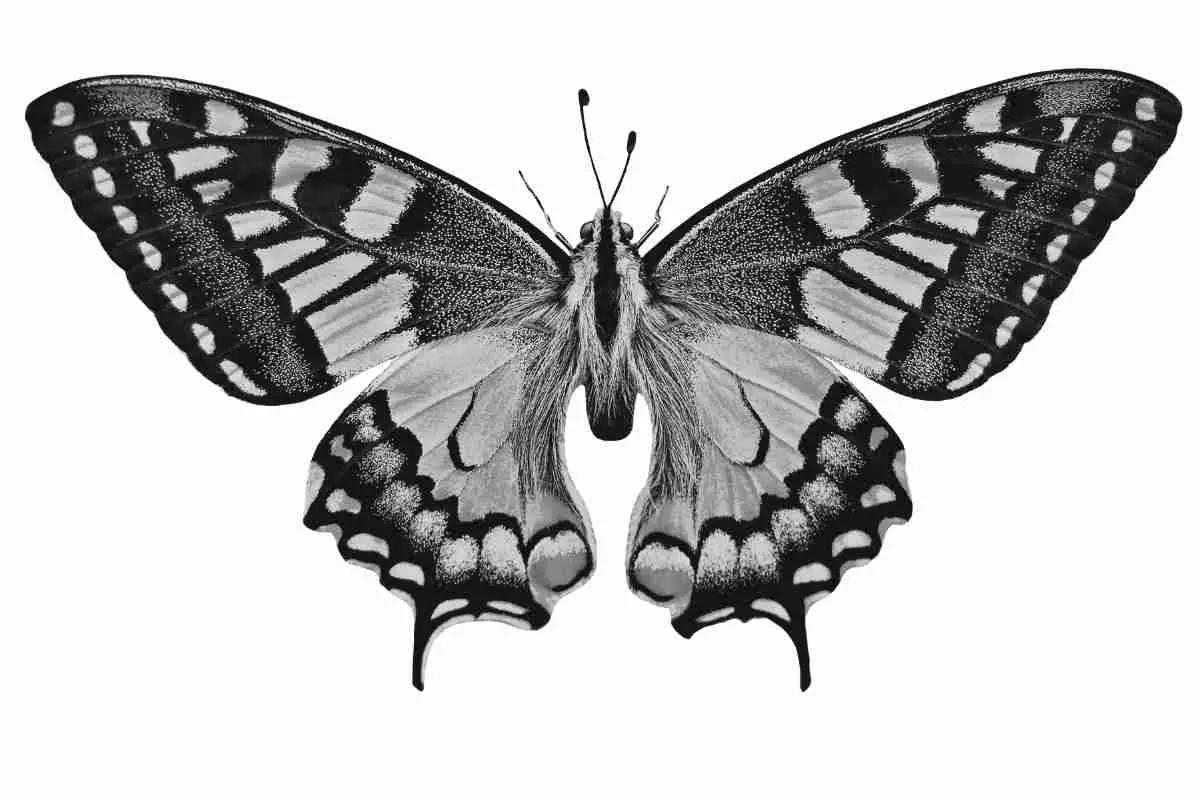
Start by sketching the butterfly's body. Use a light pencil so you can easily erase it if needed. Sketch an oval shape for the body and add two thinner oval shapes for the wings.
Make sure to leave space between the wings for the details you'll add later. Next, add some lines for the details of the wings.
Start with a curved line at the top of each wing, and add some wavy lines throughout. You can also add some spots if you'd like.
Now focus on the butterfly's head. Sketch a small circle and then add two triangles for the antennae. Finally, draw two small circles for the eyes.
Daily Sketching for Creative Inspiration

- IMPROVE YOUR DRAWING PROCESS – You'll improve your drawing technique as you explore, imagine, and experiment in your sketchbook daily.
- SEE HOW TO USE IDEAS FROM SKETCHES – Develop illustrated pieces from your sketches and enhance your drawing technique with fun exercises.
- LET GO OF PERFECTIONIST TENDENCIES – Loosen your hand to document your everyday life.
- Visit Domestika to buy this sketching course.
Adding the Wings
Begin by sketching out the basic shape of the wings. Start with a large oval for each wing and add smaller ovals inside. The bottom edge of the wing should be curved, while the top edge can be either straight or slightly curved.
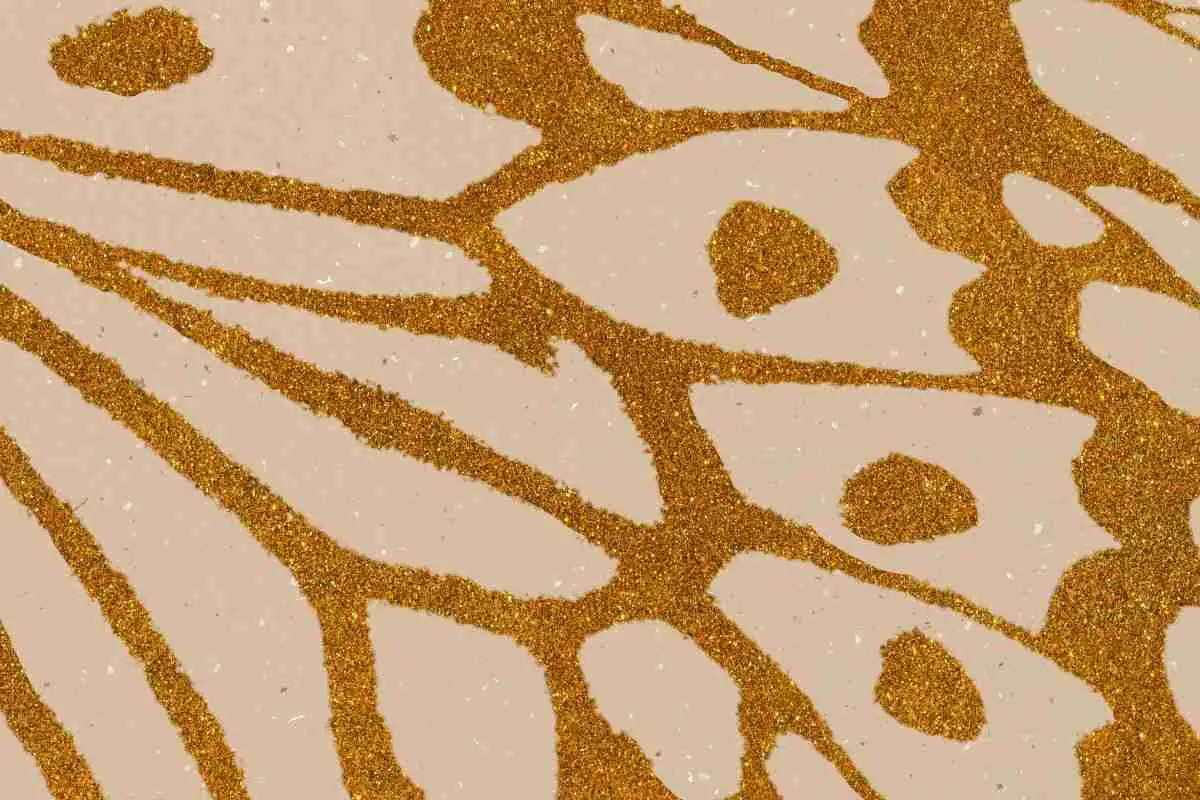
Next, start to fill in the details of the wing. For example, you can add veins running through the center of each wing. You can also add small dots or lines along the edges of the wings.
Once you're happy with how the wings look, erase any pencil marks that are still visible. Then, it's time to move on to step three!
Completing the Butterfly Drawing
Now that the basic shape of the butterfly is complete, it's time to add in the details. Begin by drawing two small circles near the top of the butterfly's body for the eyes.
Then, draw a small curved line above each eye for the eyebrows.
Next, draw a short curved line across the center of the butterfly's head for the mouth. Draw a series of short curved lines below the mouth to create antennae.
Finally, add some final touches to your drawing by giving the wings scalloped edges. When you're finished, erase any pencil marks that are still visible. Your drawing is now complete!
Conclusion
We hope you enjoyed this guide on how to draw a butterfly. With a little practice, you'll be able to draw these beautiful creatures with ease.
Remember to start with a light pencil sketch and then add the final details with a black pen or marker.