How To Draw A Simple Glass Bottle
If you want to learn how to draw a bottle quickly, you need to start with the correct reference. Drawing a bottle might seem like a simple prospect, but it can be more complicated than you realize.
Basic drawing equipment to complete this task can be found here: Click here to view my basic equipment list.
Draw A Real Bottle
It’s not a matter of just drawing a bottle; you have to draw the textures, the reflections of any liquids inside of it, and work to create a realistic image
Step by step instructions to get started?
The first step is to pick out a bottle for reference. There are times when working from a photo is necessary, but this is not one. There’s no reason you can’t find a bottle to use as your reference.
Why should you use an actual 3D bottle instead of simply using a photo of a bottle for your reference? That’s simple. Picking out a bottle yourself gives you total control over the composition.
You can choose any type of bottle that you want; you can fill it with liquid, leave it empty, or in the case of a plastic bottle, you can even partially crush it to make it more interesting.
You can also pick your own light source and set up any background elements in any way that you want to. That’s why you should draw from a bottle instead of a photo. It gives you more control.
Drawing Light Rectangle
Whenever you start a new drawing, the first step is to sketch out your subject’s general shape. In the case of a bottle, you should start out with a light sketch of a rectangle.
But a bottle isn’t shaped like a rectangle, so why should you start with a rectangle? You start with a rectangle because this is the general shape.
After you have a rectangle sketched out that is about the size of your bottle, you can go back in and start to refine the shape.
Draw a Centerline
The centerline is essential to define early in the drawing because it will help you develop a primary focal point for the viewer.
It will also help you determine how highlights and shadows are depicted. The centerline can be in the middle of the bottle or off to one side or the other and establish the symmetry of the bottle . It’s up to you to decide how you want to depict it in your drawing.
Draw Curved Lines And Add Elliptical Shapes
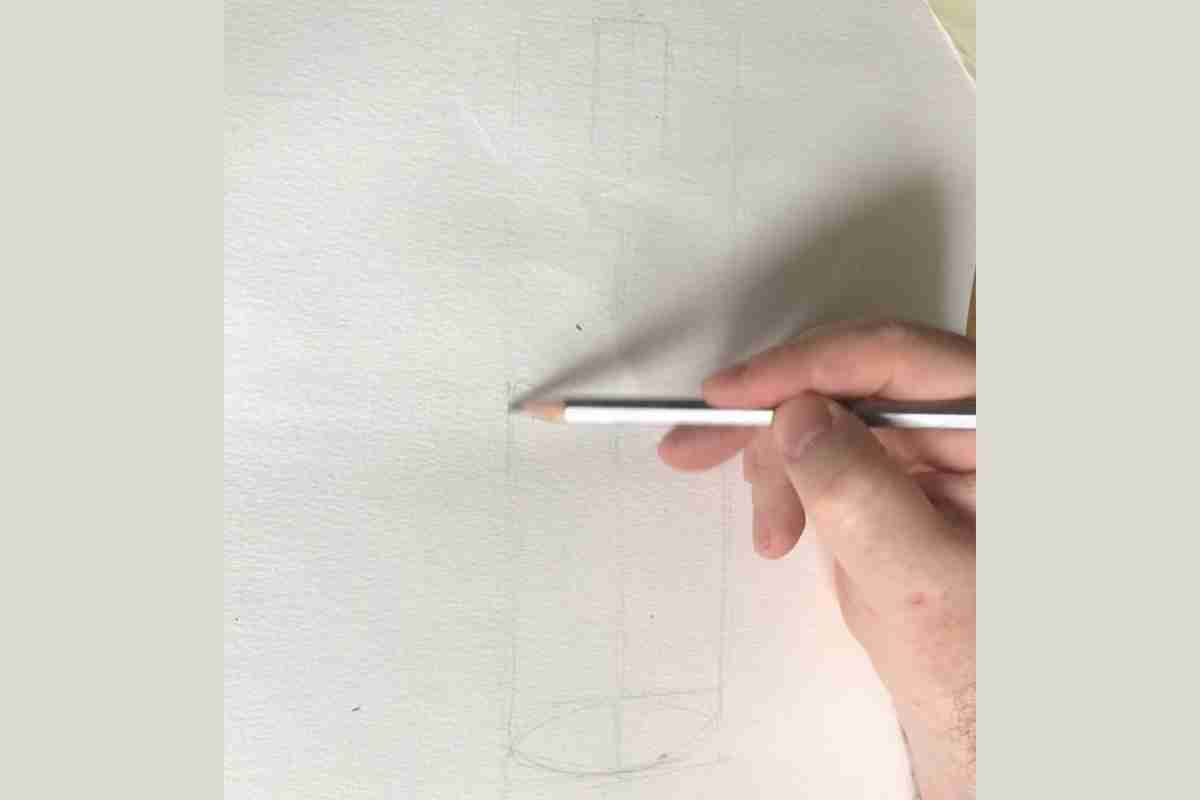
With the shape and centerline determined, the next step is to refine the rectangle to resemble a bottle instead of a generic geometric shape. Start by sketching the elliptical shapes of the bottle.
Remember, most bottles are at least partially transparent, so you can just draw the curves on the edge of the bottle. You need to account for the three-dimensional volume as well. After you do this, you can start to add curves to the edges of the bottle, further refining the shape.
Key Points to Consider:
- Start with a basic cylinder shape
- Add the details of the bottle including the neck and label
- Erase any mistakes and clean up your drawing
- How to Draw a Centerline
- Decide where you want the center of your object to be
- Draw a vertical line down the center of your object
- Check the proportions of your drawing
- Make sure each side is in proportion to the other sides
- If not, make adjustments until everything looks even
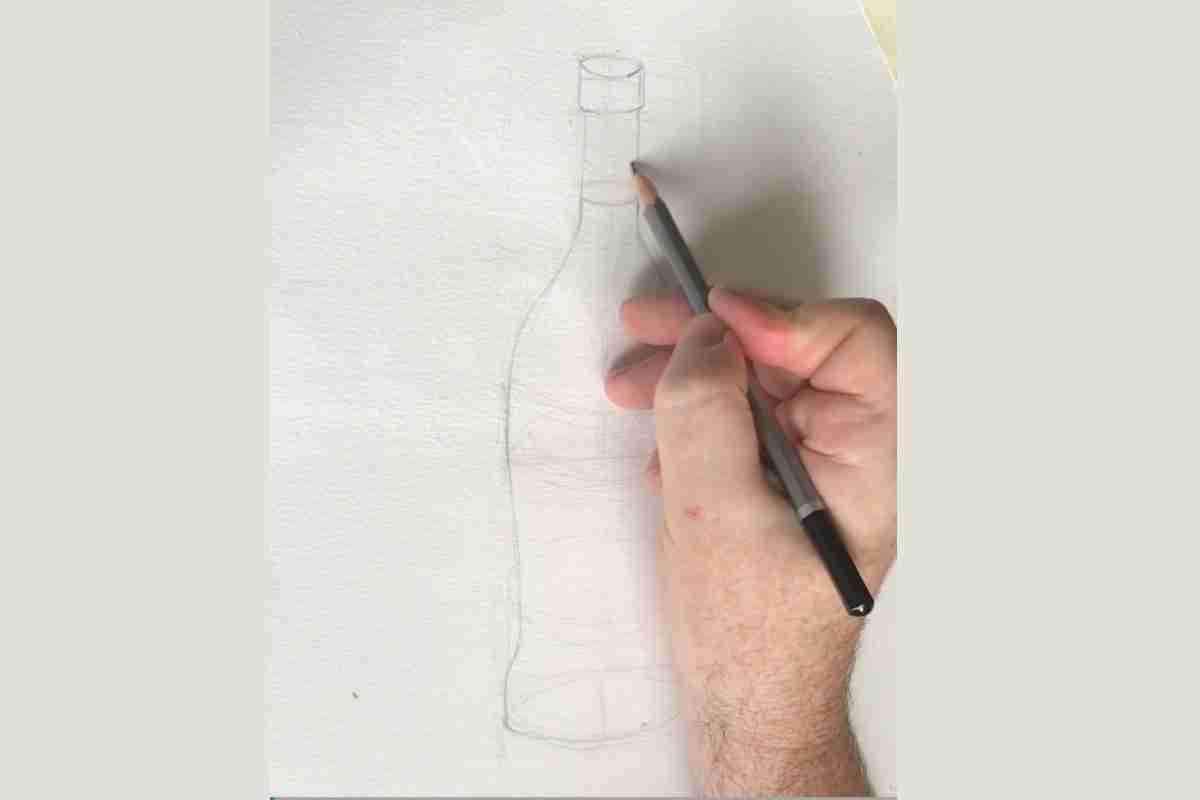
Draw The Neck Of The Bottle
After the central part of the bottle has been properly refined, you can go in and start adding the bottle’s neck. Pay special attention to the curved lines in your drawing and the transition where the bottle begins to narrow.
There are gradually curved lines in some bottles, such as wine bottles. On the other hand, there is a sudden change in shape in most water bottles. Properly depicting the neck of the bottle is essential if you want people to be able to recognize the type of bottle it is by the shape.
Drawing The Bottle Cap/ Wine Cork
One of the essential details that you shouldn’t overlook is the bottle cap or the cork in the case of a wine bottle. The top of the bottle, be it a cork or a cap, will be shaped differently and have a different texture than the rest of the bottle.
It’s essential to pay attention to small details to ensure that your drawing looks authentic.
Draw The Label Of The Bottle
The bottle’s label is one of the most essential details that you’ll have to depict in your drawing. The first thing you’ll have to do is decide how you want to depict the label.
Do you want it to be highly detailed, or do you prefer a more simplified look? You have to decide about this early on because you can’t have a simple bottle with a complex label or vice versa. In either case, the drawing will look like something that’s not quite right with it.
Begin Your Bottle Drawing
When you sit down to start your bottle drawing, ensure that you’re adequately prepared. This means having suitable materials on hand, including graphite, ink, charcoal, or whatever else you prefer to work with. You also need a suitable surface. Are you thinking of using watercolors to add color to your bottle? If you are, choose a heavier paper that can handle the water.
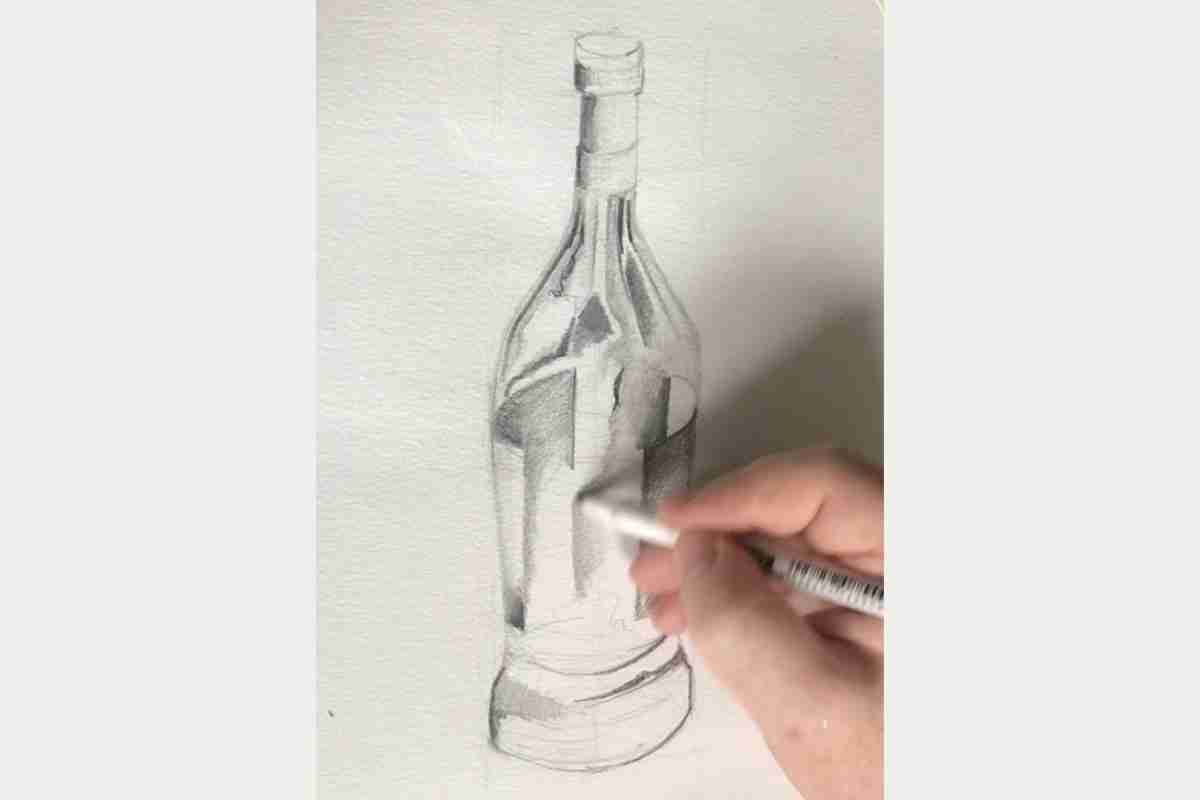
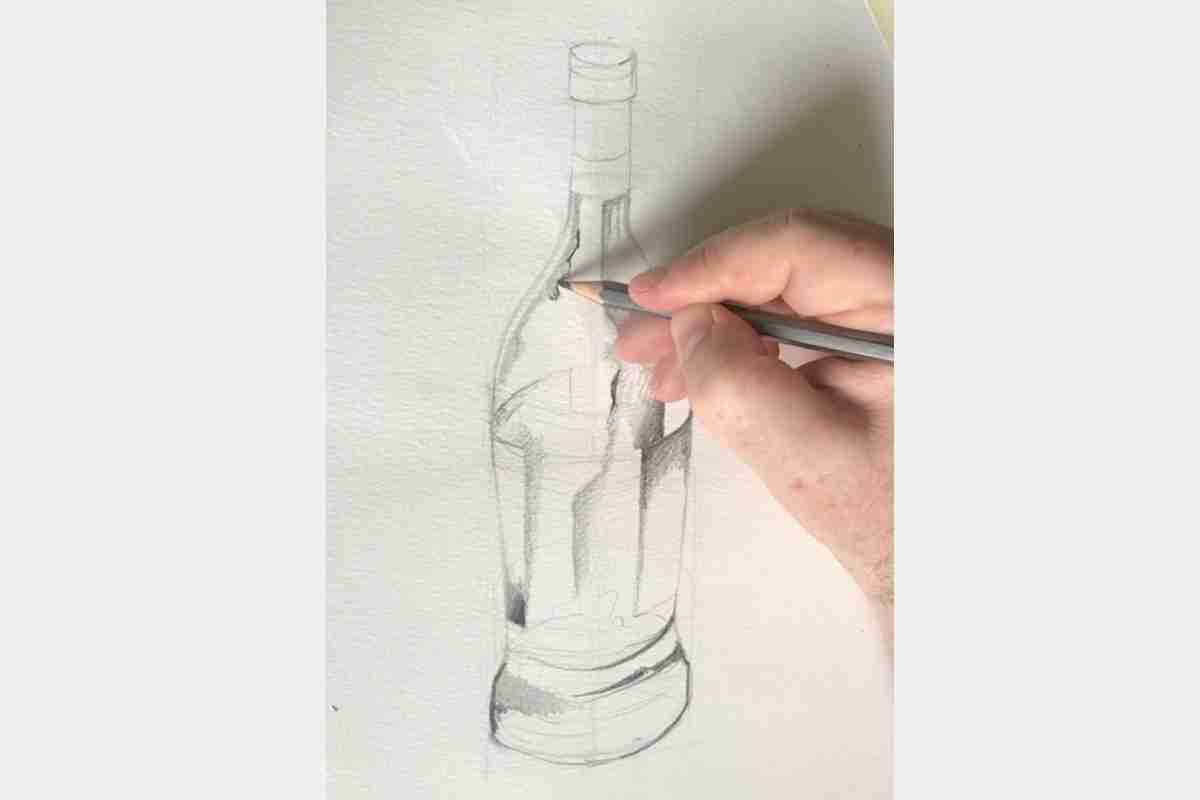
Apply Shadow And Reflections
When you get to the point where it’s time to start adding shadows and reflections, you’ve reached a point where you can see the pieces come together. While this is undoubtedly good news, it doesn’t mean that you’re as close to the finish line as you might think you are. In fact, you’re probably quite a bit further back.
The most challenging part of drawing a bottle is dealing with shadows and reflections, especially if there is a liquid in the bottle and the bottle is at least partially transparent. When drawing a dark glass bottle, such as a wine bottle, make sure that you have very dark values. When drawing a clear glass or plastic bottle, you must have very light values to indicate reflections and highlights.
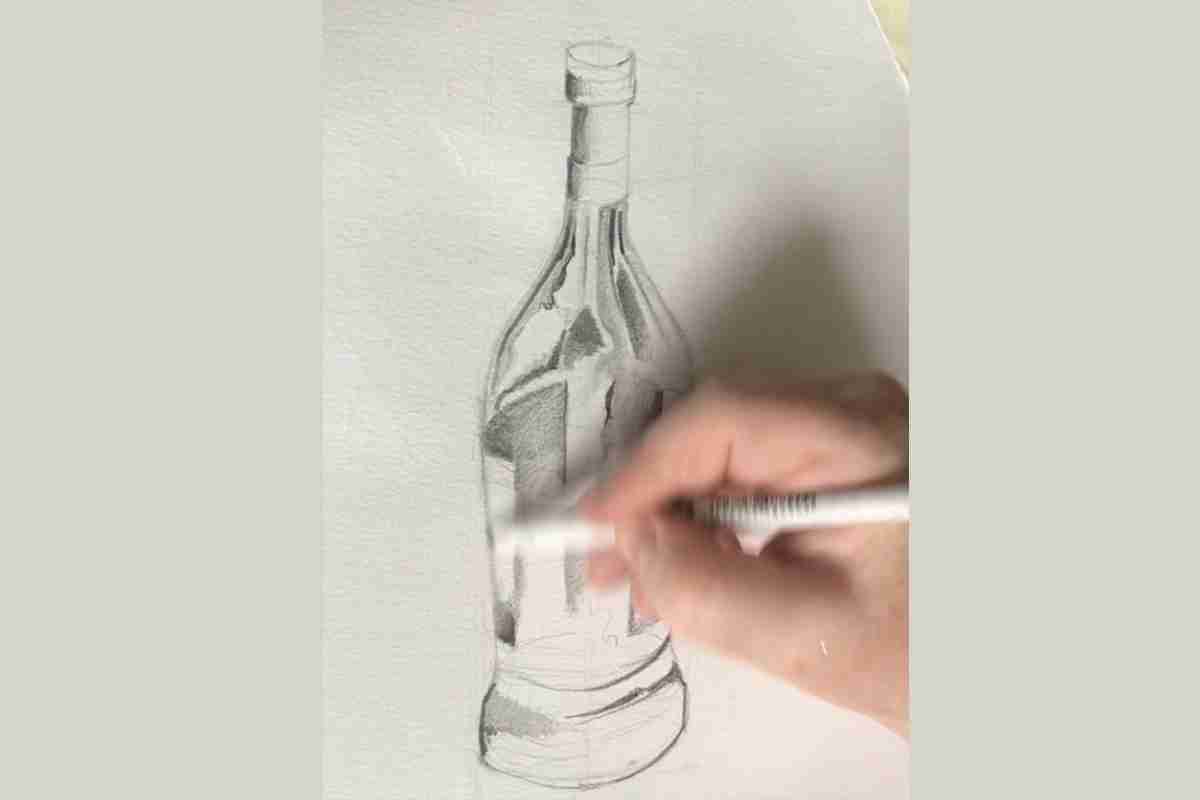
Drawing the Details
Little details can make a big difference in any drawing, which is true when drawing any type of bottle. When working on the details, don’t forget about the things surrounding your bottle. The ground and background should be drawn in as well. For glass bottles, tiny scuffs and signs of wear are a great touch. For plastic bottles, intentions, water droplets, and bends in the plastic are things you might want to include in your drawing.
How To Draw A Wine Bottle
Wine bottles are typically less challenging to draw than other bottles because they are a darker colored class, which means fewer reflections. If you can see the wine inside of the bottle, then it’s still only going to be partially visible because of the darker glass.
Pay attention to getting the darker values in. Even in a well-lit scene, the darker glass of a wine bottle should have very dark values in parts of it, and the ground beneath the wine bottle should have a heavy shadow.
Additional Questions:
How To Draw A Broken Bottle
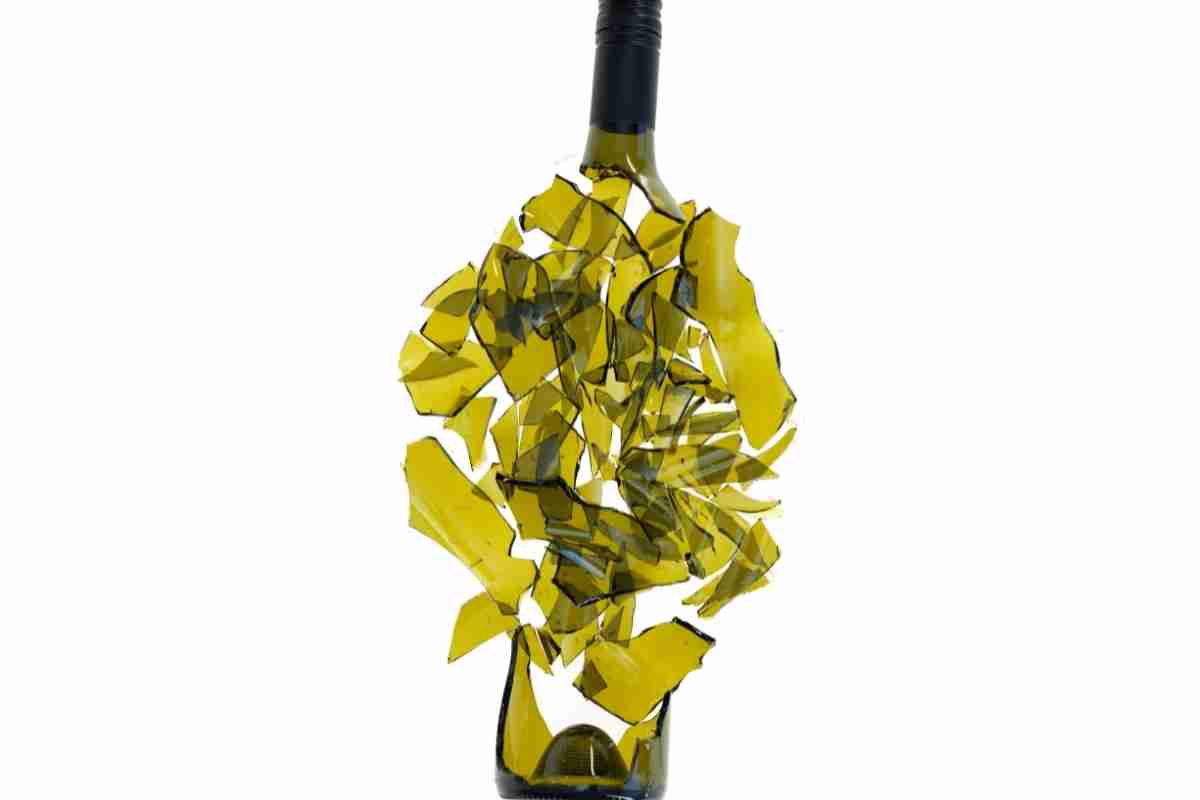
If you’re looking for an additional challenge when drawing a wine bottle, why not try drawing a broken bottle? A broken bottle drawing can be much more interesting to explore in a drawing because of the glass’s cracks, reflections, and imperfections.
Drawing a broken wine bottle is more challenging, but some aspects are more straightforward. Since the bottle is damaged, you won’t have to worry about creating a symmetrical bottle. What will be more challenging are the numerous reflections that you’ll see in the damaged glass.
If you really want to up your game, you could even try drawing a broken bottle that has just fallen. How do you do this? First, by an inexpensive bottle of wine. You’re going to be wasting it, so spending more than a few dollars doesn’t make much sense.
Once you have your bottle, choose a space where you don’t have to worry about making a mess. Then comes the fun part, drop the bottle! After it falls, it’s best to take a picture of it so that you can clean up the broken glass and mess.
While you may be irritated by having to spend time cleaning up a mess, you’ll probably be more than happy to do so when you realize what you’ve done. You’ve created a spontaneous image that you can draw, giving you an exciting subject.
How To Draw A Water Bottle
Water bottle drawing is more challenging to draw than wine bottles. Water bottles are clear. Water distorts images as well.
So, when you’re drawing a water bottle, you’ll have to pay attention to the background. You won’t have a lot of dark values to play with, so getting the image to look three-dimensional may be challenging.
The key to getting a more realistic look without having any really dark values is to have reflections that are much lighter values where the light hits the bottle. You can’t go overboard because the light values will be drowned out, but having a few well-placed highlights will make your water bottle look more authentic.
