Drawing a Hand Spread Out
Even from an early age, kindergarten kiddos learn to trace their hand using a pencil or pen. If there was ever a tremendous challenge for any artist, drawing a hand with the fingers spread out can be a wide interpretation on the level of detail.
If you want to know drawing a hand is spread out, these particular tips and drawing methods will improve your drawing skills when starting to learn anatomy.
You can find essential drawing equipment to complete this task here: Click here to view my basic equipment list.
Learn to Draw Anatomical Drawing of Limbs, Hands, and Feet with this in-depth drawing course on the Domestika platform. Click Here For More Information.
Draw Hands With Fingers Spread Out
Most people will identify a hand by specific details which immediately tell you that it’s a human hand. But with the differences between men and women, a hand is dramatically different between the sexes.
Fingers and Metacarpal Bones
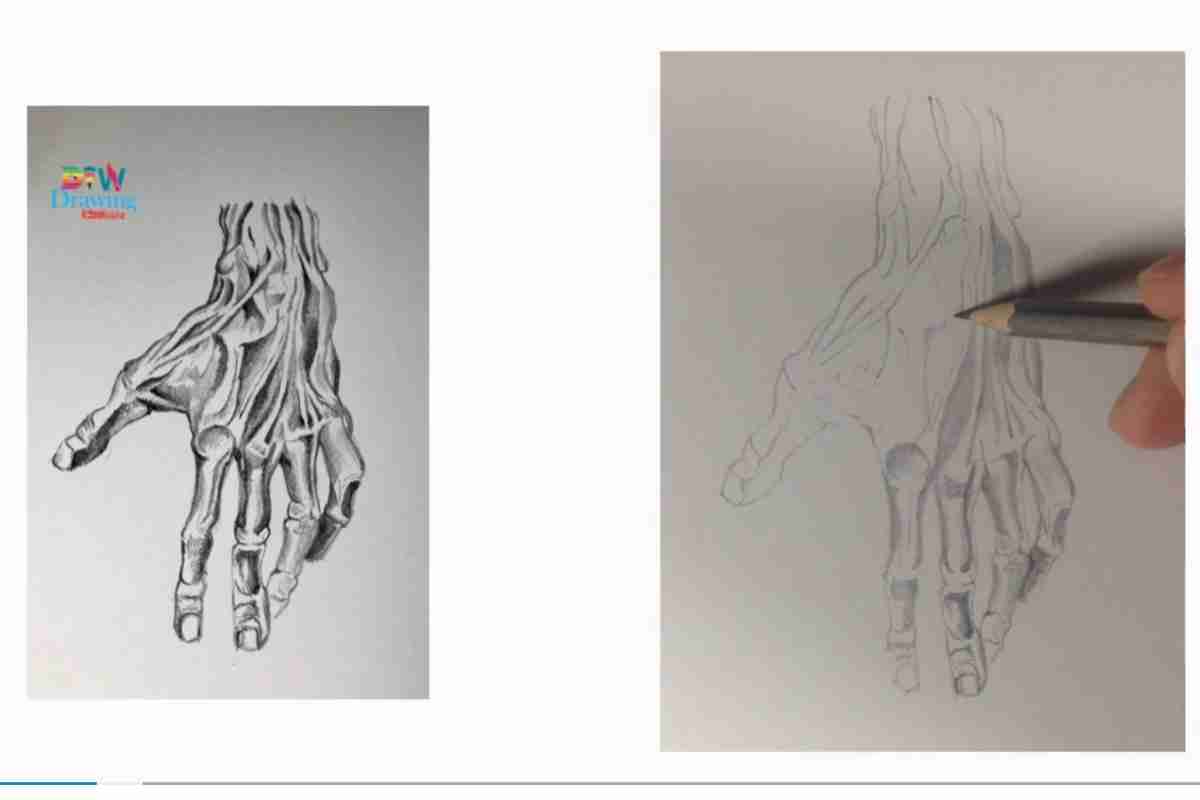
Amazingly enough, the scientific study of forensics allows experts to simply look at human bones and determine the sex of both males and females based on the differences in bone shape, length, and well-documented hand measurement statistics.
One of the more apparent differences between male and female hands is the degree of skin detail and muscle structure.
From an artistic point of view, male hands are bulkier with stalky fingertips while female hands are slimmer with pointier fingertips.
Drawing Tutorials
Many of the drawing tutorials you find on drawing a spread-out hand are often part of a series of hand poses. There aren’t enough tutorials dedicated to drawing an open hand with spread-out fingers.
One simplified tutorial lays out simple steps for correct proportions. As with most of the tutorials, you also have to wade through several to find one that covers fine details of how an open hand is correctly drawn.
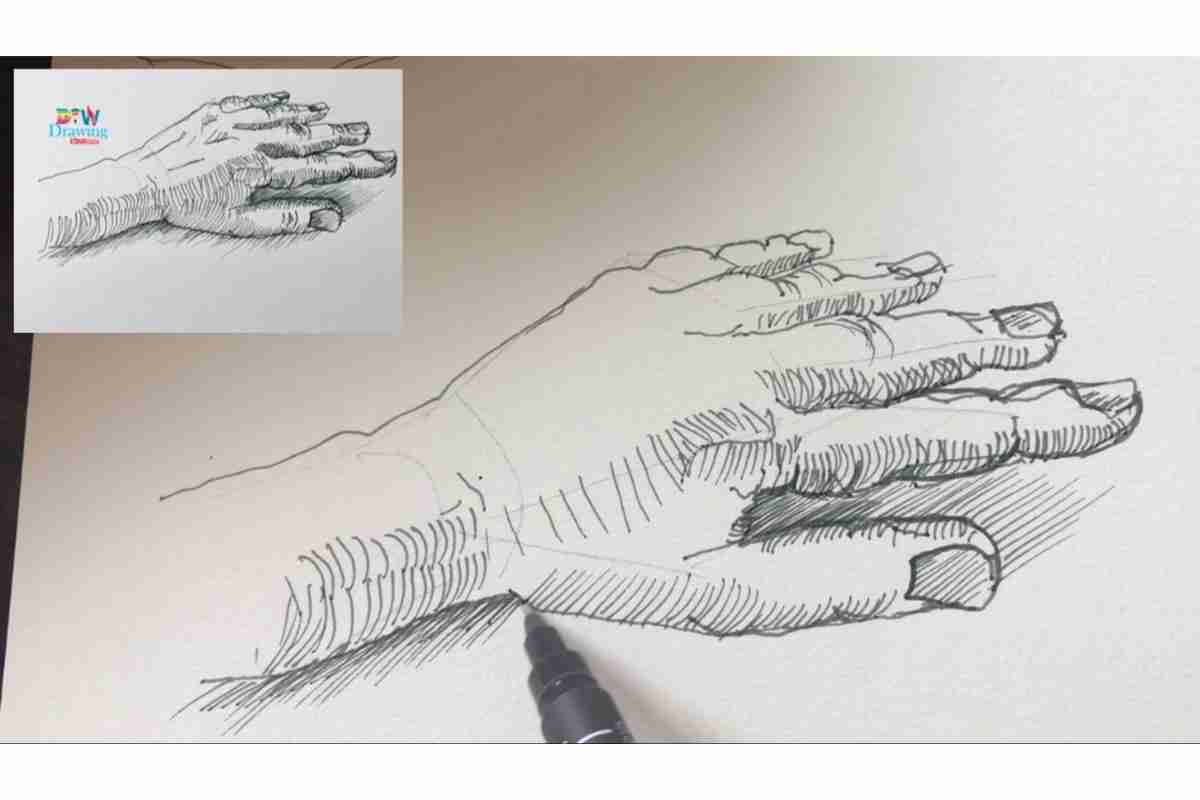
Draw Hands: Basic Top View
One of the biggest complaints about most trained artists is getting comfortable with drawing human hands. This is something that you don’t want to learn as a bad habit since the joy of drawing shouldn’t feel like a burden rather than a drawing exercise.
The best step is to start with a detailed top view looking down at an open hand. You want to start with a simple rectangle shape on your paper.
Whether you are drawing male or female hands, the proportion will be the same according to the overall scale for each. Within the rectangle form, the center of the rectangle must be divided in half.
One section will be reserved for the fingers, while the bottom section is meant for the palm. The fingers start from the top of the knuckles to the very tip of the middle finger.
The palm includes the knuckles and reaches down to the upper portion where the wrist starts.
Draw Basic Shapes Lightly In Pencil
Now that you have a rectangle shape that is divided in half, this is how you can begin to draw a hand with the fingers spread out.
Draw Basic Shape
This has everything to do with using the rule of proportions. At the very bottom of the rectangle, there should be a central wrist point where finger lines will become outstretched.
Two lines are drawn in a V-shape to the outer corners at the top of the rectangle. Another set of lines is drawn between the V-shape set to an equal distance.
Draw Simple Shapes and Simple Forms
In the lower half that represents the palm, a perfect triangle can be drawn where the thumb will emerge from the rectangle. This triangle must allow equal sides on either side of the rectangle. At the very edge where the triangle is within the rectangle box, the angle for the side of the hand must have an equal distance based on the center of the wrist where lines radiate from.
This line must follow the same angle as the little finger line. Using Step 3 as shown in this hand drawing guide is easier to understand.
Drawing Hands: Checking Proportion And Joint Placement
One of the essential aspects of how joint placement needs to be accurate is where the radiating V-shaped lines are placed. Where the mid finger is located will likely take a slightly off-center position, with the remaining ring finger and pinky following an equal distance from each line. The index finger will always radiate to the outer corner of the rectangle.
Check Certain Angles
The very top of the rectangle needs to have a pitched roof that begins with the center finger. Each half of the pitched roof will be at a different angle.
The angle that helps determine the index finger’s start will be closer to creating a near-perfect triangle shape.
It’s not exact so use your own hand as a reference. The second side of the roof angle that decides where the pinky finger is located is slightly lower than this finger.
Drawing Hands: Index Finger
The best way to draw the index finger is to start with making a nice copy of the pitched roof on the halfway line where your fingers and palm are separated. Use your pencil to roughly draw the same angles.
It doesn’t need to be nearly as sharp an angle, but something close enough to eyeball this pitched roof. This little pitched roof sits just above the centerline. These will help you to create the fingers bone segments.
The pitched roof is essentially a guide to separating all finger joints. This roof can also be slightly rounded after drawing your roof angles.
There are two sections where the joints will be inserted that follow the same angle line within these two pitched roof peaks. For the index finger, start to separate each segment and lightly sketch the outer edge of your index finger.
Draw The Middle Finger
The same example is used for drawing the median finger and the edges if this finger doesn’t need to touch the index finger. Draw the base of the finger using the same thickness as the index finger.
It will be the longest finger of the bunch, so each segment (or joint) is represented by the marking line where each joint is separated.
Draw Rind Finger
The ring finger and pinky finger are the last finger sections to complete. These also follow the same rules as the first two and should appropriately stick to their relative scale.
The proportion should change despite which finger they are, aside from the shorter segments that help you keep the outside lines of the ring finger stay in scale.
Draw Thumb And Fingernails
Your thumb will sit outside the rectangle shape and is simple enough to create the first line that emerges outside the rectangle. The angle that forms a little triangle needs to extend outward until the line almost reaches the halfway point where the entire palm section is located. Now, you can follow the same rooftop angle used for the index finger.
This will create an irregular triangle shape that creates the thumb outcrop. After this, you create two equal joints that will angle one length traveling on the same line where the thumb edge emerges.
The section representing the tip of the thumb is the same level where the peak is formed at the top of the palm. After this is done, you can trace the outline of the thumb.
To start completing your hand, you’ll need to erase the trace lines and foundation lines. The outer edges of the hand can be sketched based on the rough lines. Everything is slowly tied together until it comes time to draw the fingernails. These fingernails will also be based on which sex you are drawing. Females tend to have longer and pointier nails, while men will have short and rounded nails.
Use additional pictures of fingernails as a guide, or look at your own nails to get a good idea of how they can be sketched. After this, you can start to shade and blend the skin folds to give your sketch more realism. This is the best way to learn hand drawing is through repeated drawing practice.
Additional Questions:
• How do You Draw Hands Quickly?
There is no easy way to draw hands if you don’t have enough drawing or sketching practice. Aside from tracing your hand pose onto a piece of paper and filling in the details, using traditional steps to draw a hand at any scale is a tricky practice that (pardon the pun) goes hand-in-hand with any decent drawing skills.
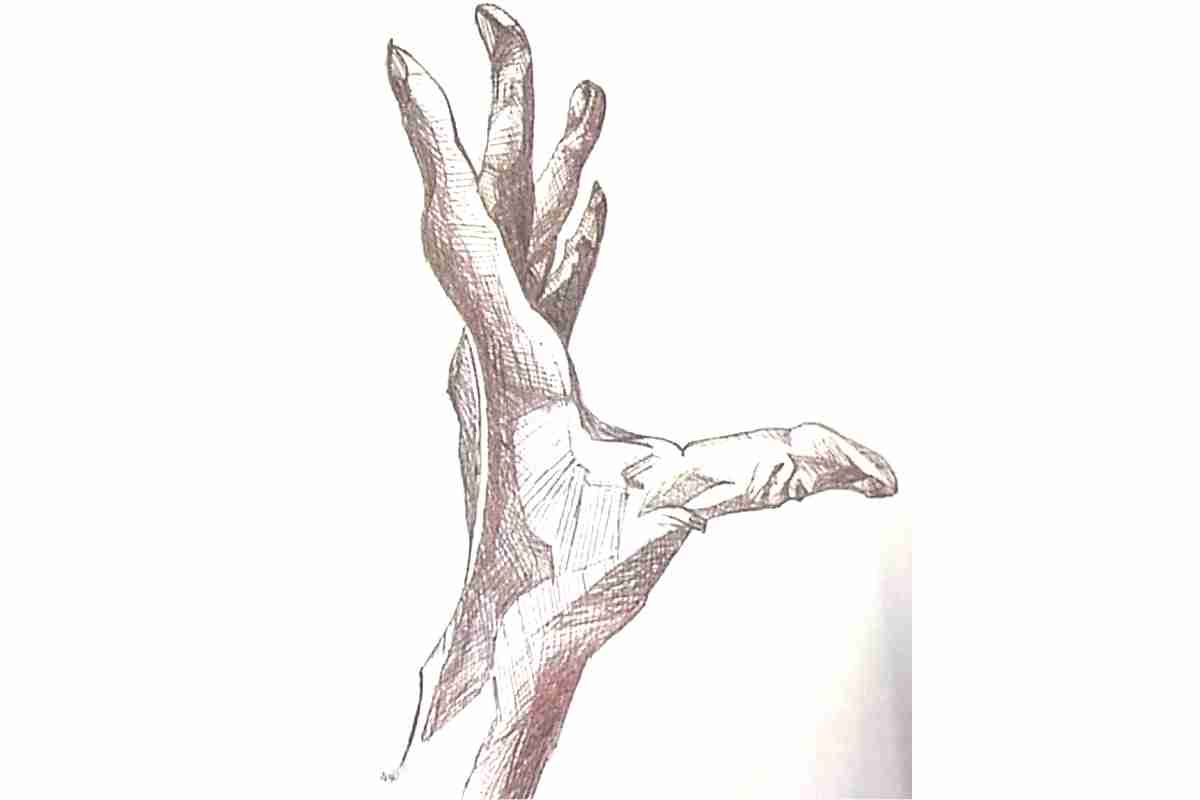
• How Do You Draw a Twisted Hand?
Hand poses all follow a similar method for drawing an open hand. If you’re drawing a twisted hand, you’ll need to study pictures of clenched fists or fingers that appear twisted and bent. The best choices to study are pictures of hands that are expressive and have a powerful meaning behind them. It will take careful practice to recreate twisted hand shapes on paper, no matter what position the fingers are posed in.
