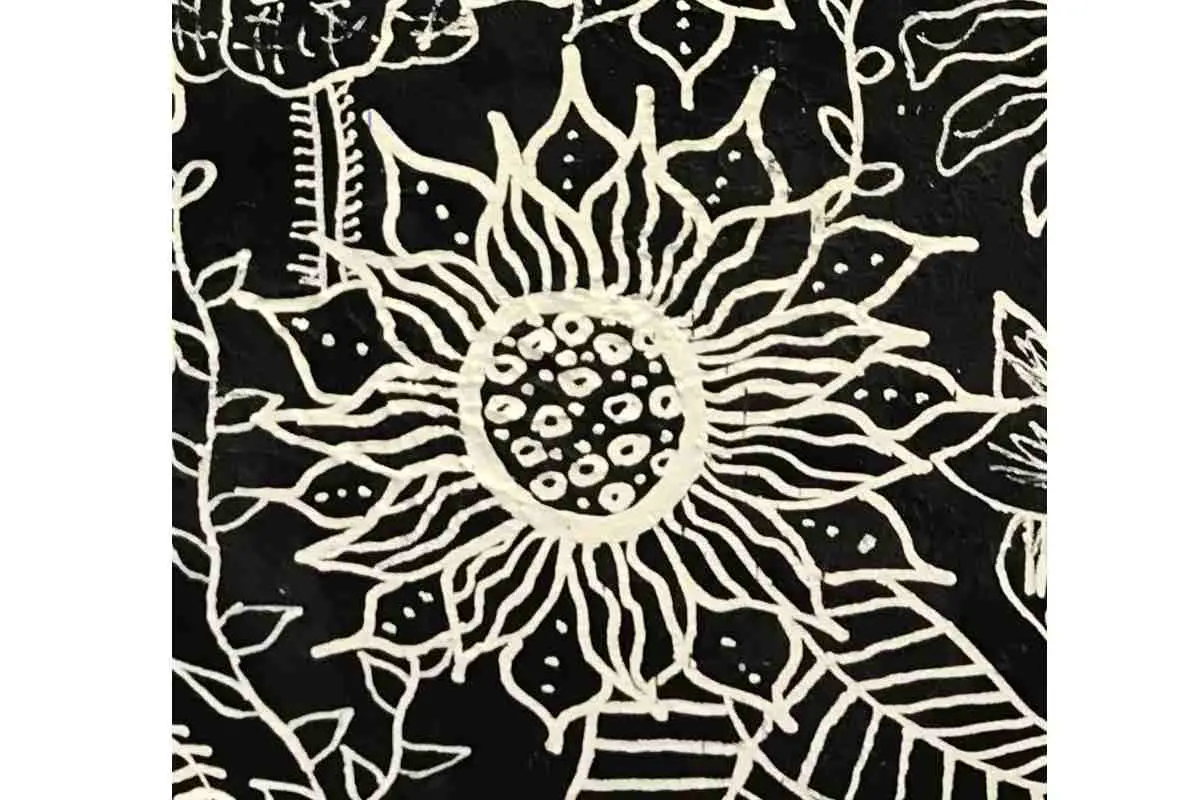
This tutorial demonstrates to you how to draw a simplistic flower.
Drawing flowers is a great exercise for beginners who want to learn how to draw accurately and easily.
We will be using very few lines and shapes to create our minimalist flower, so don't worry if you are not an experienced artist!
Draw a Few Lines and Shapes to Create a Minimalist Flower
There are few things as serene and beautiful as a flower. But sometimes, the traditional way of drawing a flower can seem a bit daunting. If you enjoy drawing with different materials consider drawing flowers in charcoal.
You'll love this tutorial if you seek a simpler way to draw a flower! You'll have your minimalist flower in just a few easy steps.
Here's what you'll need:
- A piece of paper
- A pencil or pen
- A black marker (optional)
- Some colored pencils or crayons (optional)
Step-by-Step Approach to Drawing a Flower
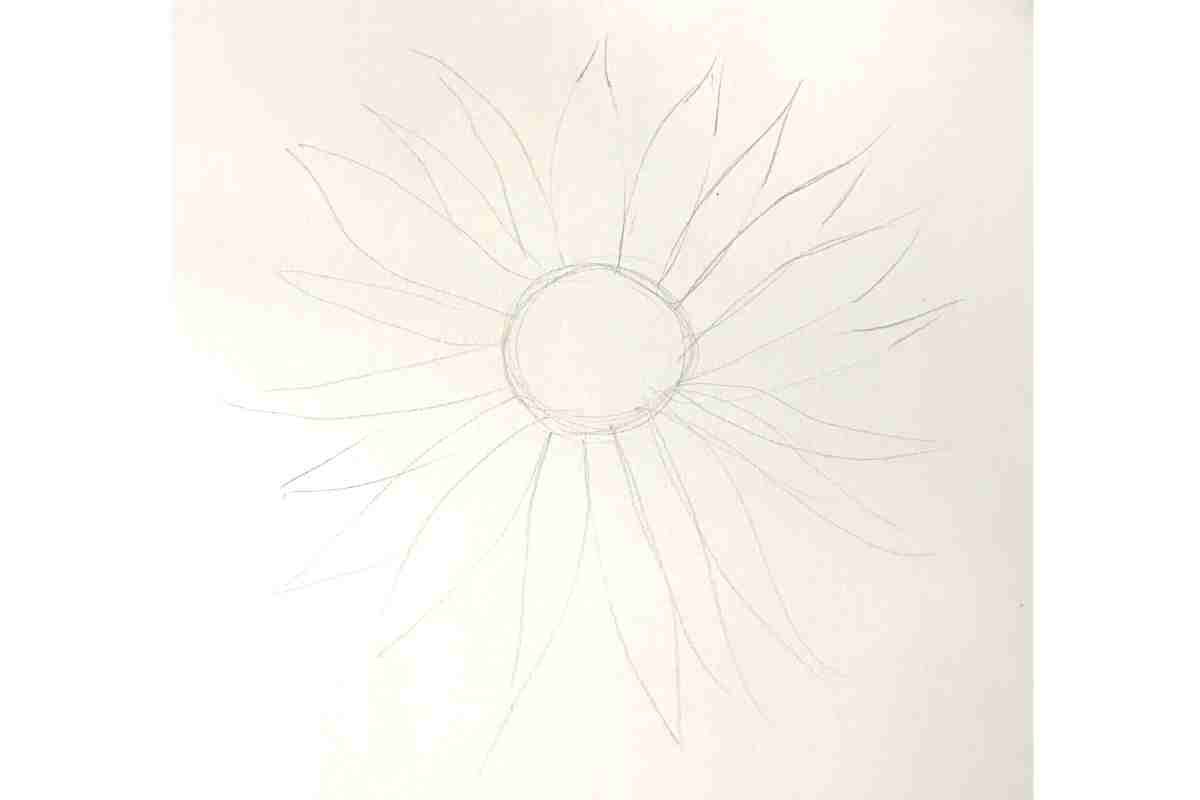
- Always begin your sketch in pencil; this is an excellent way to minimize mistakes.
- Draw with faint light lines.
- Progress onto drawing in a fine line pen. Fine Liners enable the artist to draw with a fluid-flowing quality of line.
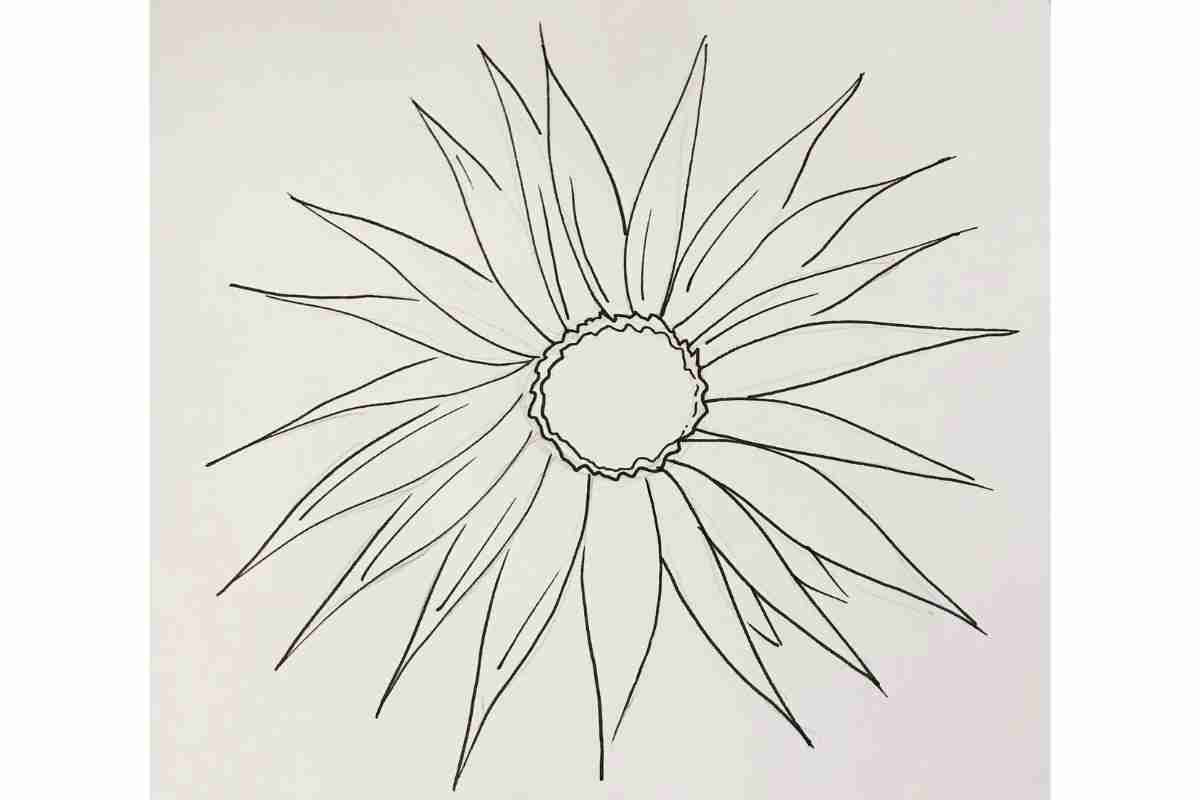
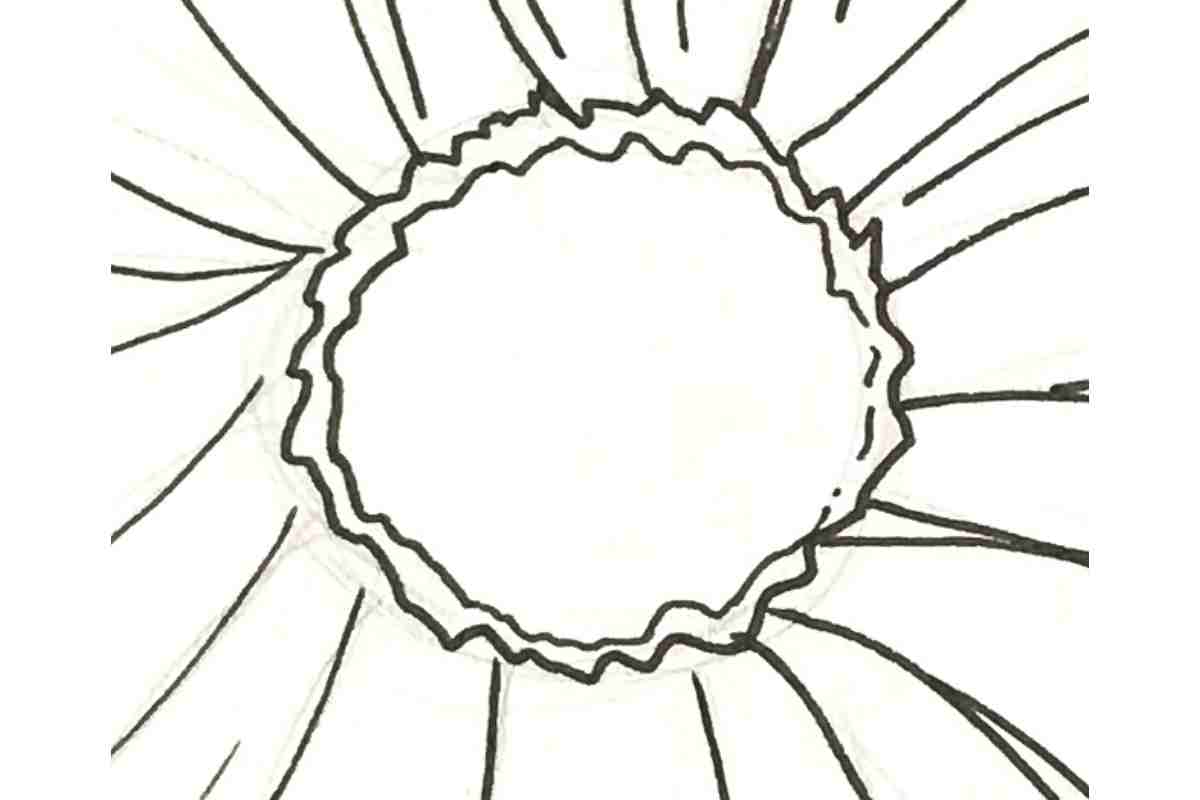
- Start with a small circle in the center of your paper. This will be the center of your flower. From there, begin drawing petals around the center circle.
- For a traditional-looking flower, you'll want to draw about six petals. But feel free to increase the number of petals – more or fewer can create a completely different look!
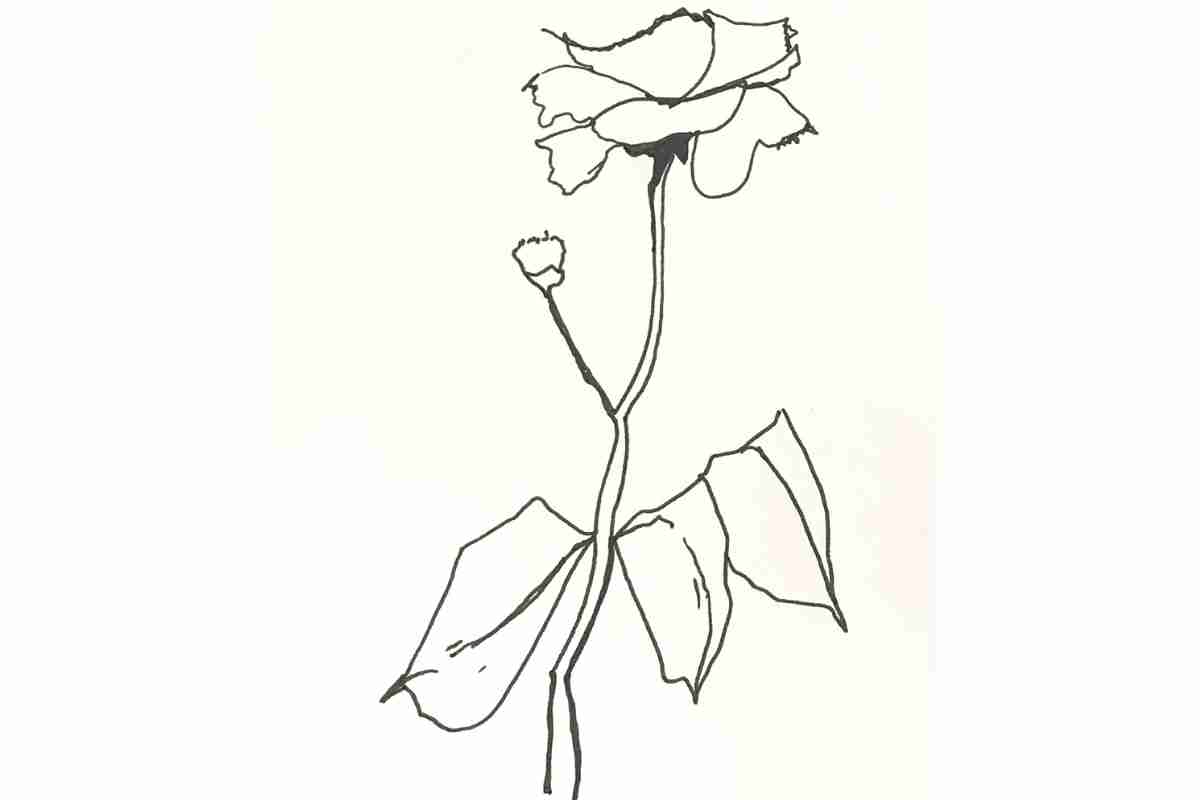
- Once you have your petals drawn, it's time to add some leaves. Again, start with just a few simple lines – we're going for minimalist here!
- Once you're happy with your leaves, use your black marker (if you're using one) to go over all the lines you've drawn so far.
If you wish to create a more decorative flower, add some color! If you're using colored pencils or crayons, color in your flower and leaves. Be as creative as you like.
How to Draw an Aesthetic Minimalist Flower
Begin drawing a simple circle in the center of the page.
Next, draw the flower's petals around the circle using thin lines.
Once you have finished drawing the petals, use a thicker line to draw the stem and leaves of the flower.
Finally, color your flower with any color you like!
There you have it! A simple and easy way to draw a minimalist flower that anyone can.
I hope you enjoyed this tutorial and found it helpful.
How to Draw Minimalist Flower Drawings
Sketching out the basic shape of the flower is the best way to begin. A good way to do this is by drawing a small circle in the center and adding petals around it.
Once you have the basic shape down, start refining the details. Make the petals thinner, and add some lines in the center to define it more.
Finally, erase any unnecessary lines, and you're done!
With just a few simple steps, you can easily draw a minimalist flower that looks great.
So next time you're looking for a quick and easy way to add some style to your artwork, give this method a try!
You might be surprised at how much impact such a simple design can have.
What Does a Minimalist Line Art Look Like?
Minimalist line art is characterized by having a minimal number of lines. The simplest minimalist line artworks may have one or two lines, while more complex ones may have a few more. The important thing is that the lines are kept to a minimum, allowing for a greater sense of space and tranquility.
Minimalist line art often has a calming effect, as it avoids the busyness and clutter of more detailed artwork.
Its simplicity makes it ideal for use in environments where peace and relaxation are desired, such as hospitals or waiting rooms.
Minimalist line art can also be used to create dynamic visual effects, as the limited number of lines can create an illusion of movement.
When done well, minimalist line art can be truly stunning in its simplicity.
Additional Questions:
How to Draw Flowers in a Simple Way?
There are a few ways to draw a flower in a simplified style. One way is to start with a basic shape, such as a circle or oval, and then add simple petals from the sides.
You can also start with a stem and add leaves and petals around it. Experiment with different shapes and arrangements until you find something that you like. Remember, less is more when it comes to simplicity.
Another approach is to forego traditional petals and instead use other shapes to represent the flower. For example, you could try using triangles or even just straight lines. Get creative and see what unique flowers you can come up with! Whatever approach you choose, could you keep it simple?
What is the Easiest Flower to Draw?
This is a difficult topic because there is no simple solution. Everyone has different skill levels and preferences. However, minimalist flowers are some of the simplest designs to recreate. They often feature basic shapes and require few details, making them ideal for beginners or those who want to achieve a quick result.
Here are a few tips to consider on how to choose an easy flower:
Sketch the basic shape of the flower.
Basic shapes are best drawn with can do this with a pencil or pen. If you're using a pen, make sure it's fine-tipped so that your lines are clean and precise.
Once the basic shape is down, add smaller details like petals or stamen.
How to Draw a Complex Flower?
If you want to draw a complex flower, start by drawing a simple outline of the petals. Then, add details like stamen and pistils.
If you want to create a realistic drawing, add shading and highlights. Finally, erase any unwanted lines. With practice, you'll be able to draw more detailed and complex flower drawings in no time!
How to Draw a Miniature Flower
To draw a miniature flower, you must follow the same basic process as when you draw simple flowers. First, you will need to source supplies to make the drawing process easier. Drawing flowers can be challenging, but with miniature flowers, you can create beautiful works of art with a little practice.
Basic Drawing Equipment to complete this task:
- Paper
- Pencil
- Eraser
- Magnifying glass (optional)
Step 1: Sketch your flower. Sketch a basic circle shape in the center of your paper. This will be the center point of the drawing. From there, start adding petals around the center circle. Carefully consider and measure the space between each petal so you can add color later. Once you have sketched out the basic shape of your flower, you can start adding details like leaves and stems. When you finish your sketch, take a step back and look at it to see if anything needs to be changed. Rub out and erase any mistakes or unneeded sketch lines. You can erase over if you don't like how something looks.
Step 2: Ink Draw your flower. Once you are happy, it's time to start adding detail. Use a pencil to refine the detail on the petals and leaves. Progress on adding shading or highlights. Now is the time to do it. You can also use a magnifying glass to look closely at your work. When you are finished painting, set your picture aside to dry.
Step 3: Mount and display your finished sketch. Drawing miniature flowers may seem daunting at first, but with a little practice, anyone can do it. With careful planning and execution, anyone can create stunning drawings.
The most important thing is to have fun and not get too discouraged if things don't turn out perfectly.

