Drawing a Cone Step by Step
Learning how to draw a cone may not seem like the most exciting artistic process to undertake, but the understanding of fundamental forms is crucial to becoming a better artist. You need to understand how to sketch them, and just as importantly, you have to understand how to render them with a full range of values.

Supplies And Gear You Will Need
You can use any supplies that you’re comfortable with when creating art, but in the case of drawing a cone, which probably falls into the sketching range, you should keep things simple. That means you should work on inexpensive drawing paper or even newsprint, and using graphite or charcoal will likely be your best option.
Create A Vertical Line Centerline
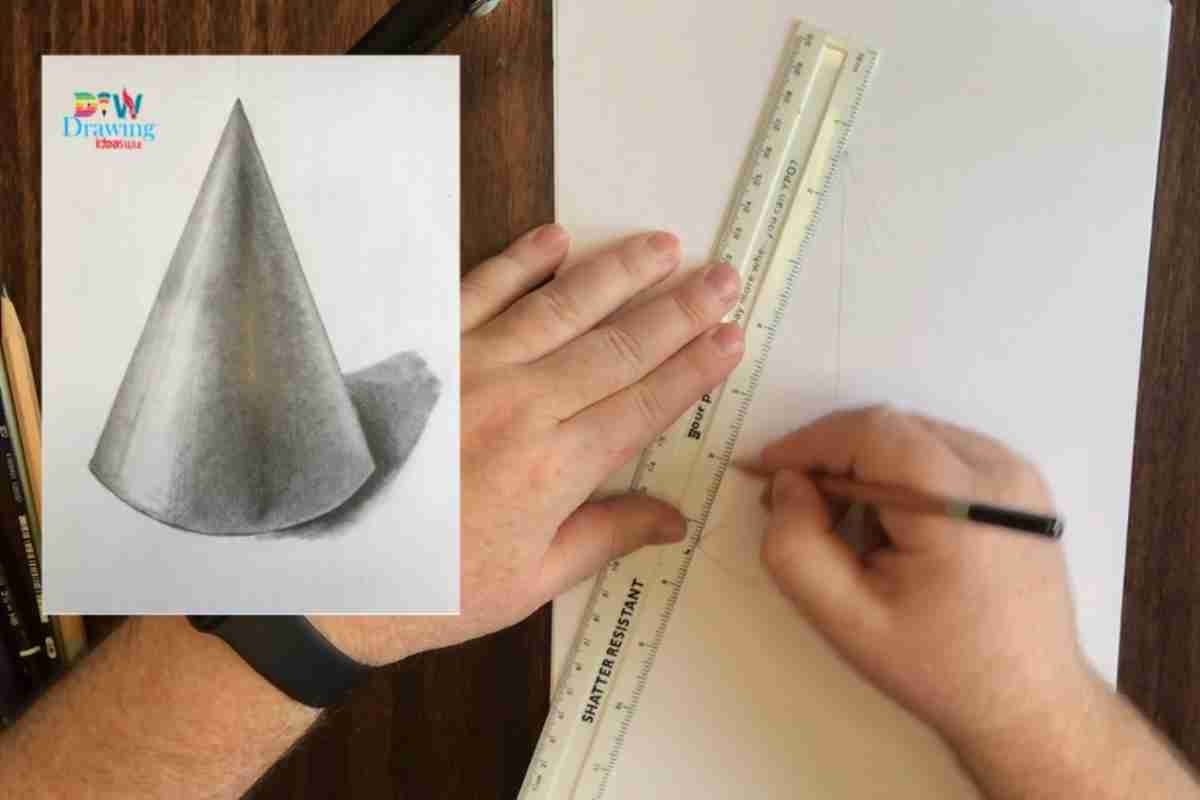
The first step in drawing a cone is establishing its general size and shape. You could start by sketching out a cone, but if you want to start with an even more straightforward step, start with a single vertical centerline. Just sketch a vertical line out the height of your cone, then you can start to add more to this and build your cone from the ground up.
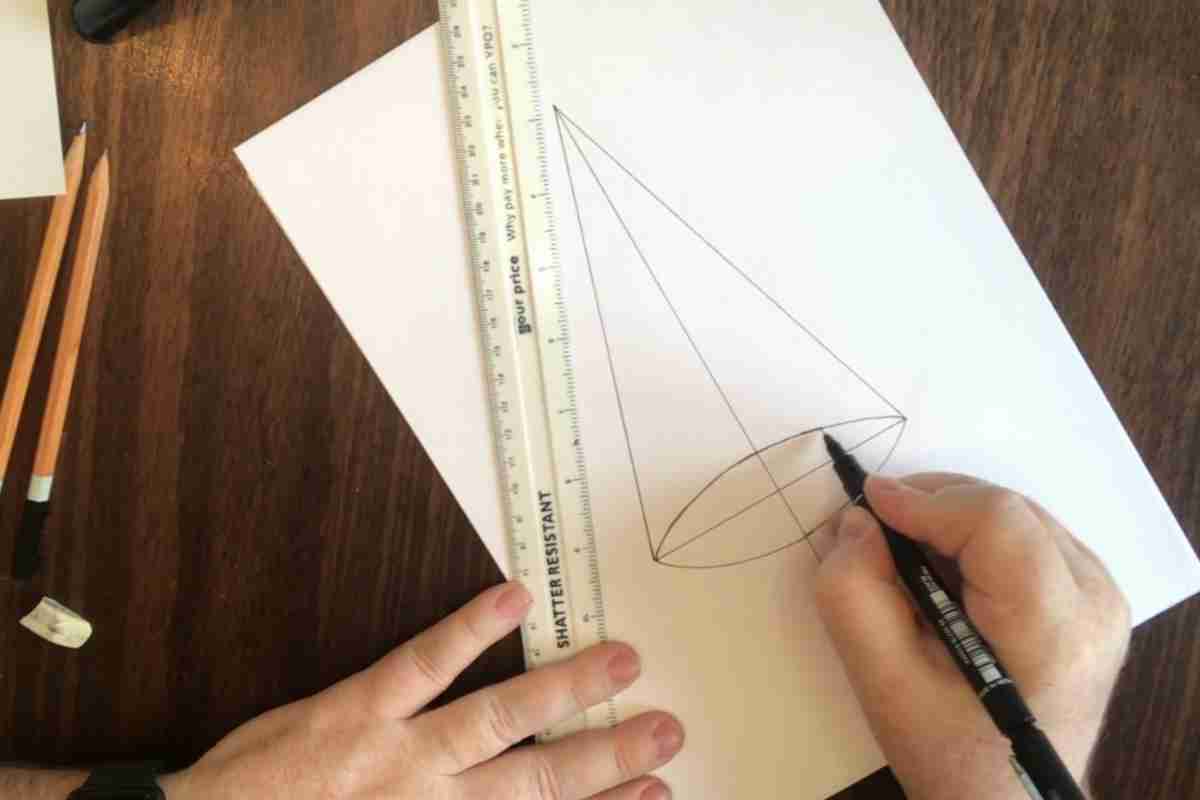
Draw the Base Elliptical Base Of The Cone
Once you have your centerline sketched in, you should start with the base of your cone. Keep in mind that the base of your cone may appear like a straight line depending on the angle you’re viewing it at, but it’s really an ellipse.
How curved the ellipse is will depend on the angle you’re viewing the cone from. The higher the angle, the more the base is going to curve. If you’re looking for a simple drawing, view and sketch your cone from a low angle using two lines. If you want more of a challenge, view it from above at a steeper angle.
Check The Proportionality Of The Sketch

One of the hardest things for artists to master is getting proportions correct. If you’re going to spend time drawing a cone, then why shouldn’t you use it as an opportunity to improve your skills as an artist by working on mastering proportion? Proportions are hard. Drawing a cone is relatively simple, so if you focus on getting the proportions of a cone right, it should improve your ability to sketch more complicated things in the future. How does that work?
Drawing a cone with proper proportions involves the same processes as drawing anything else with the right proportions. You first need to observe your subject carefully, then start sketching it out lightly. Next, you start to refine the form of the cone until it starts to take shape. Since a cone is a more straightforward subject to represent, you can get in extra practice by drawing many of them when it would take you to tackle a single, more complicated subject.
Draw The Sides Of The Cone Easy

With the base and centerline of the cone drawn, the next logical step is to draw the sides of the cone. These are simply two straight lines that converge at a point to create the cone’s apex. You can sketch them freehand, or if you’re trying to create a more finished drawing, you can also use a ruler or straight edge.
Draw the Apex of the Cone
After you’ve finished drawing the edges of the cone, the final step in creating the overall form of the cone is to sketch the apex. The apex of a cone can be pointed, but it is slightly round in most cases.
If you’re drawing the cone that people are most familiar with, the traffic cone, then the apex is flat with a spherical hole inside it. If that’s the way you’re drawing the apex, make sure that you take the time to get the shape of the circular opening right depending on the angle at which you’re viewing the cone.
How To Shade A Cone

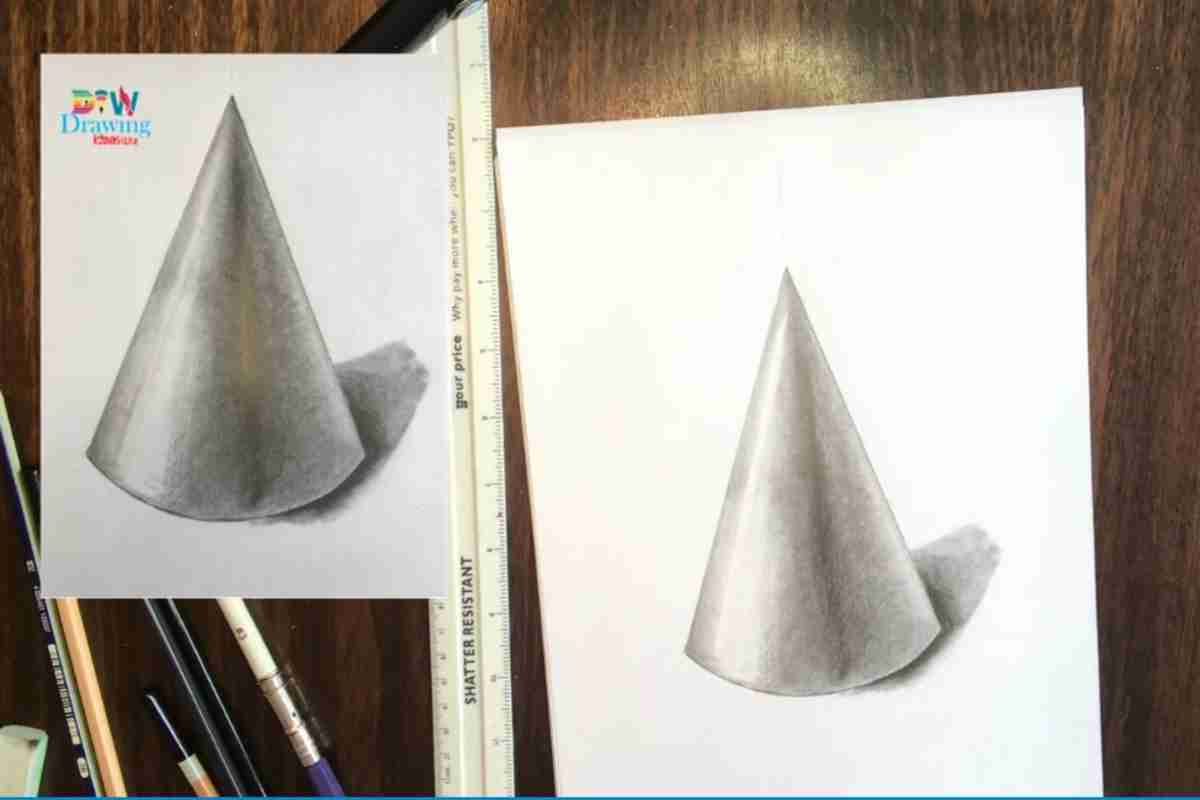
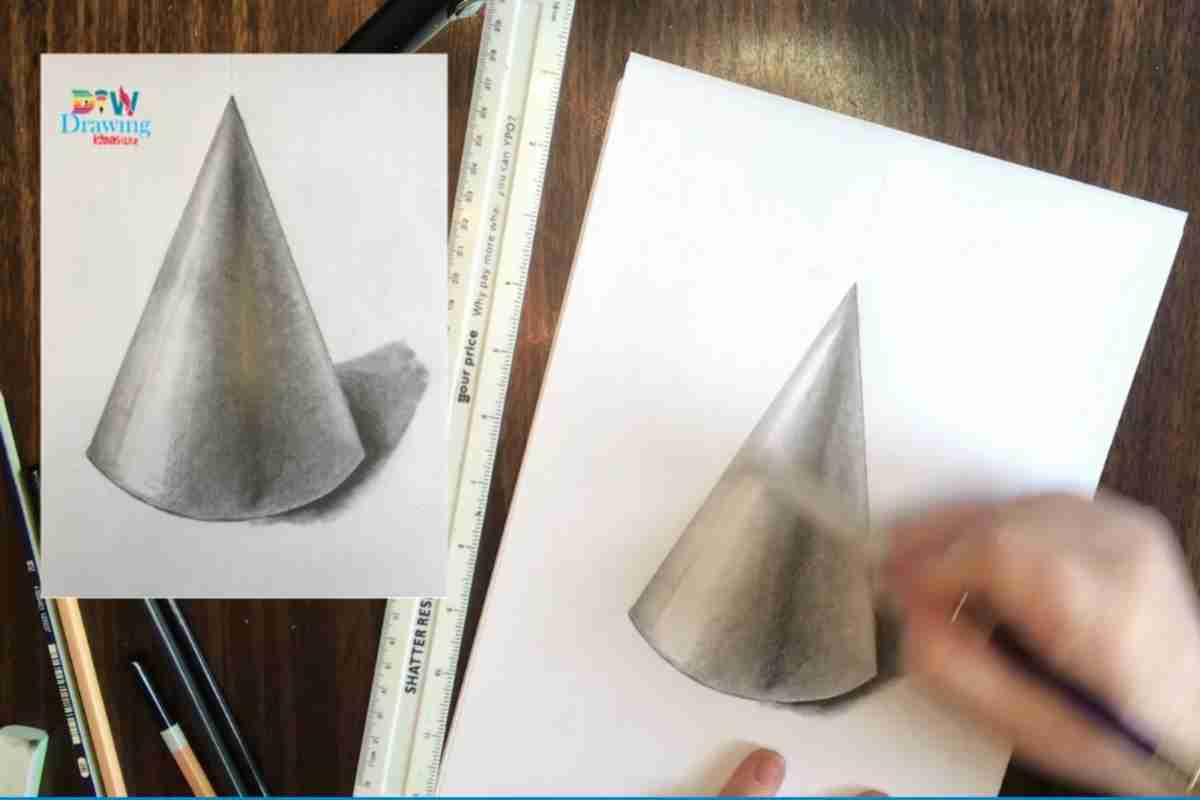
At this point, you should have a nice outline of a cone that is properly proportioned and ready for the final step in the process, adding shadows and highlights. Shadows and highlights are essential in a drawing because they help turn a flat two-dimensional drawing into an image that gives the illusion of three-dimensional depth. How do you shade a cone? You do it like anything else that you draw.
Take the time to notice on your reference object where the light hits, this area of your drawing will be where your lights are. Then look at where the light doesn’t hit or is nearly absent. This area will represent the darkest shadows. The final thing you should be looking for is middle values. These are parts of the cone where they are transitioning from light to dark.
When drawing anything from a live reference, one trick to discovering all of the values is to squint your eyes when looking at it. This will help you to see the highlights and darkest shadows. What does this have to do with creating all of the values? Without the darkest shadows and lightest highlights, all of your middle values will look muted, which will result in your drawing looking flat.
Make sure to spend time on transition areas between light and dark. Remember, this is a sketching practice that should be used to help you master techniques while drawing simpler subjects, so you can then go on and apply these techniques when you are drawing more complicated subjects. In other words, don’t rush, don’t take shortcuts, enjoy yourself and focus on doing things the right way.
Review The Parts Of The Cone
To summarize, you should start with the centerline, and draw the base, the edges, and apex. Don’t forget to draw the ground as well. Then you should spend plenty of time rendering a full range of values to make your drawing as realistic as possible.
Draw the Base Elliptical Base of the Cone
Draw an ellipse that is the same length as the width of the base of the cone. To do this, draw a horizontal line the same length as the width of the base of the cone. Then, draw a vertical line perpendicular to the horizontal line and intersects it at the center point of the ellipse.
Next, draw two lines that originate from each end of the horizontal line and intersect the vertical line at two points equidistant from the center point. Finally, connect the ends of the two lines to complete the drawing of the ellipse.
The result should be a drawing of an ellipse that is the same size and shape as the base of the cone. Once you have drawn the base elliptical base of the cone, proceed to Draw its Sides.
Draw a series of curved lines originating from one end of the ellipse and terminating at points along its perimeter. These lines should be spaced evenly apart and get progressively smaller as they near the other end of the ellipse, creating an effect similar to that of a cone.
