How To Draw An Ice Cream Step By Step
Basic Drawing Tutorial
You were wondering how to draw an ice cream? It might seem like a strange subject, but in art, it’s all about finding a unique approach and vision, which often means finding unique subjects. Why should you draw an ice cream?
Because it’s something different. Because it has unique shapes, textures, and colors that you can experiment with. Ice cream is very easily recognizable, even when drawn straightforwardly. You can create a simple drawing and be successful or decide to go in the opposite direction and do a much more complex drawing.
One of the unique challenges you’ll face when drawing an ice cream is figuring out how to depict the shiny nature of the ice cream. When ice cream is solid, it’s very flat and has a matte appearance. When it starts to melt through, it partially liquefies and becomes much more reflective.
Typically drawing from life is always the best option, but it will not work because your subject will change and transform as it begins to melt. So, if you have an ice cream cone that seems like a good subject, make sure that you take a picture before it begins to melt to serve as the reference for your drawing.
What Equipment Do You Need?
The equipment you need to draw an ice cream depends on your approach. If you plan to work in black and white, graphite or ink is an option. If you plan to paint, then choose whatever medium you prefer, then make sure that you have the right supplies before you get started.
Don’t make the mistake of thinking that since you’re drawing an ice cream, you shouldn’t use more advanced techniques or materials. Of course, you can choose to do a simple sketch, but keep in mind that nothing is holding you back from going all out and using all of the tools at your disposal to create a fantastic ice cream drawing.
You can find essential drawing equipment to complete this task here: Click here to view my basic equipment list.
Draw Basic Outline
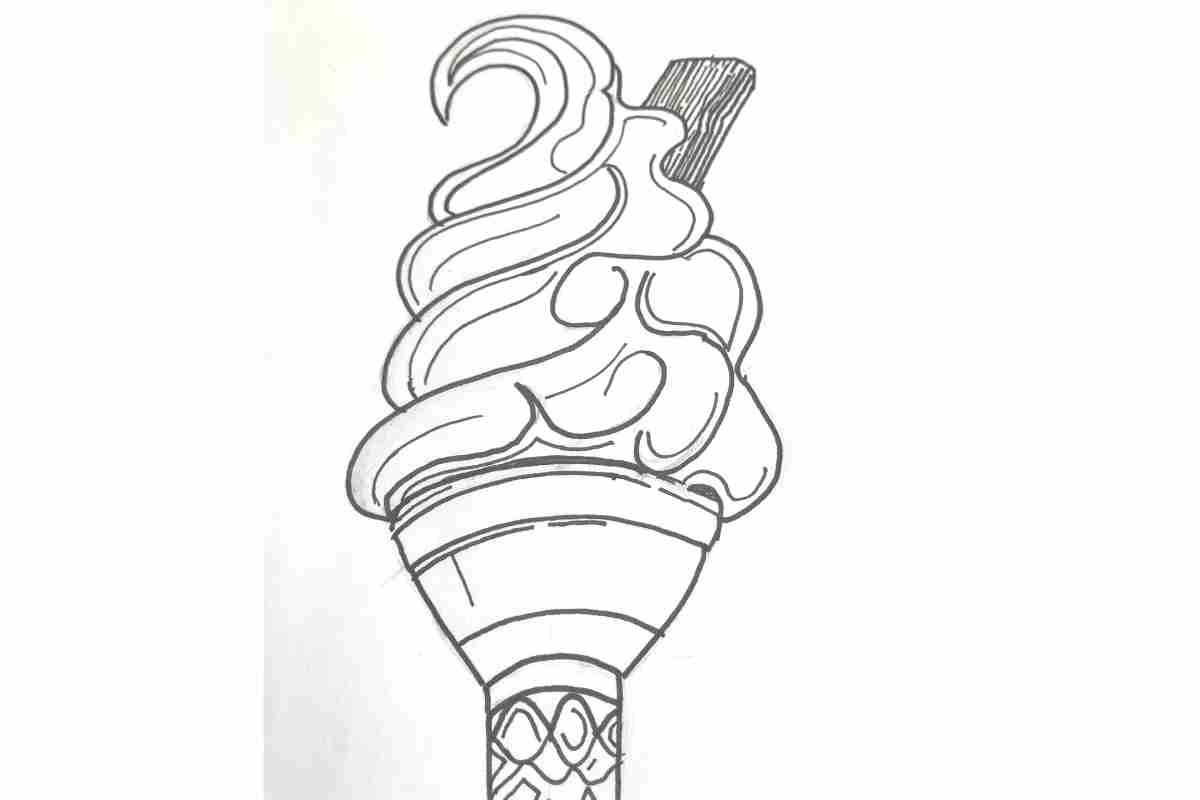
The first step in drawing an ice cream is the same as the first step in anything that you draw; you start with a light sketch of the general forms and outline. For this article, let’s assume that you’re drawing an ice cream cone.
If that’s the case, don’t think of it as an ice cream cone; instead, think of it as a structure. It’s almost like drawing a building in the general shape, except for the uneven, organic-like shape of the ice cream.
Draw Ice Cream Cone
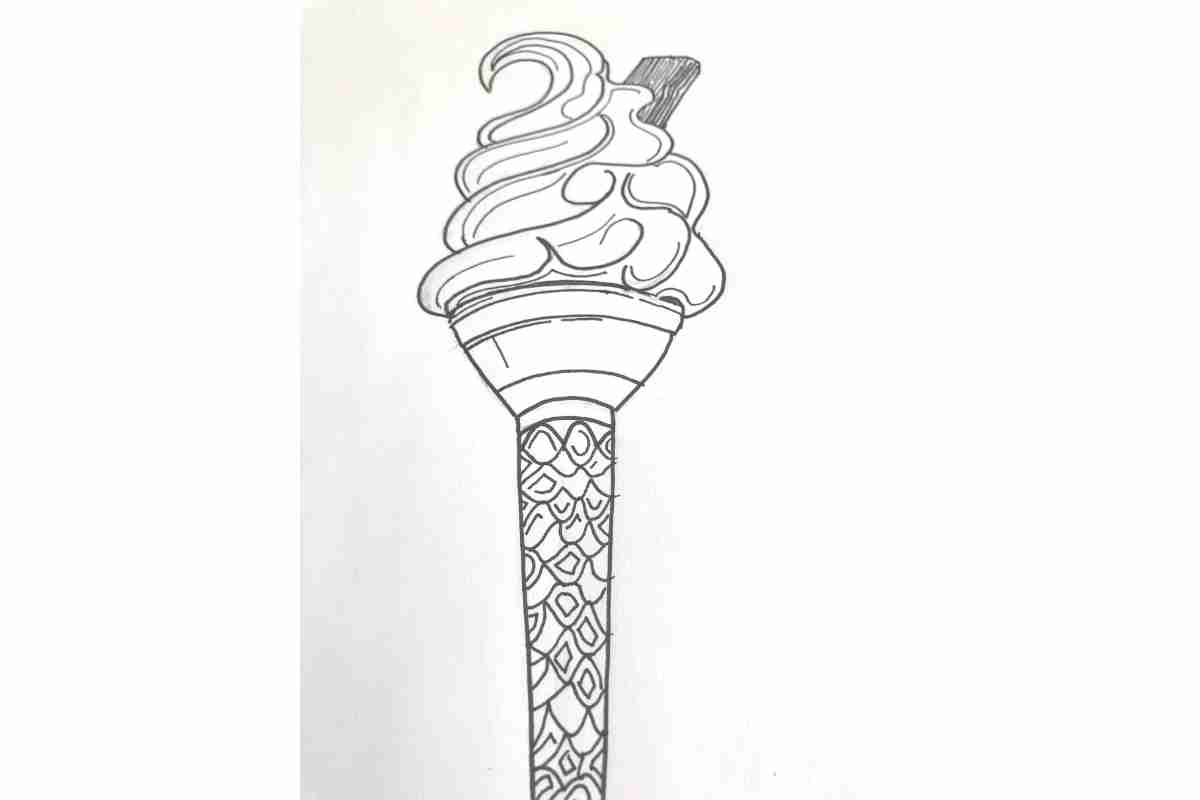
If you want to challenge yourself and feel like creating a more impressive drawing, then try drawing a cone with multiple scoops and some toppings on it. This will give you a more impressive, towering drawing, and the toppings will give you some exciting textures to explore.
Add Details
Once you’ve finished the general shape of the ice cream, the next step is to start adding details. Make sure that you sketch in the roughness of the frozen parts of the ice cream while also creating smoother surfaces with reflections for the part that has melted.
The cone might look smooth, but up close, there are textures, cracks, imperfections, and other types of details that you can add.
Coloring Your Ice Cream Drawing
If you decide that the final version of your drawing should have color, then watercolors are a perfect option when drawing/painting an ice cream. Ice cream, especially with toppings, has a lot of colors, and glazing thin layers of watercolor over a finished drawing can add that color while still preserving the details of the initial drawing.
But what if you decide you want to add color and don’t work on a surface that can get wet? In that case, colored pencils are another great option you should consider. They lack the spontaneity of watercolors, but they also give you more control.
Another option would be to combine both watercolors and colored pencils. You can layer glazes of transparent watercolor paint; then, once it dries, you can go back with colored pencils and render and add details.