How To Draw The White House Easy
When it comes to iconic buildings, there aren’t many other structures on the planet that can compete with the White House. While the White House is a reasonably complex building, you can learn to draw it by learning to break it down into a series of manageable steps.
If you do this, you can learn how to draw the White House quickly.
Basic Equipment You Will Need
When drawing any building, especially one as complex as the White House, you will want to work with materials that lend themselves to precision in most cases.
You could opt for a more stylized approach, but for this instruction, it will be assumed that you want to create a more technically accurate depiction of the White House.
If that is the case, you will need a ruler and protractor along with a smooth sheet of quality paper and graphite pencils of varying degrees of hardness. Click here to view my basic equipment list.
How To Draw A Simple White House
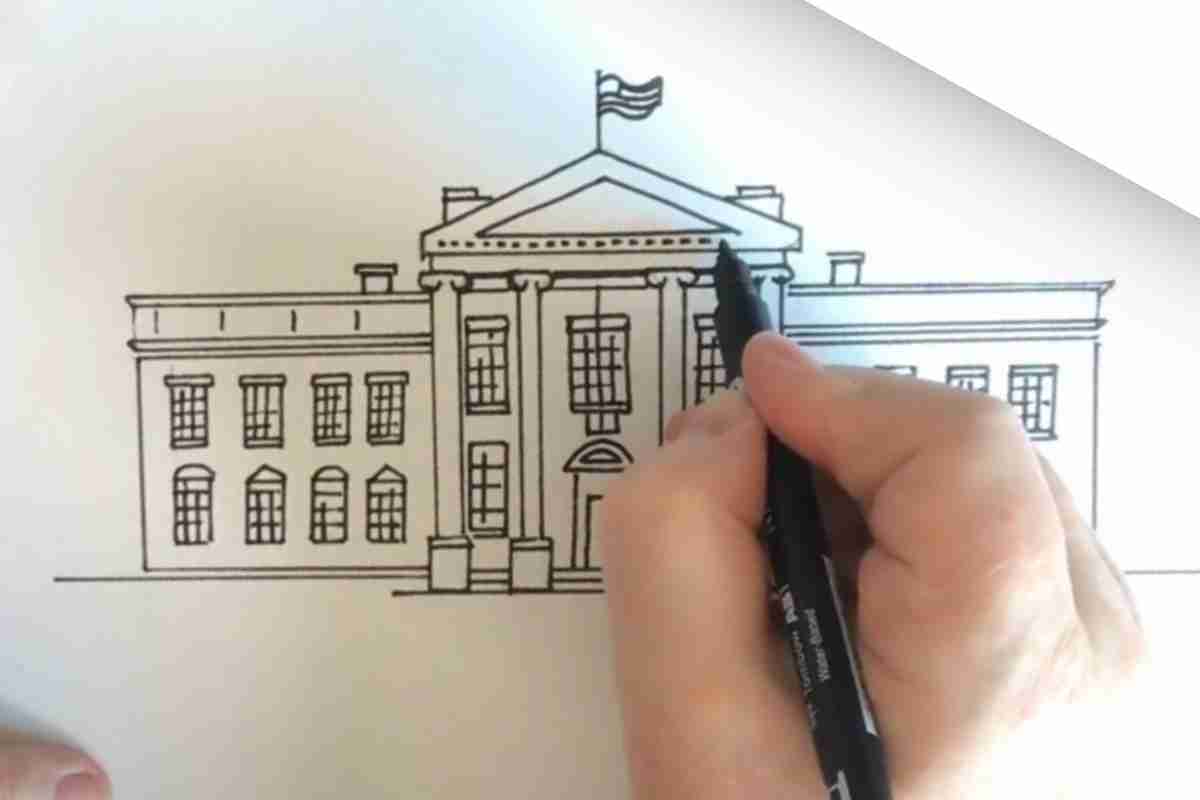
Everything you draw can be broken down into smaller, more easily managed steps. When you look at the overall structure of the White House, it’s a series of rectangles and a triangle.
The trick is getting the various pieces to fit together in the proper proportions.
Draw A Simple Rectangle
Step number one is to draw the main structure of the White House, and that’s a rectangle. The rectangle must have straight edges as well as sharp angles.
You should draw the rectangle lightly since you will be drawing over it and modifying it as you refine the drawing and add details.
Draw a Horizontal Line
Once the main rectangle body and top line have been sketched out, the next step is to start constructing guides that you can use when you start adding details.
The White House has windows, balconies, and other features that sit on a series of horizontal lines. If you are using a reference photo, take a ruler and measure the distance between these lines. Then, do a little math to determine the proportion between your reference source and your drawing.
Once you have done this, you should be able to figure out the proper distances between these horizontal lines, giving you a great frame of reference when you add features in a few steps.
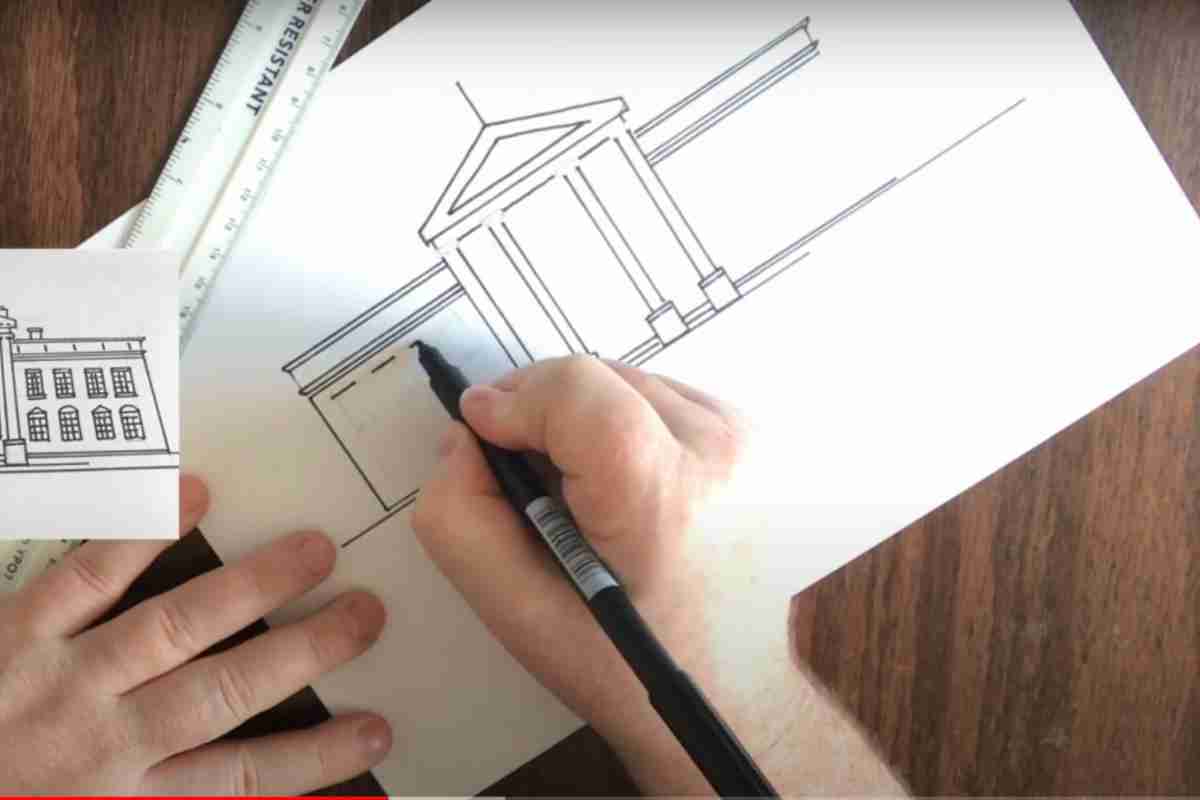
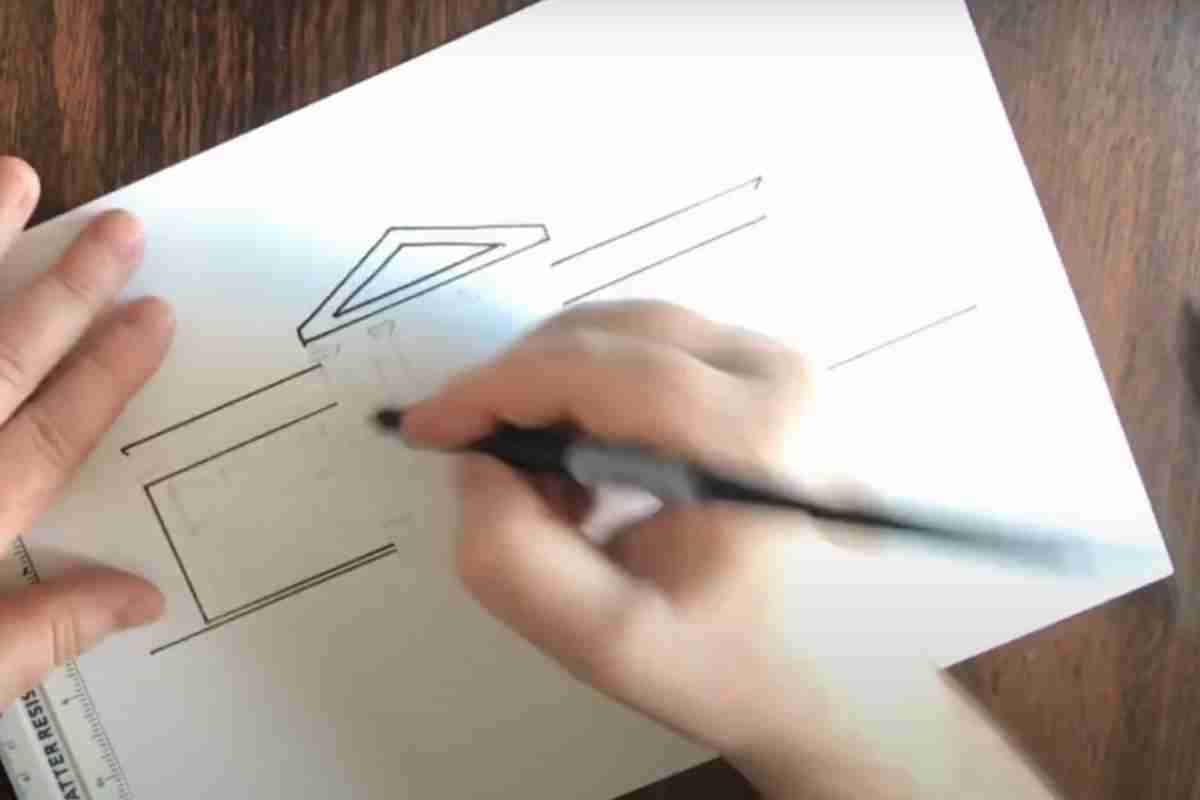
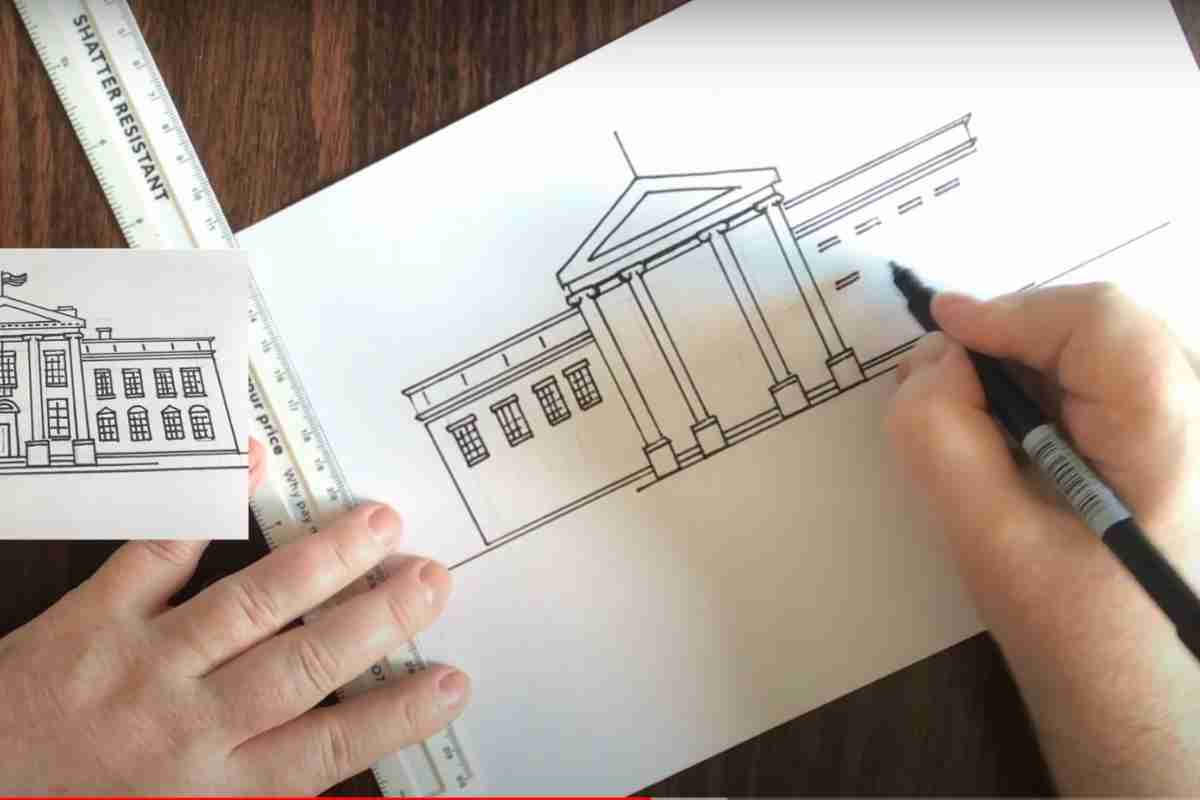
Draw The Central Triangle On The Roof
Once you have the main body of the White House sketched out, it’s time to start adding more of the other prominent features.
Chief amongst these features is the large triangle on the front of the White House. This large structure needs to have straight edges, and just as importantly, the angles have to match those of the actual White House.
This is another time when doing something simple, like measuring and converting for proportion, is a good idea, and using a protractor will help you have accurate angles.
Draw The Four Columns
Another of the most prominent features of the White House are the four central columns.
These can be drawing a vertical line to depict the individual columns.
Other features should be measured to ensure you have them depicted accurately by drawing them individually with two vertical lines.
If they aren’t the same width and distance apart, they won’t look right.
So, take the time to measure correctly and draw straight edges. The last thing you want is to cut corners here and then later discover that you made a mistake when creating the foundation of your drawing.
These types of mistakes can rarely be corrected, which could mean a lot of wasted time and effort on your part.
Draw Top Row Windows
When drawing the top row of windows, you’ll immediately see the value of those horizontal lines that you drew earlier.
You can use these as a starting point, then use a ruler to measure the width of each window and the distance between them.
Make light marks on your paper to indicate where they go, then use a ruler to sketch them in. If you want to save yourself some time, you can make the lines longer so that they will also serve as a guide for the bottom row windows.
Draw Bottom Row Windows
Once you have your window lines drawn in, go back with an eraser and carefully erase the extra lengths of present lines. You can then go in and darken and sharpen the edges of the windows.
Draw The White House Doorway
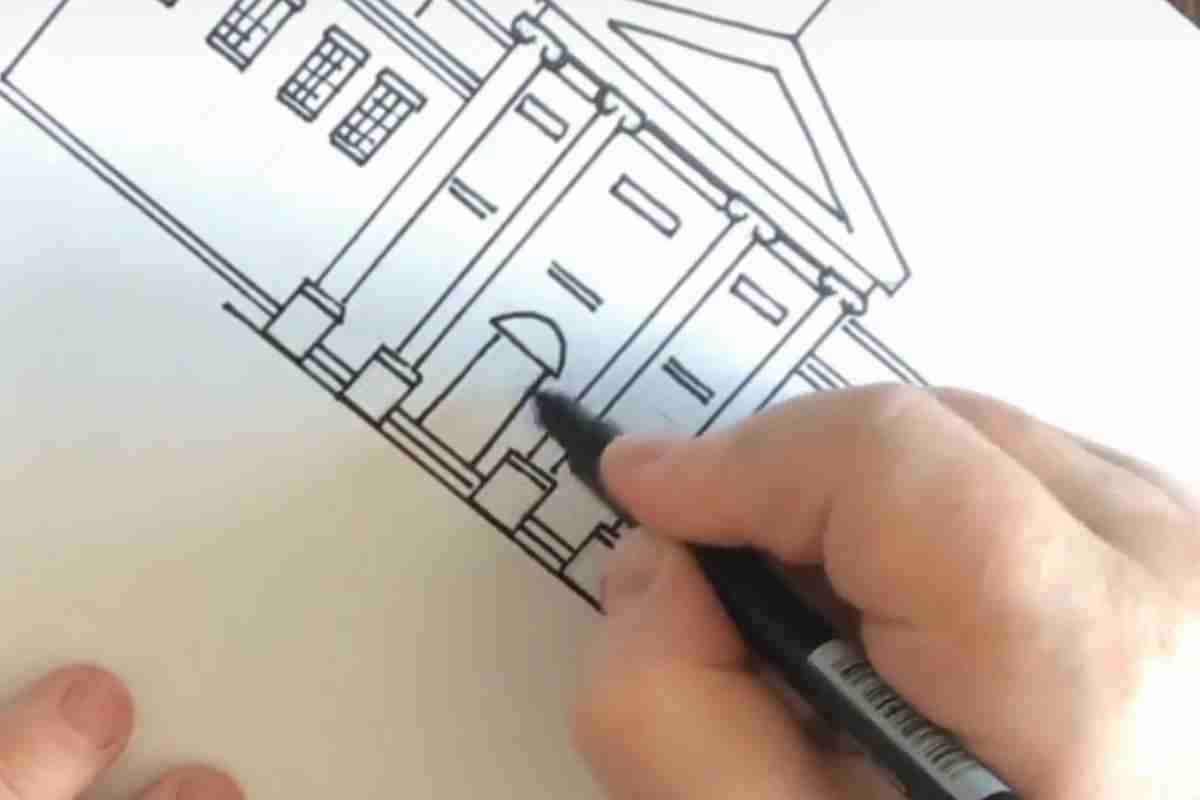
The basic shape of the White House Doorway is a rectangle, but don’t make the mistake of trying to save time by drawing it by hand.
Use a ruler, measure it out, and ensure that the angles are correct and that the lines are straight.
Draw Roof Chimney
The White House also has a roof chimney. Make sure that you draw this in and add in the other structures on the roof.
Even if you aren’t sure what all of them are, put them in your drawing if you see them.
These little details add up to help create the entire image, and the more minor details you add, the more realistic your drawing will look.
Add Additional Details
When you look at the White House building, you should immediately notice all of the ornate features and decorations.
At this point, you can put the ruler down for the most part.
You may need it to define some straight edges, but the guidelines you’ve taken the time to sketch in should serve you well while you begin adding additional features.
Once you have all of the little details added, make sure that you take the time to add a full range of values to the building.
Draw the windows and doors and related the building.
Draw the Flag
The final step is to add the iconic flag at the top of the White House. For this, you will need your ruler again, but just to draw the mast.
Once that’s done, you can freehand sketch the flag in. You can also add a bit of motion to your drawing by having your flag blow in the wind.
White House Coloring Page
If you are looking for an additional challenge why not try a White House Coloring Page. The White House is a beautiful building with interesting details to color. To get started, print out the White House coloring page. Once you have the page, choose your pencil colors. For the White House, you will need white, gray, and black pencils. Begin by coloring the White House gray. Next, color the windows and doors black.
Finally, use the white pencil to add highlights to the White House. You can also add your own details to the White House if you want. When you're finished, you'll have a beautiful picture of the White House to hang on your wall.