When it comes to drawing fists, there are a few things you need to keep in mind. In this tutorial, we'll walk you through the steps for drawing a fist, from sketching to shading. So whether you're looking to create a punchy poster or simply want to add some dynamism to your sketches, read on and learn how to draw fists like a pro!
Step by Step Fist Drawing Tutorial
Hand gestures and drawing hands can be the trickest drawing tutorials for beginners to follow and master. From the drawing of a simple cartoon fist to the drawing of detailed skin folds, the best way to approach the drawing of a fist is to take a simple step-by-step approach.
In this how-to post, I will outline how to draw a fist in eight easy steps:
Step One Basic Outline of the Fist
When drawing the basic outline of a fist, there are a few key things to keep in mind. First, the wrist should be at a slight angle, not perpendicular to the ground. Second, the fingers should be slightly curved, not straight.
Finally, the thumb should be positioned to balance with the rest of the hand. With these guidelines in mind, begin by drawing a curved line for the wrist.
Then add lines for the fingers, curving them slightly inward. Finally, add a line for the thumb and position it opposite the fingers. With these basic shapes in place, you can start to add detail and refine your drawing.
Step Two: First Sketch Pentagon Outline
First sketch pentagon outline. Start drawing faint straight lines down the center of your paper. This will be your guideline. Next, use a ruler to draw five lines, each two inches long, coming out from the centerline at equal intervals.
Once you have your five lines, use a curved line to connect the ends of each line, forming a rough outline of a pentagon. When you're happy with the shape of your pentagon, darken the lines of your sketch. Finally, erase any remaining guidelines. And there you have it – a simple pentagon sketch!
Step Three: Draw Fingers and Palm Using Simple Lines

When it comes to drawing, there are a few basic concepts that you will need to understand before you can start putting pencil to paper. One of the most important things to know is how to draw using uncomplicated lines.
This may seem like a no-brainer, but it's quite difficult to do if you don't know what you're doing. The key is to start with the basic shapes and then slowly build-up. In this tutorial, we'll show you how to Draw the fist and palm using straight lines.
First, start by drawing a line for the thumb. Then, add two lines for the index and middle finger. Make sure that these lines are slightly curved so that they look natural.
Next, add a line for the ring finger and another for the little finger. Again, make sure that these lines are slightly curved. Finally, add a line across the palm to finish off the hand. Read my Detailed Blog Post How to Draw Hands,
By following these simple steps, you'll be able to Draw the fist, fingers, and palm using simple lines.
Step Four Check the Proportions of the Fist and Fingers
Anyone who has ever tried to draw a human body knows that getting the proportions right is essential for creating a realistic image.
One of the most straightforward ways to check the proportions of the hands and palms is to look at the fists and fingers.
To do this, simply hold up your hand in front of you and take a close look at the size of your fist in relation to your fingers.
The average ratio of fist-to-finger is 2:1, so if your fist is significantly larger or smaller than this, it indicates that the proportions of your drawing are off. By keeping an eye on this simple proportion, you can ensure that your drawings maintain a realistic look.
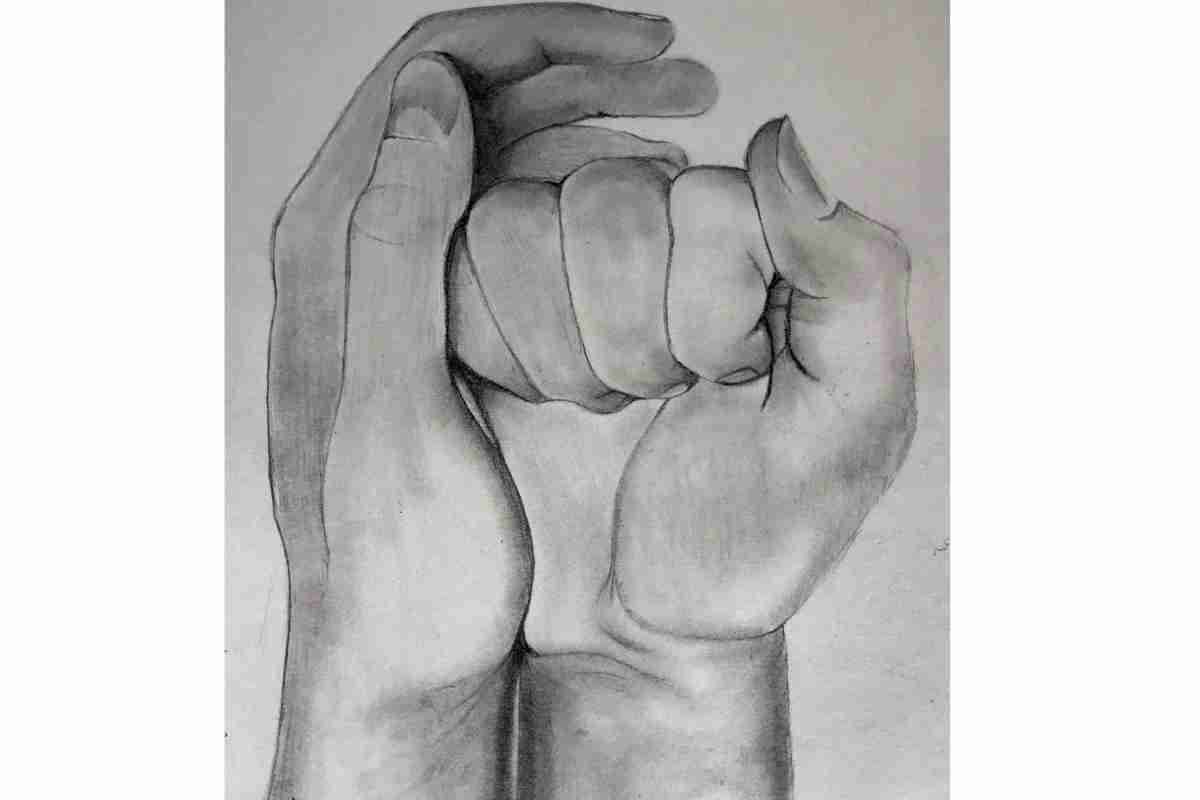
Step Five Draw the Contours of the Clenched Fingers
Drawing the contours of the clenched finger is an exercise that helps improve your drawing skills by learning to observe and capture the subtle details of the human hand.
The fist is a complex subject, made up of many small details that can easily miss. By taking the time to draw the contours of a clenched fist, you will learn to see and capture these details, resulting in more realistic and lifelike drawings.
To begin your drawing, trace the outline of the fist with a pencil.
Next, draw each finger's contours, starting with the thumb and working your way around to the little finger. Pay close attention to how each finger bends and curves and the wrinkles and lines across the skin.
Once you have captured the basic shape of each finger, start adding in the finer details. Draw the nails, the creases at the knuckles, and other small features. With practice, you will learn to draw the contours of the clenched fingers quickly and effortlessly, resulting in realistic and lifelike drawings.
Step Six: Draw the Contour and Outline of the Thumb
Draw the contour and outline of the thumb using a light pencil. Draw a curved line from the top of the thumb to the bottom. Then, draw a second curved line starting at the base of the thumb and curving up to meet the first line.
Next, draw a straight line from the top of the thumb to the bottom. Finally, connect the ends of the lines with a gentle curve to complete the thumb contour. To finish, use a dark pencil to outline the thumb.
Start by tracing over the lines you've already drawn. Then, add some additional details like wrinkles or creases in the skin. With a little practice, you'll be able to Draw the contour and outline of the thumb perfectly!
Step Seven: Draw Skin Folds on the Palm
Draw skin folds on the palm of your hand. Draw a line from the base of your thumb to the base of your fourth finger. Draw a line from the base of your index finger to the base of your pinky. Draw a line from the top of your thumb to the top of your fourth finger.
Draw a line from the top of your index finger to the top of your pinky.
Draw a line down the center of your palm from the base of your fingers to the bottom of your palm.
Draw a line across the bottom of your hand. Draw a line up the center of your palm from the bottom of your palm to the base of your fingers. The final step is to erase any lines that are not skin folds.
Step Eight: Learn to Draw The Details
Adding a few more details to a drawing at the end of a drawing can mean the difference between success and an ordinary-looking drawing. Use a darker pencil to add value, shading, and texture to the
FAQ:
How Do You Draw a Clenched Fist?
There are a few different ways to draw a clenched fist, depending on the look you're going for. One way is to start with a basic oval shape for the hand. Then, add two curved lines coming down from the top of the oval to represent the fingers. Next, add two more curved lines coming up from the bottom of the oval to represent the thumb and pinky finger.
Finally, add a straight line across the middle of the oval to represent the fingers clenching together. This method is simple and effective, and it's a good way to get started if you're new to drawing clenched fists.
To add more detail to your drawing, you can start by adding some wrinkles around the knuckles. You can also add individual lines for each finger, and don't forget to include the thumb.
You can try drawing the fist with only a few simple lines for a more stylized look. Whatever approach you take, drawing a clenched fist is all about getting the right proportions and capturing the feeling of power and strength.
How Do you Draw a Clenched Fist Side View?
To draw a clenched fist side view, start by drawing an oval shape for the hand. Then, add four curved lines extending from the top and bottom of the oval for the fingers. Next, draw two lines across the fist for the knuckles.
Finally, add a few small lines inside the oval to indicate the wrinkles in the skin. Your drawing should look like a realistic fist ready to punch something when you're finished!
Draw Your Own Hand
It seems simple enough, but it can be quite challenging to get the proportions and perspective right. Our hands are always with us, so we have a lot of opportunities to observe them closely. However, they are also constantly in motion, making it difficult to capture their detail and form.
When we take the time to draw our own hands, we can better see and appreciate their beauty. We notice the delicate lines and curves, how the light falls across them, and how they come together to create an elegant whole.
In learning to draw our own hands, we also know them differently. We develop a deeper understanding of their structure and function, and we gain a greater appreciation for their role in our lives.
Conclusion:
That’s it! You now know how to draw a fist. It may not be the most beautiful thing you have ever created, but it will be functional and look great in a fight. If you want to learn more about drawing or other art techniques, take a look at my favorite course.
The Udemy platform has thousands of hours of video content on every subject imaginable, so there is something for everyone. How to Draw Like a Master. Drawing a Hand. Whether you are an experienced artist looking to hone your skills or someone who wants to explore their creative side for the first time, there is no better place to start than Udemy.