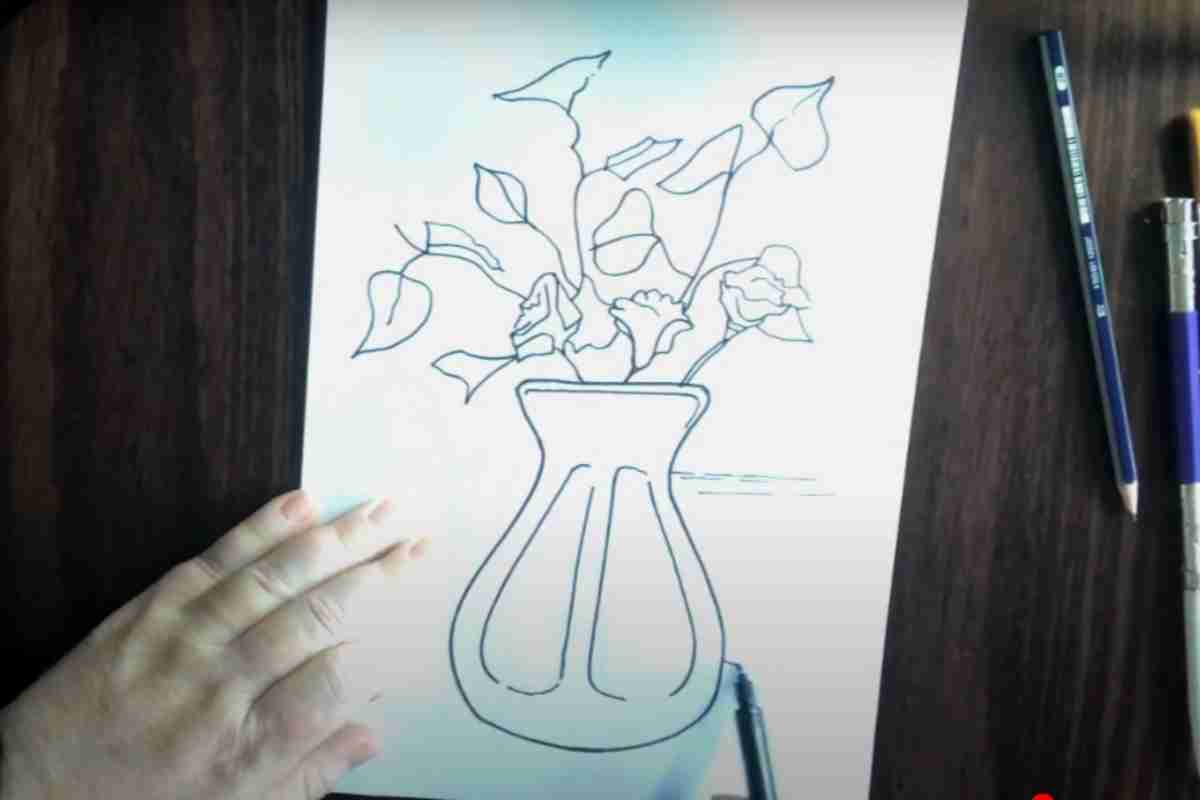
Drawing A Vase Step by Step
Learning how to draw a vase is relatively straightforward, and with enough practice, it should become second nature to you. Drawing a vase is just like drawing anything else. You need to focus on the shapes and values.
If you do that, you can break it down into a series of manageable steps. Drawing a vase with flowers can be something you specialize in, or it can be something you do just because you feel like trying something new. In either case, following the proper steps is the key to creating a drawing you can be proud of.
Begin Drawing With Very Light Lines
Whenever you draw anything, you should always start with very light lines. This initial sketch should be done using big motions and loose lines.
Doing this will help to create a sense of motion and excitement in your sketch, which is the perfect foundation to build upon.
By sketching with faint lines first, you give yourself a guide, and since the lines are done lightly, you can erase and correct as needed.
Drawing A Vase Step By Step
Draw An Oval
Everything that you see around you can be broken down into simpler shapes. By doing this, when you are drawing, you can gain more control over what you are working on and get the initial shape of your subject blocked in reasonably quickly.
Most vases have a shape very similar to an oval, so start with a light sketch of an oval. Then observe your vase and see where its shape differs from an oval, and begin to modify your sketch accordingly. Once you're finished, you're ready to move on to step two.
Sketch The Centerline
The centerline of the vase is the center point, it's where the light will usually strike the most prominently, and shadows will normally be predominantly off to one side more than the other. Ensure that you observe your vase carefully before determining where to put the centerline.
If your centerline isn't correct, then the rest of your picture will never work, and you're drawing will end up as a failure. But, even if this happens, it's important to remember that failing is natural in art. As long as you use it as a learning experience, then you've still spent your time well.
Draw The Rim Of The Vase
The rim of the vase is often more illuminated than the rest of the vase, and underneath it, there usually is a shadow. This is true as long as the light source is somewhere above the vase. Make sure that you add an intense highlight on the tip of the rim of the vase. Underneath it, there should be a deep shadow. Doing this will help create the illusion of depth, which is essential in any realistic drawing.
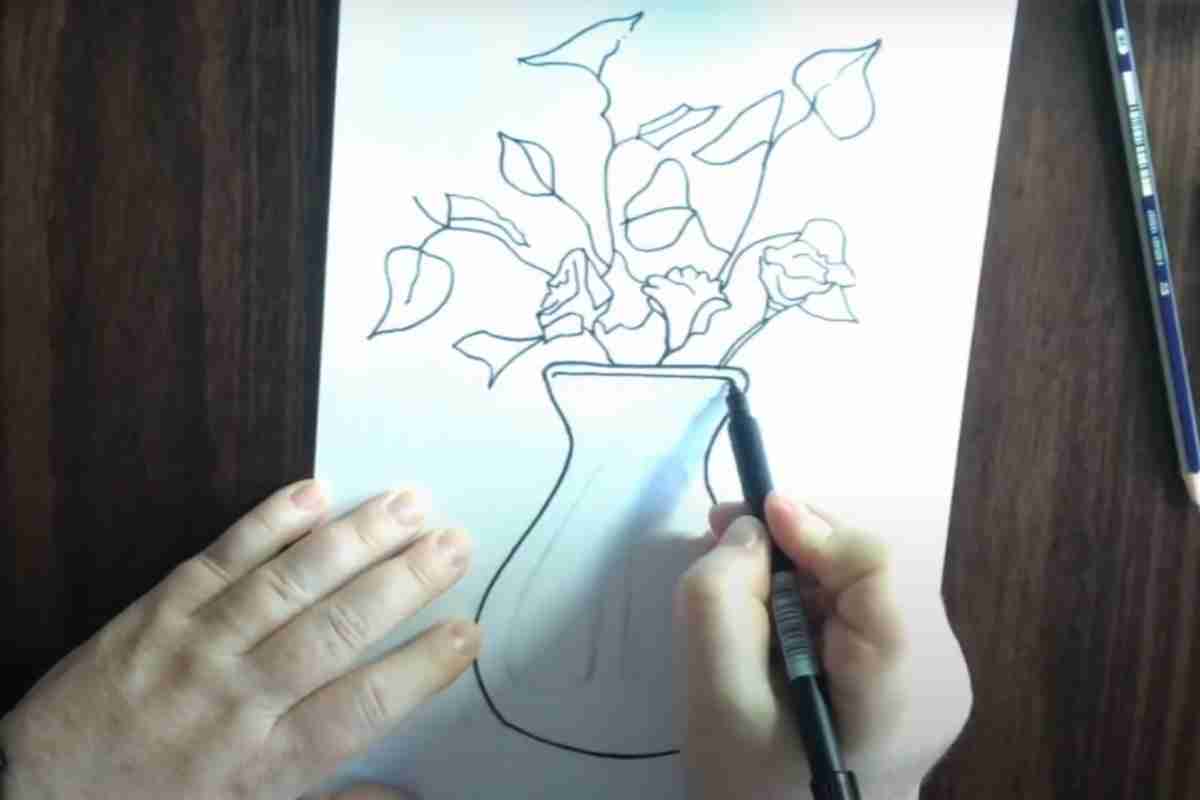
Draw Details
After you have the basic shape of your vase completed and have rendered in some of the highlights and shadows. It's how time to start working on some of the details. At this point, you're nearing the end of the drawing, so you should be tightening things up, making slight corrections, and adding little details to your drawing.
Add Decorative Patterns
Once your vase is nearly finished, you should start to render any decorative patterns or draw flowers or draw petals on the vase. Many vases have different decorations on them, and if the vase you are drawing has them, you must take your time drawing them. You don't have to draw them. As an artist, you can decide to skip them, but if you do them well, it can add another level to the realism and detail level of your drawing.
Add Value And Add Shadows
One of the final steps you do should be to finalize the highlight, mid-tones, and shadows. You can rough in the initial levels earlier in the drawing, but finishing them should be done once you are nearly finished. This allows you to render in different values over the details in your vase and over any of the decorative patterns on it.
Alternative: Apply Color To The Vase
What if you feel like adding color to your vase? Adding color to a drawing can help make it far more interesting, as long as the color is done well. If you're planning to add color to a drawing, it's better to plan for this ahead of time.
It gives you more options when the time comes to add color. For example, if you want to use watercolors to add color, you should draw on paper to handle the moisture. All is not lost if you didn't plan ahead and still want to add color. You can always use colored pencils or soft or oil pastels to add your desired color.
Try Drawing Different Shapes And Sizes Of Vases
If you enjoy drawing vases, make sure to practice drawing many different shapes and sizes. The more you practice, the more well-versed you will become at drawing them.