Watermelon slices are a delicious and refreshing summer snack. In this tutorial, you will learn how to draw a watermelon slice that is both accurate and realistic. With a few simple steps, you can create a slice of watermelon that looks just like the real thing! Let's get started.
In this drawing tutorial, I will simply outline How to Draw a Watermelon Slice Step by Step.
Materials
When learning how to draw a watermelon, the first step is to gather your materials. You’ll need the most basic supplies, paper, a pencil, and an eraser for a beginning drawing. An eraser is very important because it will allow you to correct mistakes.
If you work with a kneaded eraser, you can also use it to illustrate highlights. Kneaded erasers also have the advantage of being able to be shaped, which gives you more control when you are trying to erase small areas.
Pencil
What type of pencil should you work with when drawing a watermelon? You should use whatever type of pencil you’re comfortable with.
Whether you choose graphite or charcoal, make sure that you have various types of materials and dry media to work with. Harder graphite and charcoal can be used for sketching and laying things out. Softer options are better for rendering in dark shadows.
Paper
When choosing a paper, try to think about what type of drawing you will create. In most cases, you’ll want to use rougher paper so that you’ll be able to layer the graphite or charcoal to create more depth in your drawing.
Watermelon is a simple subject, but you can make it enjoyable by choosing to render it with deep shadows and bright highlights. It’s much easier to do this with rougher paper.
Still Life Items/ Visual Reference Picture
When it comes to drawing a watermelon slice, you can work from a photo, but if you do, you’re depriving yourself of an excellent opportunity to draw from life.
Drawing from life offers so many benefits that you should jump at it whenever you get a chance to do it. When setting up a still like, you can control everything! You can set up the melon with other objects around it and choose your angle and light source.
Drawing A Watermelon Slice Easily?
If you want to do a variation of drawing a watermelon that is much more challenging, then why not try drawing a watermelon slice instead? Not only is a watermelon slice more vibrant, but there’s also a lot of texture involved.
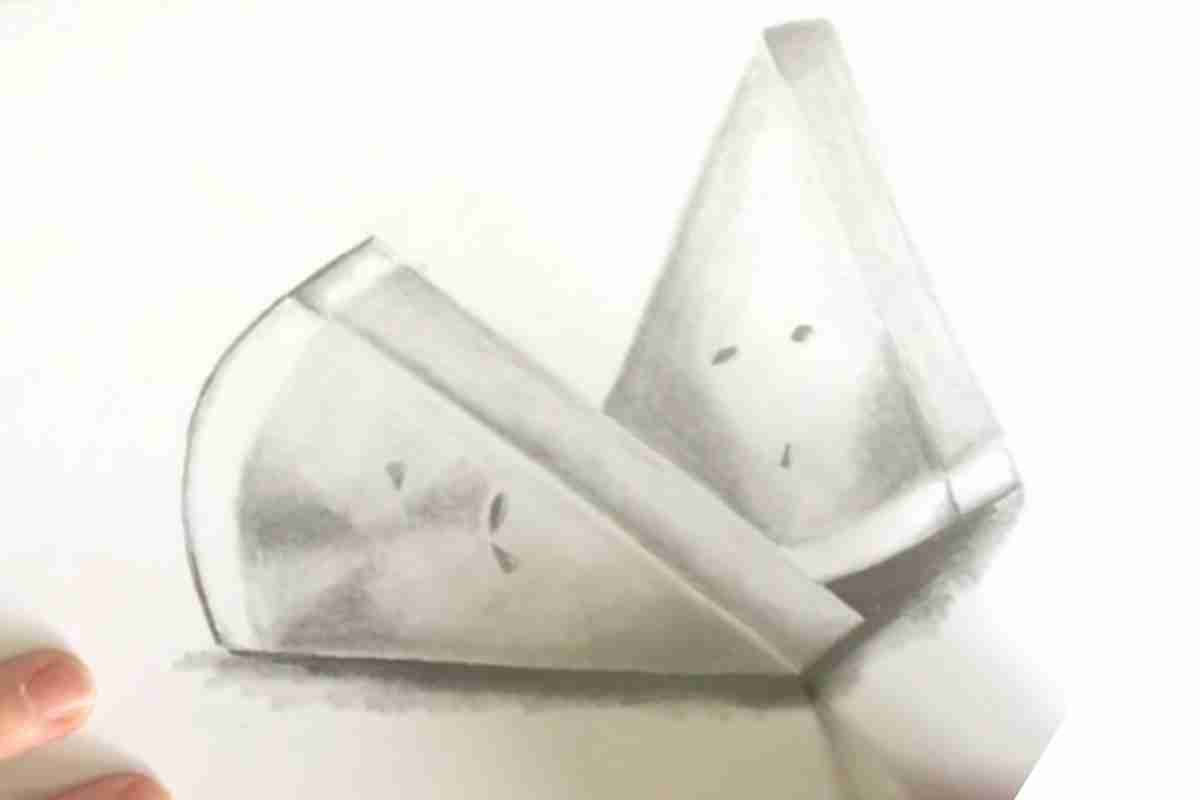
How can you draw something like this quickly? First, draw out the general shape. Next, you’ll want to establish a base value. If you’re working with graphite here, try blending in a light layer of graphite over the entire slice.
Next, squint your eyes to pick out the highlights and shadows. Then use a pencil to darken the shadows and your kneaded eraser to lighten the highlights whilst observing the slice from direct observation.
After that’s is a simple matter of rendering the details.
How Do you Draw A Simple Watermelon Slice?
If you want to draw a more plain watermelon slice, just focus on the shape of the slice and don’t spend as much time rendering the details.
The great thing about drawing a watermelon slice is that it’s still easily recognizable even if you don’t add much detail.
Draw A Light Outline Shape Of A Watermelon Slice
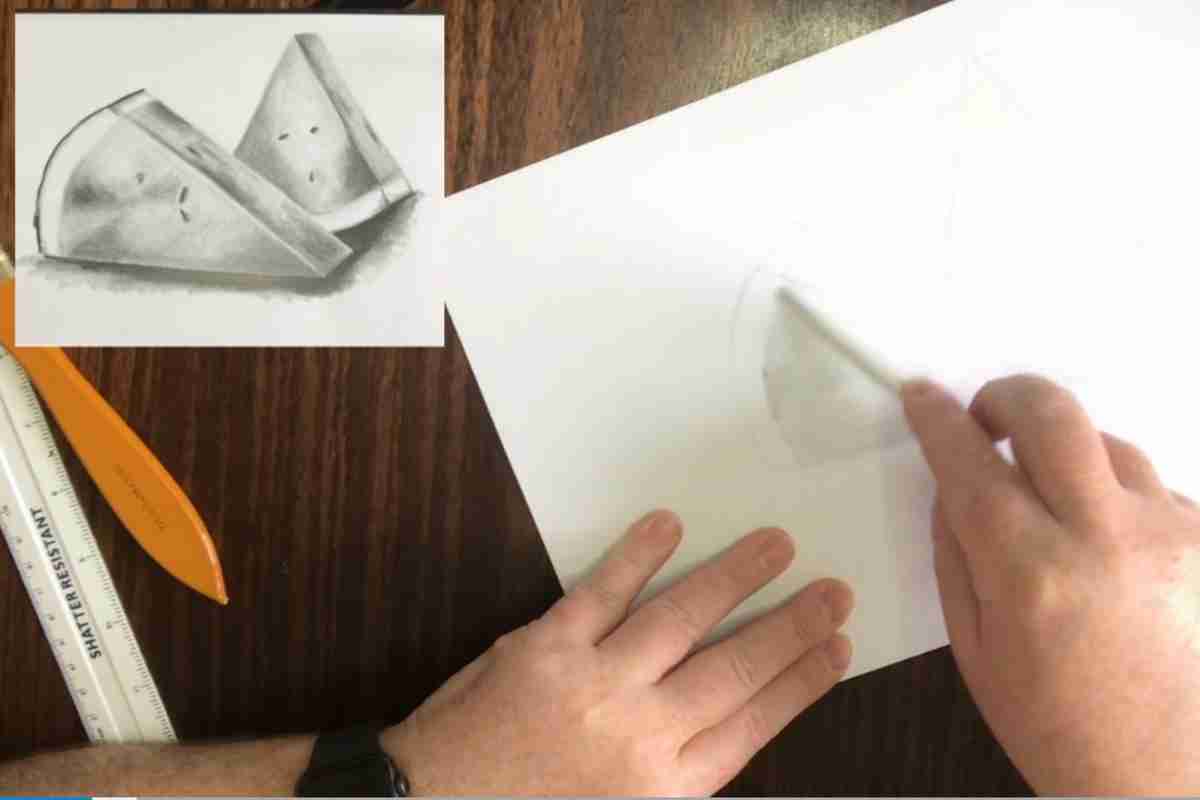
How do you start out a drawing of a watermelon slice? You do it as always with a light sketch outline.
Start sketching your slice using a light touch. In most cases, it should be roughly the shape of a triangle, so start there.
Then, start refining the shape, gradually darkening the drawing as you become more confident that the lines you are laying down will be permanent.
Draw Curved Line
Step one in drawing a watermelon is to draw the curved exterior. Start out by sketching a single curved line, then draw another curved line opposite the first one.
Once you’ve done this, you’ll have the exterior of the melon sketched out. Then you can go back and refine the watermelon shape until you end up with an excellent foundation to work from.
How Do You Draw A Full Watermelon?
Outline The Shape Watermelon Slice
The first step when drawing a watermelon is to draw the exterior outline. Make sure that you also draw the surface that the watermelon is sitting on.
Without a surface, the watermelon you’re drawing will look floating in the air. Make sure to indicate where the shadows and highlights are at this stage.
You don’t want to add anything by using too much pressure since you may change things, but having a sketched-in guide will help you place these different values later.
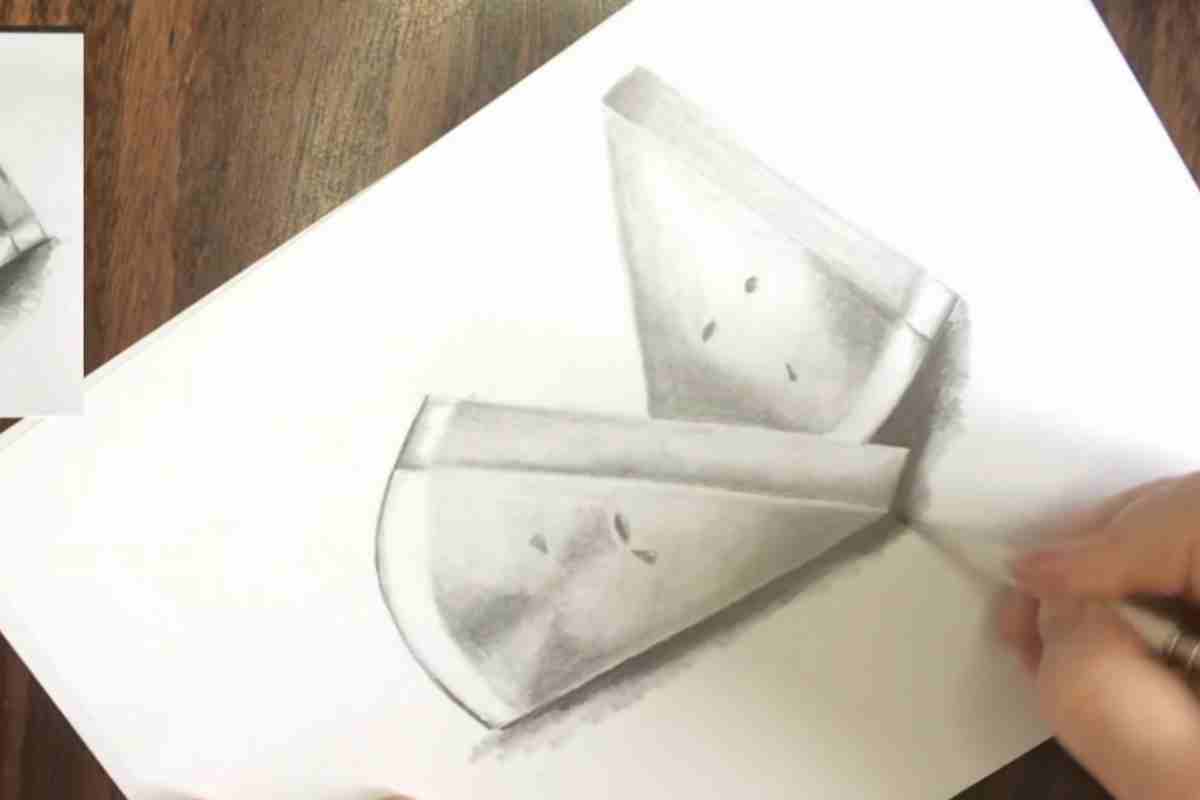
Surface Textures And Details
Once you have the shape drawn out and some of the values indicated, you should go ahead and start to add some of the surface details. Watermelons are smooth, but they do have minor imperfections in them.
Many also have cracks and other damage that you can add to your drawing to add another level of realism to your drawing. Before you add shadows and highlights, you should have all of the details.
How Do You Color A Watermelon?
When it comes to drawing and coloring a watermelon slice, you have two choices with your drawing, you can use colored pencils or pastels as a part of your drawing, or you can finish your drawing and then use paint on top of it.
This comes down to a matter of personal preference. If you decide to use paints, one exciting approach is to use transparent glazes.
How does this work? It works when you finish the drawing first in detail, then you use transparent glazes of color on top of the finished drawing of a watermelon slice.
If you take this approach, you shouldn’t use too much graphite since the paint will cause it to smear.
You can always use workable fixative, but this tends to repel water making it harder to paint on top of it with watercolors or acrylics in thin washes.
You might also consider using a mixed media approach where you use glazes of watercolor, then go back in with colored pencils to add details to the drawing.