Have you ever wondered how to draw the Eiffel Tower? The Eiffel Tower is a magnificent structure, and attempting to draw it can seem like an impossible undertaking.
But, if you take your time and break it down into smaller steps, it becomes a much more manageable proposition. The following step-by-step guide can serve as a starting point for you while developing your own method for drawing the Eiffel Tower.
Feel free to follow the guide or, as an artist, make a decision to modify it to suit your particular skills.
Step By Step Instructions
Draw The Basic Shape Of The Eiffel Tower
When drawing anything, especially something as complex looking like the Eiffel Tower, the first step is to break it down into simpler shapes. Breaking something down into its component shapes can make what seems like a daunting task into something that suddenly seems much easier to complete.
Before you put pencil to paper, spend some time studying your subject. What shapes do you see, where does the light hit, and how are the shapes put together? Once you can answer these questions, you’ll be ready to start the process of drawing the Eiffel Tower.
Draw the Triangle Shape of the Eiffel Tower
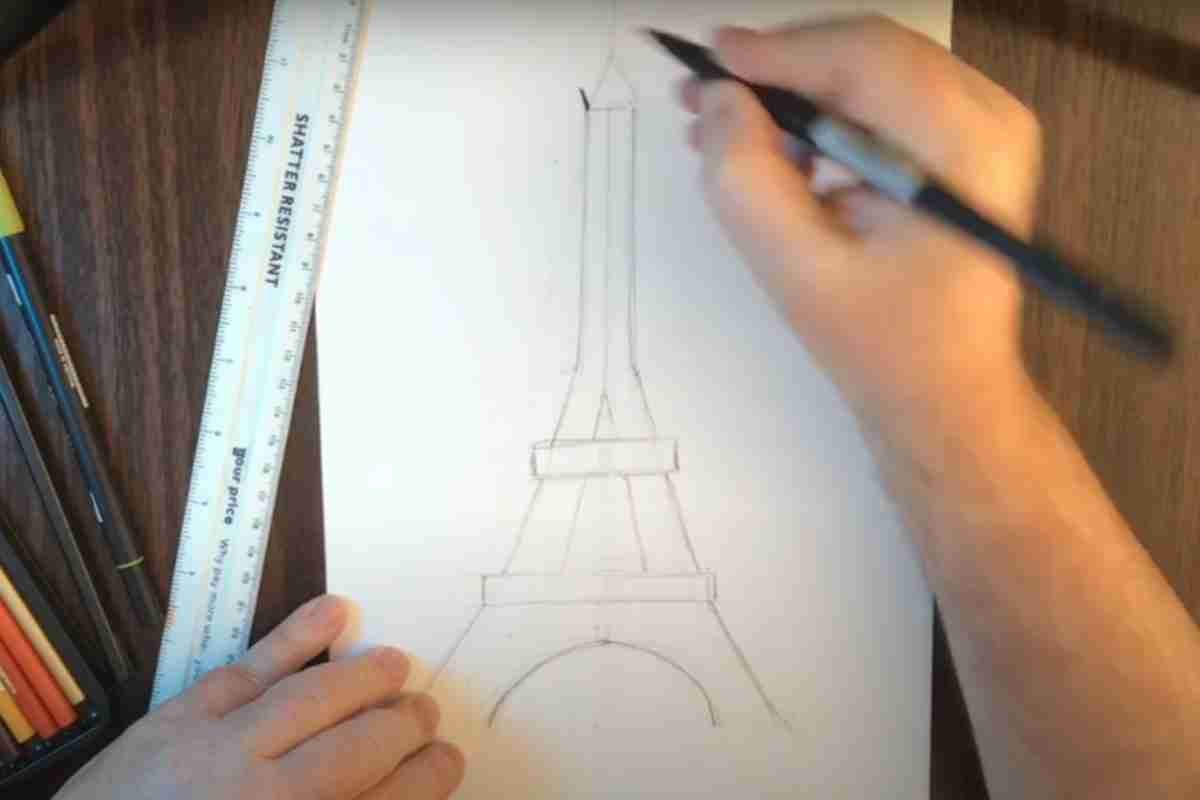
The overall shape of the Eiffel Tower is a triangle. It’s not a perfect triangle, but there’s very little that you will ever draw that has a shape that is exactly like one of the main primary shapes.
All you need is to know what its basic shape is to have a starting point for your drawing. Start by looking at the Eiffel Tower, looking at the angle, then sketching out the roughly triangular shape you see. Make sure that you sketch lightly to make adjustments and not have to worry about having difficulty erasing.
Upper Rectangle
Once you have the initial triangular shape sketched, you can start to further refine your drawing by adding some of the other basic shapes that it’s composed of. Next, add the two elongated rectangles.
These rectangles are near the base and about a third of the tower. Directly below the bottom rectangle is an arch, go ahead and add the arch here. At the top of the tower, there is another rectangle.
This one is taller than it is long. Add this. Once you have the rectangles sketched in, you’ll have a great guide to use as you start to transform the straight edges of the triangle into the curves that they should be.
Sketch the Various Levels of the Eiffel Tower
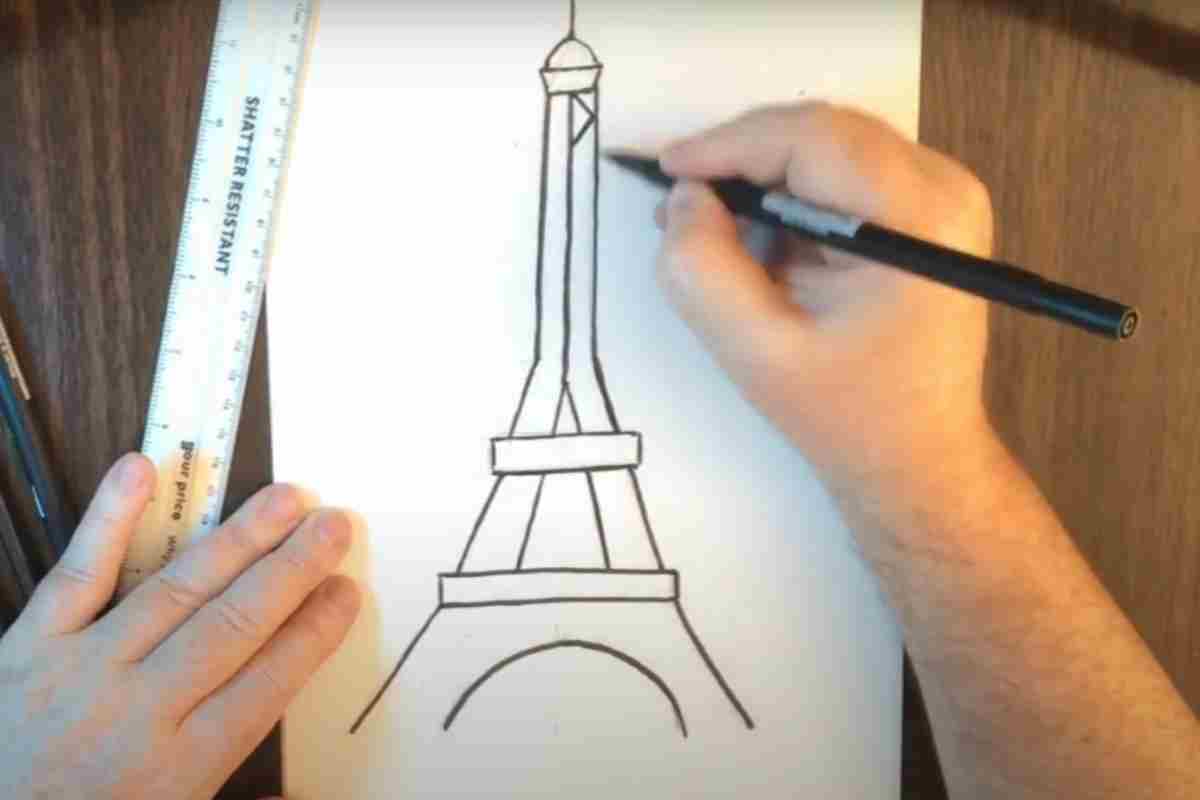
The rectangles that you use as placeholder are indicators of the levels of the Eiffel Tower. Once you have them sketched in, take some time to study the angle of the image you’re drawing from.
Depending on the angle, you may see some of the back of the levels. This is the view you’ll see when looking up at the tower, which is the most common way it is photographed.
Make sure that you turn the rectangles into three-dimensional shapes. This will add depth to the tower, which will make it appear more realistic.
Sketch Guide Line
One of the most prominent features of the Eiffel Tower is the scaffolding that it is built. At this point, you should start to sketch the details. You don’t want to push too hard with the pencil.
You’re still working on getting everything in place and don’t want to end up with dark lines and hard to erase. You can start to render in more detail later on in the process.
Vertical Line in the Center Eiffel Tower
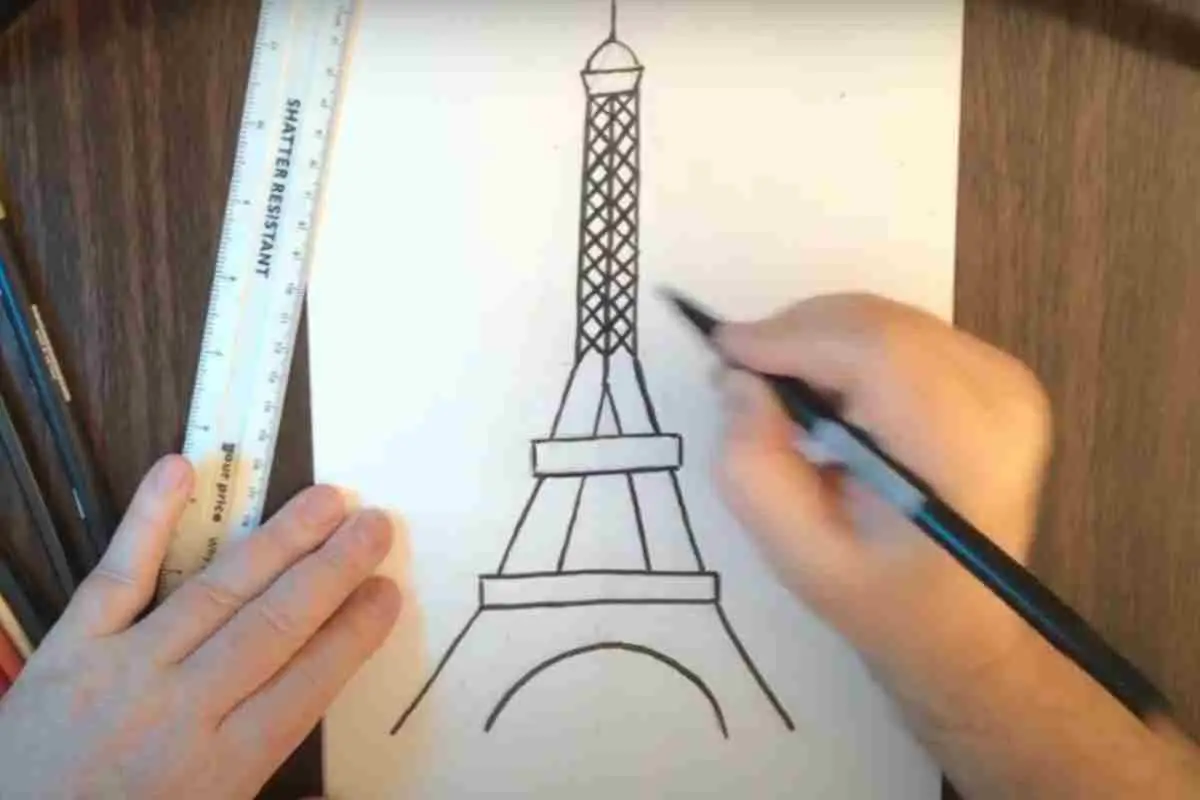
One trick you can use when drawing anything that should be symmetrical is to sketch a vertical line down the middle. You can then use a ruler to calculate some of the primary distances to ensure that they are identical or close enough that you can’t tell the difference.
The different levels should be the same length on each side of the centerline, presuming that you are drawing a view of the tower looking straight at it.
If you’re drawing it at an angle, the centerline can still be helpful by helping you to visualize where each side begins and ends and helping you to get the angle of each side drawn inappropriately.
Curved Lines
One of the most challenging parts of drawing the Eiffel Tower is getting the curved sides drawn identically on each side of the tower. When you’re drawing something on a straight view, and it’s rectangular, you can use a ruler to easily gauge each side and see if anything is off.
While curves are different, they can still be measured if you take the time to do it carefully. How do you do this? Use the levels as a guide and use a ruler to sketch a straight line from the end of one level to the next.
Next, measure down halfway between the two levels, then sketch a horizontal line. Divide the distance above this line and below it in half, then use a ruler to sketch in another line.
You can keep doing this until you have sketch lines that are close enough together that you can visually see if the curves are in the right place. It’s time-consuming, but it’s well worth doing if you want to depict the tower accurately.
Measure The Opposite Side
Once you’ve measured out the opposite side of the tower and are pretty happy with how it turned out, you can check your work by holding it up to a mirror. When you reverse an image, it is easier for your brain to pick out anomalies that you may notice initially.
This is because when you’re working on a drawing, you tend to get very focused on what you’re doing and don’t catch many of the minor errors that can add up to a big problem. As you continue to work on it, your brain sees what it wants to, and you end up missing problems.
When you reverse the image, you force your brain to look at a different image, and problems are usually much easier to spot.
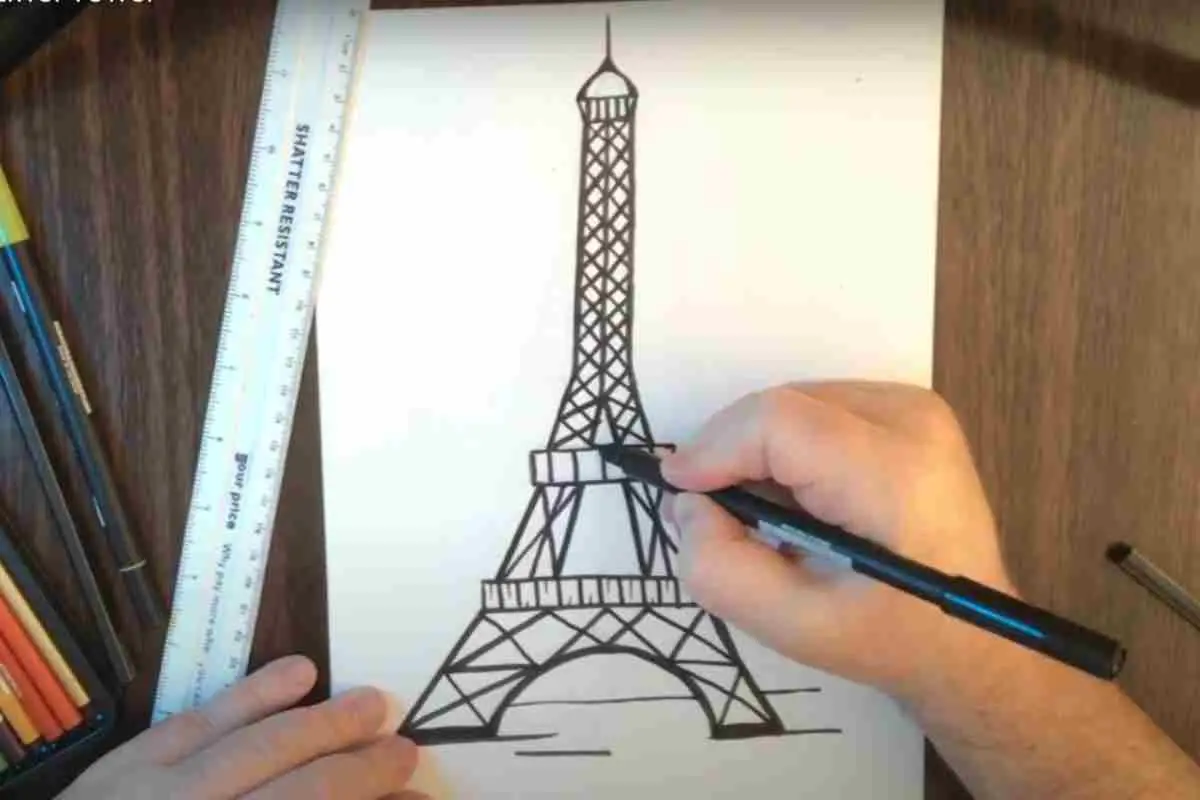
Add Details
Once you’re confident with the layout and have all the basics sketched, it’s time to start rendering! Rendering is a lot of fun because you can start to see your drawing come to life.
You can see all of that hard work you put in finally paying off! But, it’s also very time-consuming, so don’t force yourself to work on your drawing just for the sake of finishing it. Work on it until you feel like you need a break, then take one. If it takes a few days to finish, then so be it.
Alternative: Draw The Eiffel Tower With Colored Pencils
What if you want to draw the Eiffel Tower in color? In that case, colored pencils are a great option. Color pencils work very well for any subject that demands a lot of attention to detail and accuracy.
Can you paint the Eiffel Tower? Yes, but it will be challenging to do if you’re creating a highly realistic image.
On the other hand, colored pencils produce vibrant colors while also being very precise. One thing to keep in mind when rendering in the colors is that you shouldn’t use a solid color for the tower.
Make sure that you mix colors, account for shadows and highlights, and add slight variations in color to keep the image from looking flat.