Draw Your Four Leaf Clover Step By Step
This blog post will outline how to draw a four-leaf clover simply step by step. This drawing can be completed using various materials and tools. However, it may be best for the beginner to stick to drawing with a pencil.
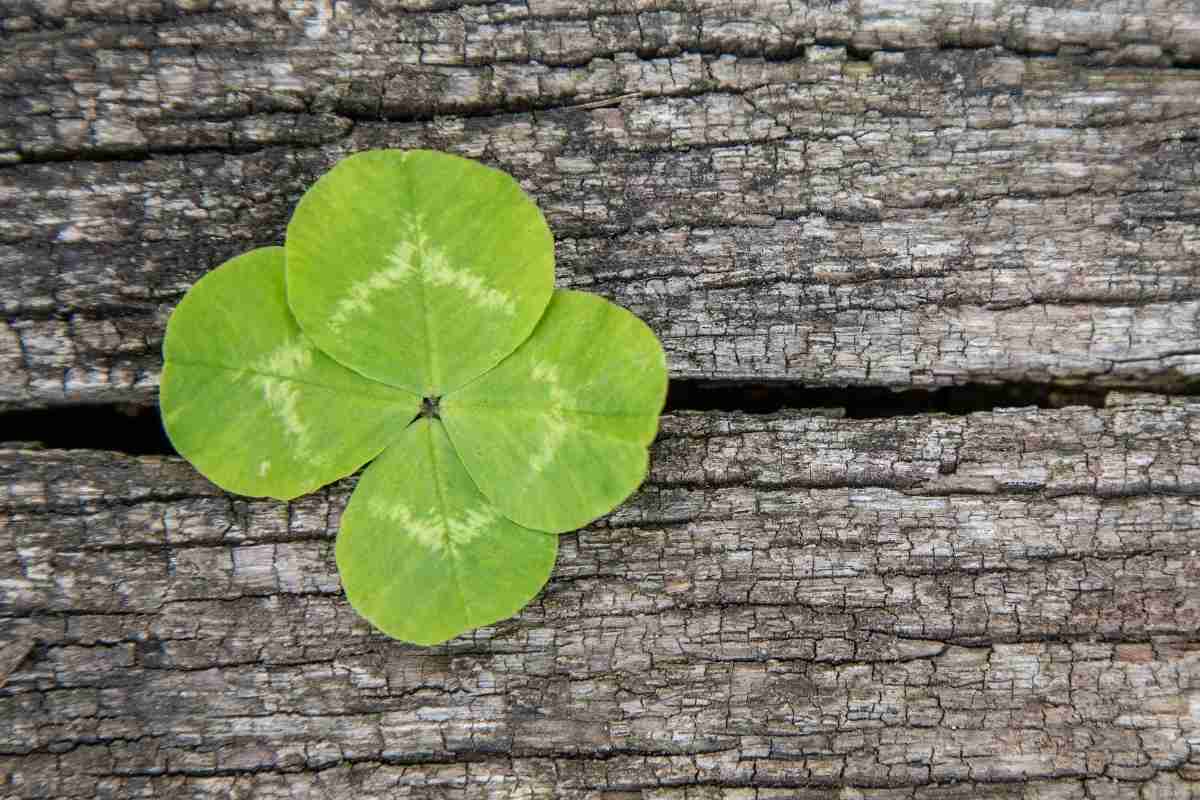
Artists sometimes add a four-leaf clover for good luck. Now you know how to draw your own lucky clover! Practice by drawing several more four-leaf clovers of different sizes on your own sheet of paper. Remember to have fun and be creative!
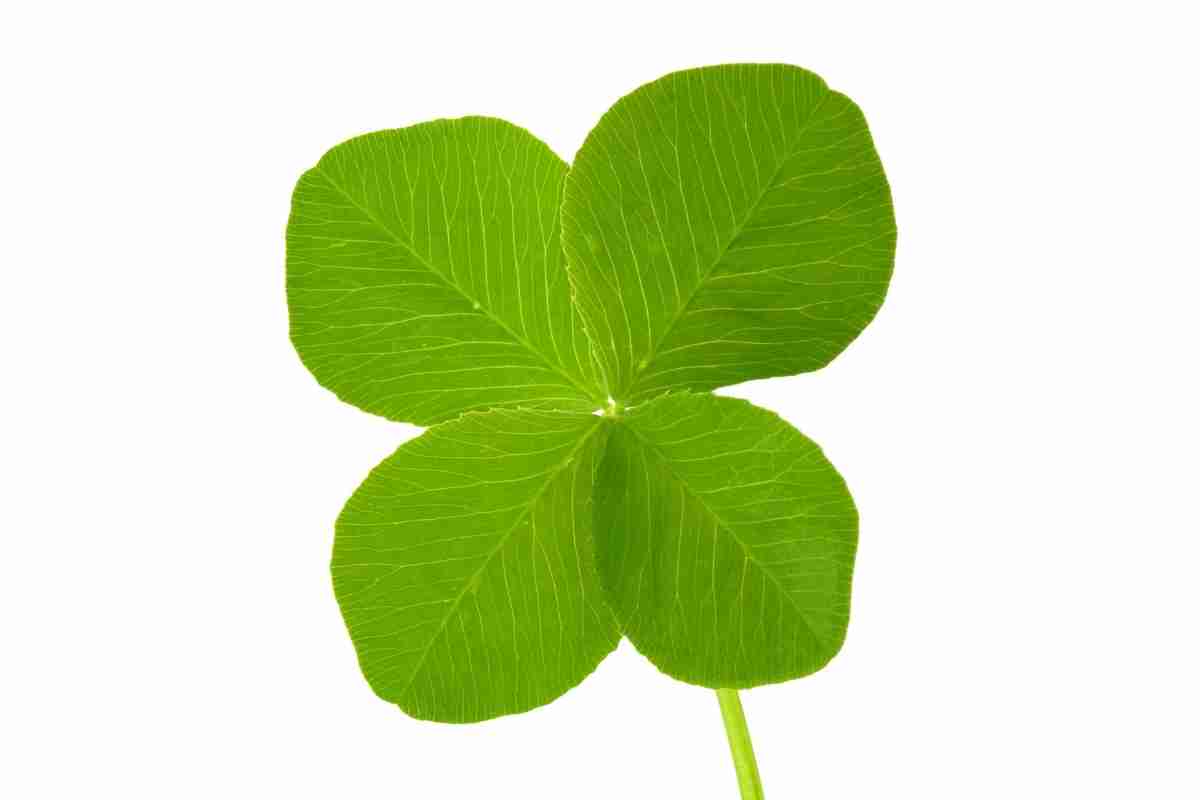
Do you believe in luck? Many people do, and often they will carry around a four-leaf clover to bring them good luck. This is an easy tutorial that anyone can follow. Let's get started!

Draw Your Four Leaf Clover Step By Step
Draw or Sketch a Circular Shape
First, take a pencil and lightly draw a small circle in the center of your paper. This will be the starting point for your sketch. Next, use a ruler to draw a series of faint lines radiating outward from the center circle.
These lines should be evenly spaced and form a complete circle. Once you have the basic outline of your sketch, you can begin to add details.
For example, you can use different pencil strokes to create shadows and highlights. You can also add textured effects by crosshatching or stippling. With a bit of practice, you'll be able to draw or Sketch a Circular Shape quickly!
Create a Center Point
Circles are simple shapes, but sometimes drawing them can be tricky. To make sure your circle is genuinely circular, it's essential to draw a center point.
This will help you to create a more accurate shape. The first step is to find the center of your paper. You can do this by folding the paper in half and then in half again. Once you have the center, use a pencil to draw a dot lightly.
This will be your center point.
Next, use a ruler to draw a faint line from the center point out to the edge of the paper. Draw another line perpendicular to this one. Where the two lines intersect is where you'll start drawing your circle.
Using light pencil strokes, slowly trace around the edge of the paper until you complete the circle. Keep your pencil relatively close to the edge so your circle is as accurate as possible.
Separate the Circle into Four Segments
Separating the circle into four segments is a fundamental skill for any artist. It provides a way to divide the canvas evenly and create symmetry in your composition.
There are a few different ways to do this, but the most common is to use faint lines. First, you'll need to gather some supplies. A pencil, ruler, and eraser are all you need.
Draw a light pencil line down the center of the circle. Then, use your ruler to draw two more lines intersecting the centerline at right angles. Each of these lines should bisect one-quarter of the circle.
Now you should have four equal sections. This straightforward technique can be used to create all kinds of exciting designs. So get creative and experiment with different compositions.
Draw Your First Heart-Shaped Leaf
Draw Your First Heart-Shaped Leaf is a great way to show your love for someone special. All you need is a piece of paper, a pen, and some imagination. Follow these simple steps, and you'll be drawing hearts quickly.
Start by folding your paper in half. Then, use your pen to Draw Your First Heart-Shaped Leaf. Draw a line from the top of the fold to the bottom, making sure that the line is slightly curved.
Next, Within Each Segment, Draw Your First Heart-Shaped Leaf by drawing a line from the bottom of the fold to the top. Again, make sure that the line is slightly curved.
Finally, Draw Your First Heart-Shaped Leaf by drawing a line from one side of the paper to the other. Once you're finished, you should have a perfect heart!
Add Detail to Each Individual Leaf
Most people tend to sketch out their ideas with very faint lines. This is perfectly fine if you're just doing a quick sketch to get your ideas down on paper. But if you're trying to create a more detailed and finished drawing, you'll need to add more detail to each segment.
One way to do this is to use a thicker pencil or pen. This will help you create darker, more defined lines to help your drawing stand out. You can also use shading to add depth and dimension to your drawing. Experiment with different techniques until you find the ones that work best for you.
Remember, the key is to add detail to each individual segment.
Draw a Double Line Stem
When you're ready to upgrade your single-line drawing skills to double lines. We'll go over what equipment you'll need and how to use it to Draw a Double Line Stem. Faint lines are essential for this technique – so be sure to stock up on the supplies.
You'll need:
– A sheet of medium-weight paper
– A pencil
– An eraser
– A black pen or marker
– A Ruler
Optional:
– A lightbox or sunny window (if you want to trace your pencil lines after drawing them)
Add Color to Your Drawing:
Bright Green Shade
Adding a touch of green shade to your shamrock drawing can really make it pop! All you need is some green paint and a few simple supplies. Here's what you'll need:
– Green paint
– A paintbrush
– A cup of water
– Paper towel or a rag
Wet your paintbrush in the water and then dip it into the green paint. Next, starting at the top of the shamrock, brush on the green paint. Work your way down, adding more paint as needed. As you reach the bottom of the shamrock, begin to lighten up the paint so that the color gradually becomes lighter. Once you're happy with the shamrock, set it aside to dry. And that's all there is to it! With just a little bit of green shade, your shamrock drawing will stand out.
FAQ:
How do you draw a four-leaf clover for kids?
A four-leaf clover is a lucky symbol that is associated with good fortune. If you want to draw your own four-leaf clover, start by drawing a small circle in the center of the paper. Then, add three oval-shaped leaves around the circle. To create the fourth leaf, draw an additional oval leaf that overlaps with the other leaves. Finally, add some color to your clover and add any other details you like.
How do you draw a shamrock step by step?
A shamrock is a three-leafed clover that is a symbol of Ireland. The leaves of a shamrock represent hope, faith, and love. Drawing a shamrock can be fun to celebrate St. Patrick's Day or Irish heritage.
To draw a shamrock, start by drawing two curved lines in the middle. Next, add three small oval-shaped leaves around the outside of the curves. For the stem, extend a line downwards from the bottom leaf. Finally, add some detail to the leaves and stem to finish your shamrock drawing!
Conclusion:
That's it! You now have a four-leaf clover. This is a fun and easy drawing, and the finished product always looks fabulous. Feel free to experiment with different sizes and shapes of leaves or add stems and vines for extra decoration.
If you want to develop your drawing skills, check out my favorite online course below on drawing realistic flowers in minutes. With just a few simple lessons, you can create beautiful works of art like these in no time. Thanks for joining me today – I hope you enjoyed this tutorial!