Simple Instruction For Drawing An Orange
By following the instruction below, you can take the guesswork out of how to draw an orange, and ensure that your drawing looks fantastic once it's finished. Drawing is an artistic process, but there is a bit of science to it.
The sciences come in the form of a step-by-step process that you can learn to follow to make it easier for you to get the type of results you want. Do you have to follow this process? Of course not! But if you do, you should start to develop more consistency when you draw, giving you results that you like more frequently.
Drawing An Orange Step By Step
The first step in drawing an orange is to choose your reference. No matter what you are drawing, you need to use references when you want your drawing to look realistic. In the case of an orange, you should either use a photo or, better yet, take a photo yourself.
Start Shape of the Orange
Why not just draw from life? That's simple, you'll be cutting your orange in half, and once you do that, it will quickly dry out and then spoil. If you can finish your drawing in a few hours, you shouldn't have a problem. But, if you think it will take you longer, then working from a photo is a better idea.
Start By Drawing The Outline Shape
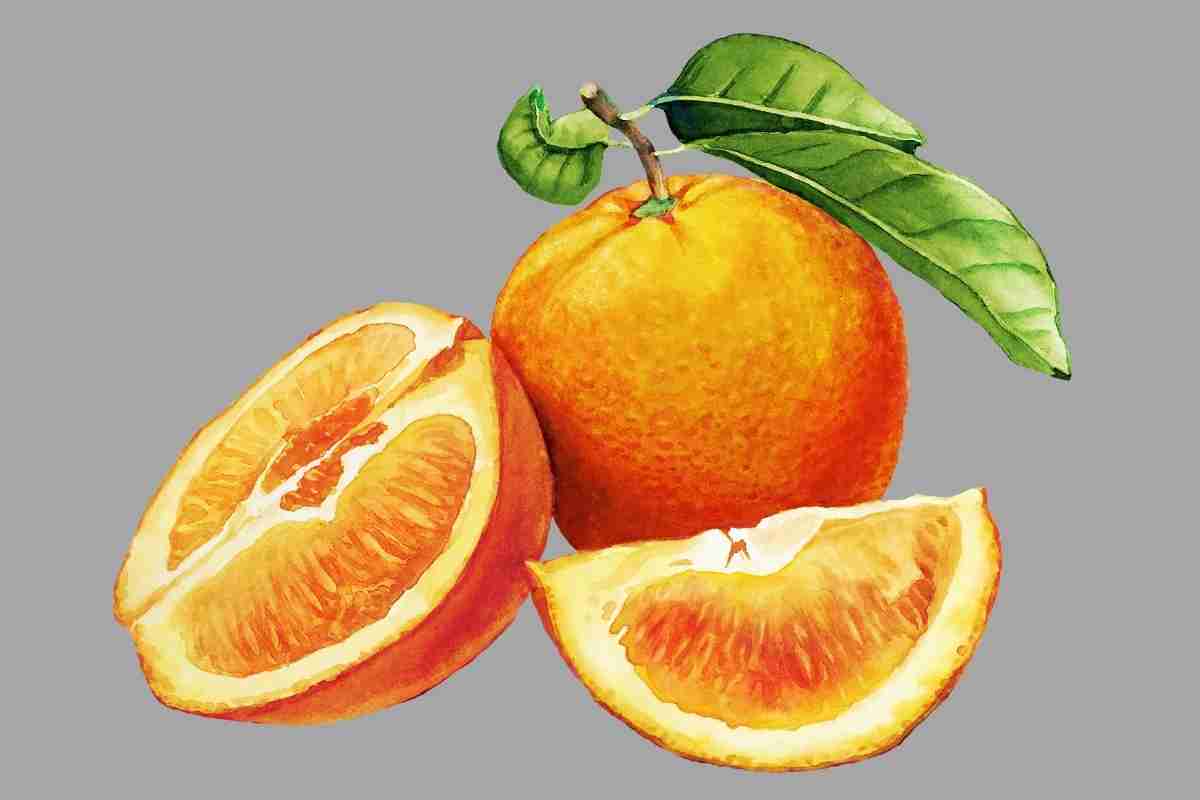
The first step when drawing an orange is to sketch out the exterior shape. Since you'll be drawing an orange cut in half, the shape will be round.
How Do you Draw an Orange Shape?
It should be reasonably close to a circle if you're drawing it from directly above. If it's at an angle, the circle will change depending on the angle viewing the orange. You should take care to draw a circle, but don't worry about making it a perfect circle.
Orange is a natural object that was once part of a living organism, and whenever you are drawing an organic shape, it will rarely, if ever, be perfect.
Split The Orange Drawing Into Six Segments
After you have the basic outline done, you'll need to divide that outline into the orange sections. An orange has six segments; they should all be about the same size, so make sure to sketch them in this way.
Much like the overall shape of the fruit, the segments should be slightly irregular in places to account for the fact that they are organic. The center of each segment should be slightly rounded off and leave a little space to account for the center of the orange.
Surrounding the exterior of the segments is the rind of the orange. You can sketch this before you draw the segments or do it after.
The critical thing to remember is that it should be about the same width throughout. It's also important to remember that the exterior of the rind is darker than the interior. So make sure to account for this in your drawing as well.
Draw Segments
When it's time to draw the segments, this is where you're going to be spending most of your time. There is a lot of texture and many little details, and if you aren't careful, you can end up with an orange that looks flat and dull.
There are striations in the fruit's flesh; making the drawing more challenging is the fact that they are lighter in value than the rest of the fruit. So, it's not like you can just blend in a base tone and then add textures, not if you want to do it the right way.
If you want to depict an orange properly, you have a few options. First, you can lay down a base tone, then render the darker parts of the fruit, leaving the lighter striations.
Or, you can lay down a base tone and then use a kneaded eraser to go back and lighten areas that are meant to be lighter in value.
In theory, this approach sounds good, but it's hard to pull off since kneaded erasers are not precision tools.
The last option you have is to use something like a white colored pencil or white charcoal to go back and render the striations in the fruit after laying down a base tone.
Draw The Curved Lines
Curved lines are essential to depict properly when drawing any organic shape. If they are too perfect, then your orange won't look realistic. If they are too irregular, your orange won't look right either.
The trick is to find that happy medium. How do you do that? You start by drawing a perfect or close to a perfect curved line.
For example, when drawing the exterior of the orange, make it as close to a perfect circle as you can. Then, go back and revise it, adding slight imperfections to help give it a more realistic look.
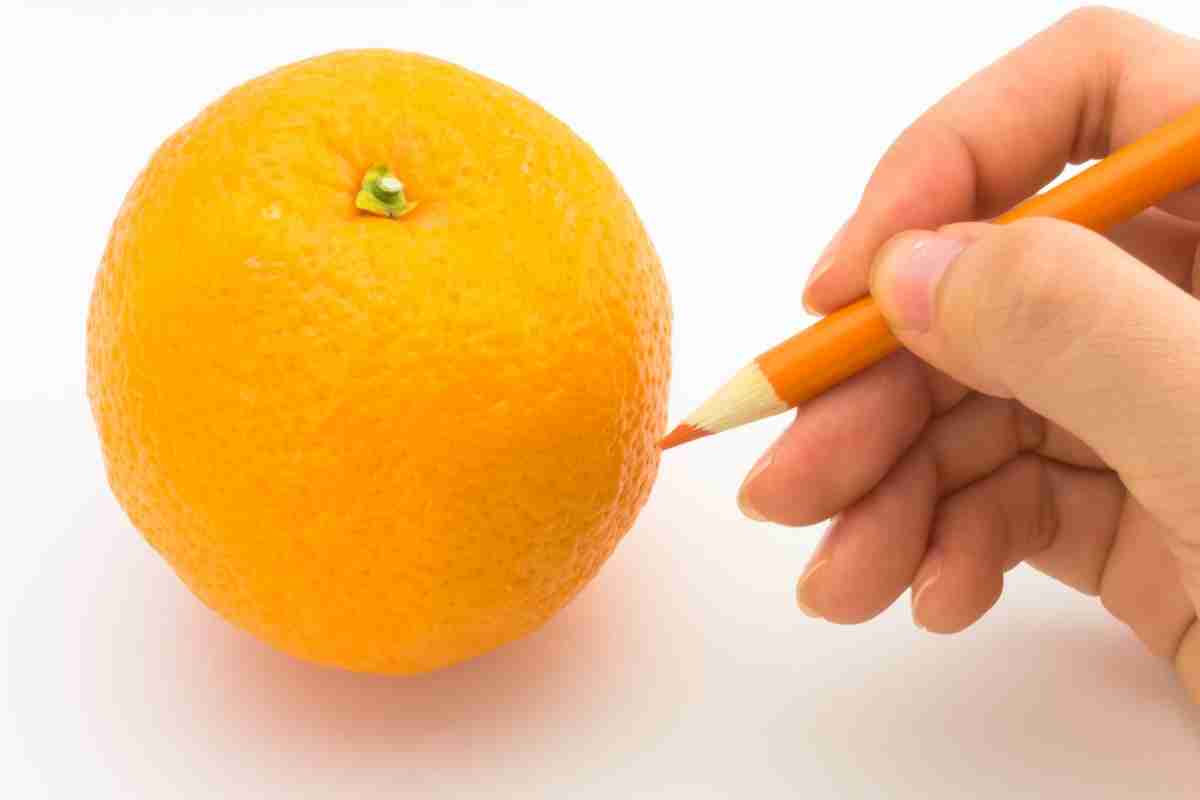
Draw Outlines And Texture Of The Skin
While slicing an orange in half before drawing it is usually the more popular approach that artists take, there's nothing wrong with drawing the whole orange instead.
If you decide to draw a whole orange, you'll have to spend more time rendering the skin of the orange and focusing on values. Without the textures of the sliced orange to occupy you, it will be vitally important for you to spend a lot of time rendering the skin.
While orange may appear mostly smooth, there are slight bumps and imperfections when you get close to it. There may be creases and cracks as well. Draw the central vein of the stem and leave has one.
In fact, if you decide to draw a whole orange choosing one that is older and starting to spoil could be much more fun. As oranges go bad, they develop a white, crusty film, and this can help you transform a rather dull drawing into one that is much more interesting-looking.
How Do You Shade an Orange with Pencil?
How do you shade orange with a pencil? This is a common question among artists, and the answer depends on the desired effect. For a realistic look, start by lightly sketching the outline of the fruit. Next, use light pencil strokes to add shading around the edges. If you enjoyed this tutorial read my drawing guides relating to still life and apple drawing.
To create a more vibrant orange, use bolder strokes and vary the pressure to create different depths of shading. Experiment with different techniques until you find the one that best suits your style. Whether you're going for realism or creativity, shading in an orange can be a fun and rewarding experience.