Drawing with a pencil always has pros and cons, yet one benefit is from using an eraser. The downside is that erasers can get dirty from certain types of graphite that are used. It makes it harder to have a clean drawing surface likewise. If you're wondering how to revive my eraser, you've come to the right place. I'll give you some expert tips and methods on how to get your eraser clean again. And help preserve it for more extended periods, so it doesn't degrade over time.
Can You Wash an Eraser?
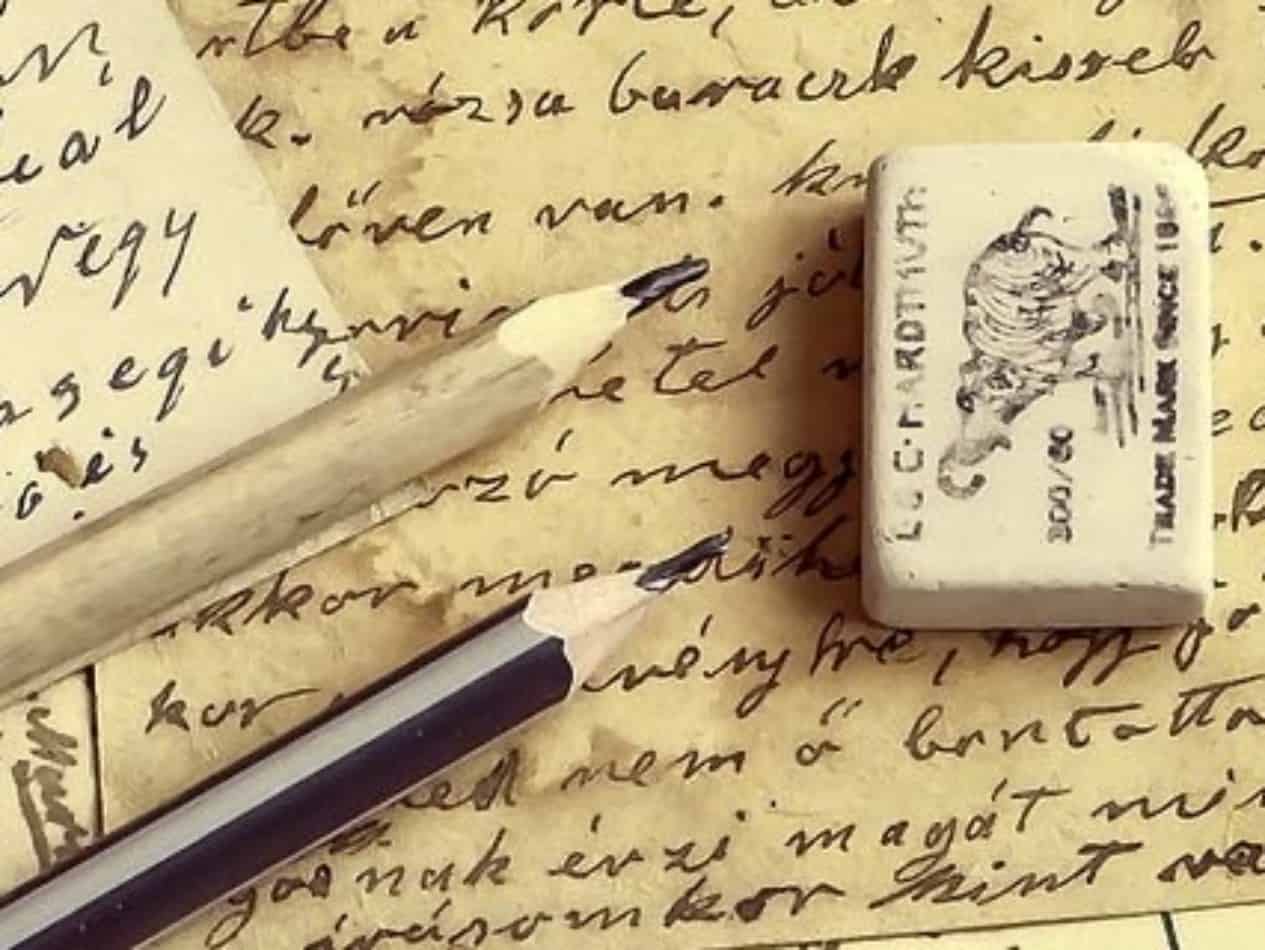
Graphite isn't hard to remove, but the softer graphite pencil lead does have a bite to it. It can work its way into your eraser and make it dark and murky looking. I have a few tricks that are easy and quick for you to try.
Soap and Water
You can do yourself a favor and go to the sink and use ordinary dish soap to wash off the graphite. Start by putting soap onto the eraser and rub it on the surface. Then wash it off under the water. It will wash off the surface layer quickly enough, but you might have to go back and do a second pass. This does the trick unless your eraser is older and dried out. When rubber gets old, it loses certain oils.
This leaves your eraser with tiny cracks and pits you can't see. If you have cleaned your eraser, you can rub some almond oil into the surface and let it sit for a day. It should keep it from further drying out and will prevent graphite from returning into the little pits and cracks.
Related Posts:
- 30 Alternatives to Erasers That Actually Work
- Is Graphite Paper Reusable?
- Will Kneaded Erasers Dry Out?
- The Best Online Drawing Classes Worth the Money
- How Do You Do Inking? A Guide to Ink Drawing
Baby Wipes
If you have a kid, you know how baby wipes work. But most of us don't know that a baby wipe is one of the most effective wipes for nearly anything dirty. They come with skin softeners that are natural and smell nice too. Using a baby wipe, you can clean off the surface of a dirty eraser. The fabric-like material works excellent at removing lots of graphite build-up.
The cleansing lotion also helps to clean off deeper grime that's inside the rubber. With just one or two wet wipes, your eraser will look good as new. The added bonus is the additives in the wet wipe restore natural oils to the rubber.
Elmer's Glue Trick
Remember when you would rub Elmer's glue onto your skin and let it dry? Once it was clear, you could peel it off like a layer of skin. Well, this is what a lot of audiophiles are doing to their old vinyl records to clean out the grooves. Now for your eraser, you simply rub Elmer's glue all over it using your fingers. This will make the glue somewhat colored as it mixes with the graphite. You can wash your hands to remove excess glue from your fingers.
Put it onto a plastic Tupperware lid since the glue will not stick to the plastic. After it's dry, you can peel off the glue to reveal a totally clean eraser. You'll also notice that the glue removes the graphite from the little cracks and micro pits. Now you can rub some almond oil to restore the rubber's natural softness. Let it sit for a day before using it again.
Can Erasers Expire?
Some erasers expire faster than others if the rubber is synthetic. Sunlight is the worst offender. UV exposure to rubber is hugely damaging and can turn an ordinary pencil eraser into dust in under a week! If you keep pencils in a jar by the window, you might have noticed how they crack-off when you try to use them. Your eraser is made from a biodegradable material, so it needs to be protected.
Whether you use easer putty or a natural gum eraser, these will all decompose if they are left out when not in use. I use a small Tupperware container with a lockable lid. You can get one from the Dollar Store that's great for storing your eraser collection. But is there a way to restore an expired eraser? Why, yes, there is.
Boil it Back to Life
Natural rubber is a lot like our own skin in some ways. A nice hot bath makes your skin refreshed, so why would an eraser bath do the trick? Take a small pot and boil some water. Add two tablespoons of dish soap that has some moisturizer in it. Some names include ‘soft hands' and similar, so you don't get the dreaded dishpan hands. Add your erasers and boil them for 10 minutes.
Reduce the heat if the soap bubbles are getting too much. What the dish soap does is similar to saddle soap and how it softens leather products. The heated water expands the rubber so the soap can get inside. After the eraser comes out of the water (please use a slotted spoon), you'll need to let it sit for a day or two. It will feel softer, and the soap refreshes the rubber.
Use Vegetable Oil
Natural rubber erasers use vegetable oil in the manufacturing process—this aids in keeping the rubber soft. Often the oil dries up, and you're left with a hard rubber that can crack if you try to use it. Rubbing a hard eraser with vegetable oil and letting it sit for a few days will bring it back to life. This method is a bit trickier since the oil can get onto your paper if it hasn't soaked in long enough.
You might need to burnish the oil into the surface until it feels dry to the touch. Use a paper towel to soak off any oil left-over.
Ivory bar soap
After washing a dirty eraser, take some ivory bar soap and rub this soap into the eraser. Really massage the eraser so it takes in the soap as much as it can. Wet erasers that are warm are more pliable than dry erasers. The fats inside Ivory bar soap help protect the rubber. Just let it dry out in a warm place for a few days. Rub off any excess surface soap before using them.
My Conclusion
If you ask me how to revive my eraser, I'll always try these methods. Depending on the damage or age of an old eraser, all of these methods work. It saves you time, not needed to run to the store to buy a new eraser too. I have erasers that are 20 years old that are in perfect shape, but this is from proper storage. Sooner or later, these will need refreshing just from being old. So, in that case, I'll need to follow these steps as well.