Do you aspire to learn how to draw rain and put a rain effect into your drawings? Nothing beats a rainy day mood than adding some dramatic skyline showers. But before you get started, some helpful tricks can make your landscapes look even better.
HOW TO DRAW RAIN
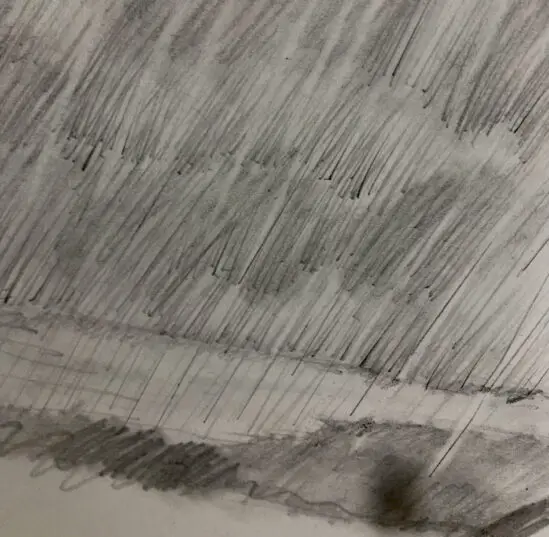
Many people make the same mistake when they learn how to draw realistic rain and raindrops, but I'll address that in a little bit. The truth is that rain does not fall down directly. It travels through the air and is influenced by wind and clouds moving swiftly above. The result is often a slight angle coming from the left or right. You can take a ruler as a guide and draw individual streaks. Start at the base of your drip and flick the pencil upward.
This makes your falling raindrop look darker at the bottom and fade toward the top of the stroke. Not only does this look natural, but it also simulates movement or gravity. Repeat this with all your other falling drops. Use a varied amount of graphite softness and harness to give a good mixture of raindrop shades.
What Pencil Should You Use to Draw Rain?
You want to have a set that gives you a range of shades, from dark to light. By this, I mean that the ratio of hardness in your kit should allow you more variation. These kits are pretty common at any decent art supply or office supply.
HOW TO DRAW FALLING WATER
In a hard raining downpour, the rain will be coming down in sheets. This task sounds difficult to reproduce but is actually very simple. It's more like drawing shower curtains that are falling at a slight angle. You can take a satin cloth and drape it over a clipboard sitting on your drawing table. Angle an adjustable lamp for a shadow effect and draw what you see. The darker inner folds of pouring rain will be mixed with solid shadows and raindrops.
Use a paper towel to soften these shadow areas and blender stumps on selected spots. What really sells this kind of downpour is lots of blending and using an eraser dragged along a ruler edge. It gives just the right amount of haziness that looks like a raging storm is pouring across your landscape. If you want a good tip on how to draw realistic rain, take it from ol' Van Gogh for inspiration. Click Here to See Examples.
DRAWING A CLOUDY SKY
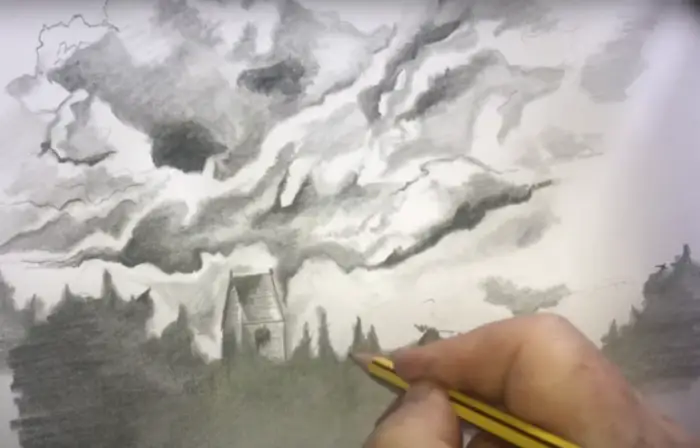
How good are you at drawing clouds? As an old colleague of mine once said, if you can master drawing clouds, you can draw anything. Well, if you didn't know that clouds are water vapor, it's hard to imagine drawing that. Here's a simple and powerful tip to start. Take your pencil at a 45-degree angle and roughly handwrite your name. Not very hard, but allow the graphite to create longer and thicker broad strokes that stretch out.
It won't look pretty at first until you take a paper towel or blender stump to rub and spread it out. Write random words wherever you like and rub them out as well. As long as it softens to the point of looking like darkened blobs, you'll get the hang of this idea. Just like writing, you give a little bit of space under each word. In this case, this is how light shines through layers of cloud vapor! Use your eraser to clean up spots in between or blend them further.
HOW TO DRAW AN OPEN SKY
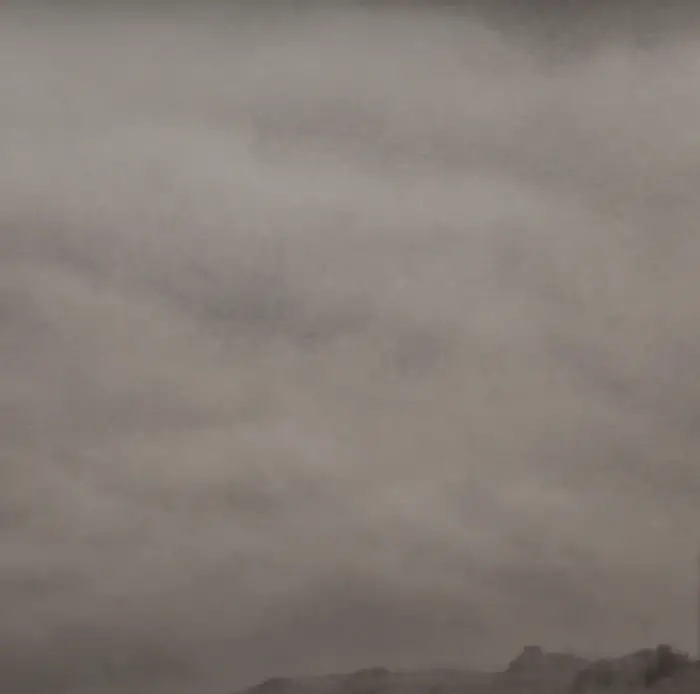
The sky is not just one color if you draw in black and white. There is always light playing in the atmosphere depending on the time of day. Take your pencil and carefully start to shade portions of the sky where it should be darker. Lower toward the ground looks like a sunrise, while higher in the sky can simulate sunset. Now, this is where you have to do some serious blending across your open sky.
Take your finger, a paper towel, or anything used for a wide area blending on the paper. Use back and forth motions across the entire horizon line. These should go over the shaded area that you've put in. Depending on your hand or finger pressure, you'll get little streaks running along the horizontal plane. After this, you can decide how much you want to highlight using an eraser.
HOW TO MAKE YOUR DRAWING LOOK REALISTIC
The best-kept secret is no secret at all, as it's merely patience and lots of blending when it comes to drawing weather. Clouds and rain look softened anyway, depending on what your focal point in the picture is. Using a good eraser to cut and drag highlights in the clouds is always easy to do. Use an eraser that only removes what you need since you can always use white to make lighter highlight spots.
One good piece of advice is to collect black and white pictures of clouds of all kinds. The internet has excellent dramatic cloud formations that can serve as your inspiration. Practice using the cloudy sky method that I mentioned before and compare this to real clouds. You'll see how similar they look. The Rijksmuseum is an excellent place to find drawings and paintings of clouds formations and the sky. Click here to visit.
How to Draw a RainDrop
Whatever your level of ability, drawing raindrops is regarded by many to be a tough but satisfying exercise.
To complete this task, you will need the basics:
- Drawing paper
- a pencil
- an eraser
- or a pen or fine-tipped marker
To begin by drawing a faint sketch of an oval shape, the top of the oval should be rounded to look like a raindrop.
Next, add shading, tone, and dimension to the raindrop using hatching or cross-hatching techniques.
To create realism, pay close attention to the highlights and shadows on the raindrop.
You can draw delicate lines for more detail with a pen or fine-tipped marker.
Once you're happy with your drawing, step back and consider how it looks with the naked eye. Make any necessary final modifications with your pencil.
MY CONCLUSION
The most valued piece of advice I have about drawing foul weather is to learn to see random shapes. It will all come down to shading and blending in the end, which makes a cloud look real. As you practice more you'll see that your rainy weather and cloud will also add emotional impact.
Sources: