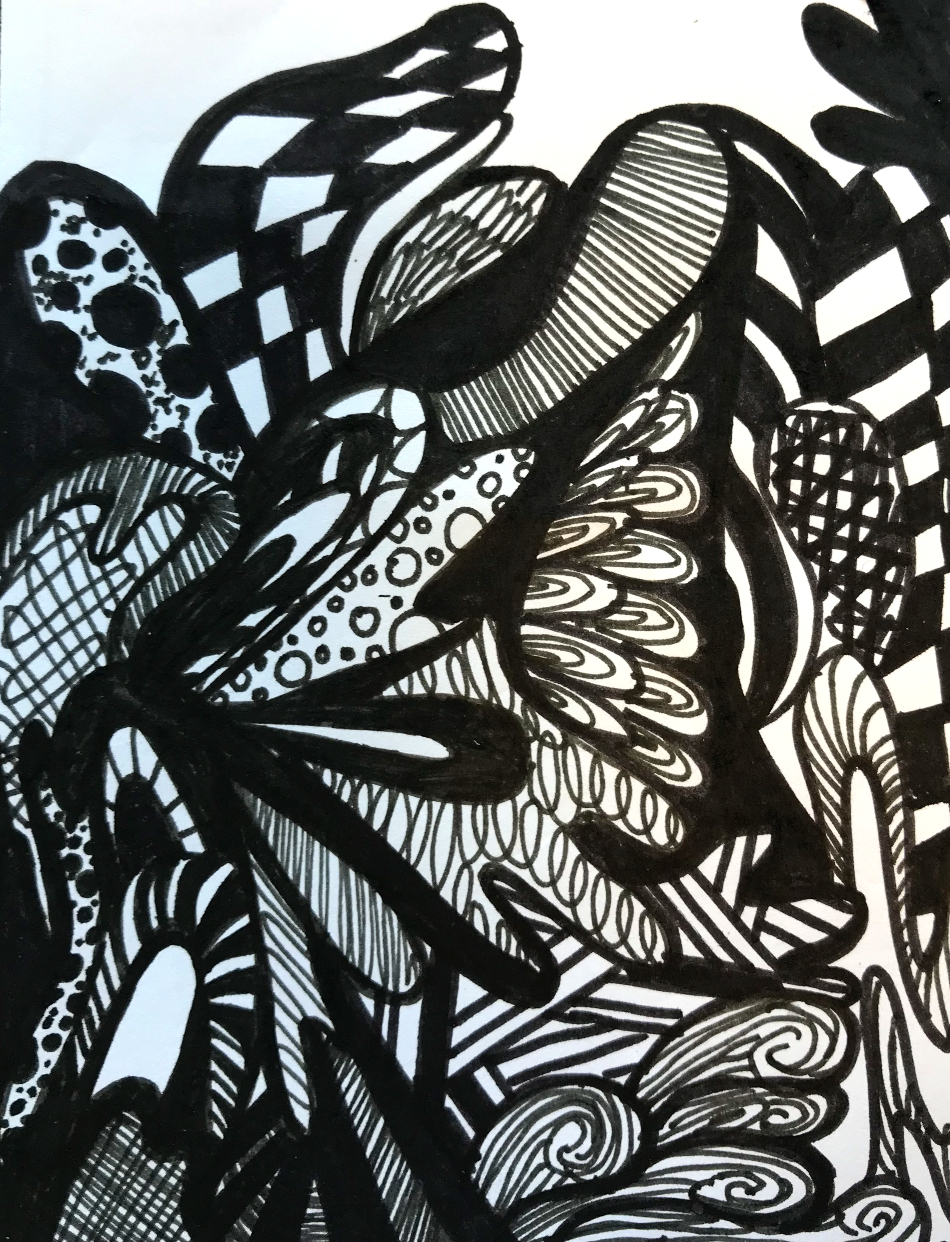
Lines are the basic building blocks of any form. They are one-dimensional figures that could extend infinitely in both directions. Lines in perfect enclosures form shapes. Lines woven together with shapes give life to form. Drawing lines and shapes can be used to present anything visually on a drawing surface, such as a piece of paper. From the first mark we make on paper with a pencil or pen to the last frame, lines and shapes are all we need. In this informative write-up, we will explore the techniques used in illustrating LINES AND SHAPES.
HOW DO YOU DRAW DIFFERENT LINES?
There are many different types of lines; their description depends on how you move your hand while drawing and the lines' placement and direction. The common types of lines include; thick and thin lines, straight and zigzag lines, horizontal and vertical lines, curly lines, diagonal lines, and spirals. Here's how to draw them; –
THICK AND THIN LINES
Drawing thick or thin lines depends on the drawing tool you are using and how you sharpen it. When using a pencil, you will need to make the tip sharper if you want to make a thin line on paper. If you want to make the line thicker, you will need to make the tip blunt. Artists generally use charcoal or graphite when they wish to draw thick lines. There are also different thickness-level graphite pencils to choose from and use interchangeably to draw thick and thin lines.
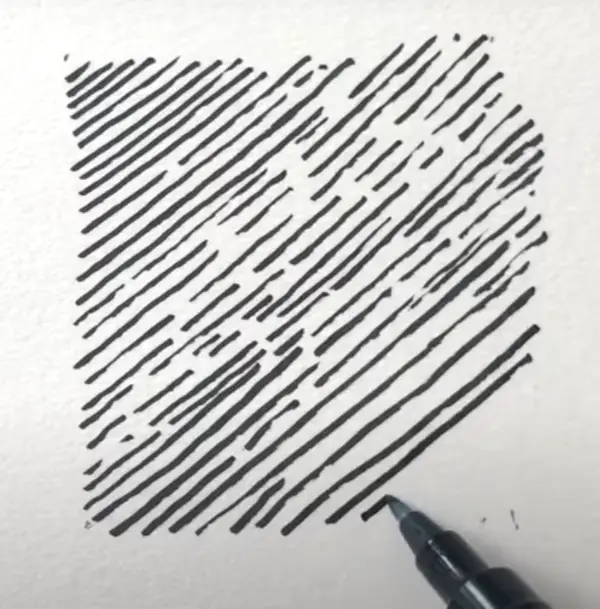
STRAIGHT LINES
You can draw straight lines by starting from a point and moving with your pen or pencil in one direction. It has to be straight as its name suggests. A steady hand may draw a perfectly straight line. However, if you want better results, you could draw a straight line by guiding your pencil's tip with a ruler.
ZIGZAG LINES
To draw zigzag lines, start from one direction and make short and sharp turns in the shape of the letter Z. The first turn you make is called a zig, and the second turn is called a zag. You can make as many alternating zigs and zags as you want; the zigzag's length will depend on the number of turns made.
HORIZONTAL AND VERTICAL LINES
The placement is what dictates whether a line is horizontal or vertical. Horizontal lines are drawn parallel to the ground. They are flat-lying; you could also call them sleeping lines. The floor drawing is an excellent example of a horizontal line. On the other hand, vertical lines are drawn perpendicular to the ground; they intersect at 90 degrees with horizontal lines. An example of a vertical line would be a one-dimensional wall drawing.
DIAGONAL LINES
These lines lie right in between horizontal and vertical. Their direction gives them their diagonal appearance. To draw them, directly join two opposite corners such as the corners of a square or a rectangle to cut right through horizontal and vertical lines. You have to draw many more lines parallel to the first diagonal line to achieve a set of diagonal lines.
CURLY OR CURVED LINES
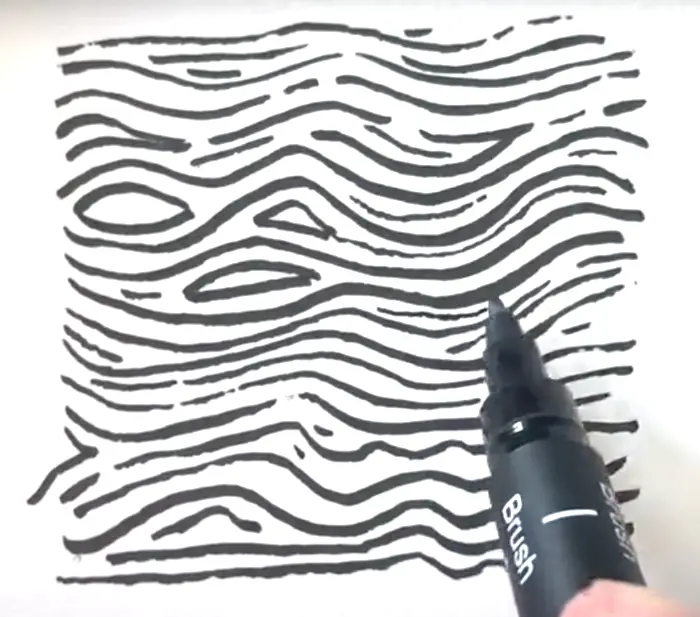
The technique used to draw curly or curved lines is almost similar to the one used in drawing zigzags. The only difference is that instead of making sharp alternating turns, you make smooth wavy turns. As you draw them, try to mimic the movement of wheels. The lines can be continuous and overlapping, and with repetition, they can form contours as surface outlines for objects. They are the most natural-looking lines.
SPIRAL LINES
Spiral lines are an extension of curly lines but with circles in mind. To draw them, begin at a central point and circle further away from it or begin closer to the edge of a paper and circle into the center. They could simply be described as circular curving lines. To get the perfect image of spiral lines, think of a snail's shell with curvy circular lines winding from its center towards the edges.
DRAWING LINES
Now that we know how to draw the different types of lines, let us learn how to draw definite forms with lines, essentially known as a line drawing or contour drawing. It is often used in simple illustrations. If you are familiar with drawings in the bible, then you have come across line art.
To draw straight and curved forms with lines make distinct straight or curved lines on a plain background, such as paper. Suppose you would like to achieve gradations in a shade that makes your object lighter or darker; place straight or curved lines closer or further apart. This technique is known as HATCHING. To achieve heavier shades or tones, you could make overlapping patterns with horizontal, vertical, and diagonal lines, a technique known as CROSS-HATCHING.
EXAMPLES
DRAWING A STOOL OR TABLE
An example would be drawing a stool or table; the foreground's legs should look lighter than the legs in the background. The foreground legs would be composed of fewer straight lines, while the legs at the back would be composed of more straight lines closer together. The stool's surface would consist of cross-hatched lines that would make it look more solid and firm.
DRAWING A GLASS OF WATER
Another example would be in drawing an empty glass of water. The lower edges would be composed of more hatched and cross-hatched lines in straight or curvy forms to portray the base's depth and thickness. The upper edges would be lighter, making the glass seem thinner with fewer faint lines.
FORM AND MOVEMENT
Great use of lines when drawing gives 2D and 3D objects form and texture. With the alternate use of horizontal and vertical or diagonal lines, you will depict planes' change, such as when drawing a box. Clever use of spiral and curvy lines may depict movement. For instance, when drawing a moving object such as a car or a person walking, an artist could place curvy lines around the object to indicate a brush with wind, dust, or smoke.
DRAWING WITH SHAPES
Since shapes are the external boundaries or outlines of objects, learning to draw lines is the precursor to drawing shapes. In nature, there are no definite shapes because objects take an infinite number of forms. Geometrically, however, there are basic shapes that have two-dimensional representation. They include circles, ovals, triangles, squares, and rectangles; Shapes get complex, increasing the number of lines that enclose them. Examples of complex shapes are hexagons, octagons, and stars.
HOW DO YOU DRAW ANYTHING WITH SHAPES?
When drawing with shapes, you will use a few geometric shapes as the building blocks of objects, animals, landscapes, virtually anything. Drawing effortlessly with shapes is often called DOODLING, and it is an excellent way of presenting creative ideas and forms such as cartoons. If you are afraid of drawing complex figures, convert them into shapes first.
SIMPLE EXAMPLES
1. A FACE
To draw a face using shapes, you will start by drawing a circle as the face outline. Next, you will draw in two smaller circles at the upper part of the face to depict the eyes and a triangle at the center of the nose. Finally, you will draw an oval at the bottom in place of the mouth. You could add two narrow rectangles at the outer sides of the circles as ears and Wallah! You have your face.
2. THE SUN
To draw the sun, you first begin by drawing a circle as the center of the sun. Then, draw triangles with shorter bases and pointed upper edges to signify the rays that come from the sun.
DRAWING ANYTHING WITH LINES AND SHAPES
To draw complex forms using lines and shapes, you will need to be very observant or have a good recall of images to place the shapes in the proper proportions. Here are a few examples to start with;
1. A POSING FLAMINGO
Let's take the flaming form if you break the flamingo into lines and shapes, the trunk of the body where an oval shape could represent the breasts and the tummy. A series of interlocking rectangles can represent the long neck. The head can be sketched as a small oval, and the beak and the tail would look like triangles. The legs could be represented by horizontal and diagonal lines anchoring into the shallow water.
2. A FLYING BIRD
A flying bird would have its wings in the shape of interlocking ovals and triangles. Hatched lines on the body would add to the details of the feathers, and curvy lines outside the body would signal the act of flapping the wings to generate lift. Straight horizontal lines in the background could show calm weather, and vertical broken lines could depict rain falling in torrents in the foreground.
CONCLUSION
You could draw anything if you combined the use of both lines and shapes. You could capture animals and objects' movement, draw weight of objects and depth of backgrounds, and even show mood in your pieces. All you have to remember is that practice makes perfect. To sharpen your skill and become a pro, practice on as many objects and settings as possible.
