
If you are looking for a tool that will enable you to draw an exact representation of what you see in front of you, by displaying the original drawing on a piece of paper?
All you have to do is trace the original subject. Painting and drawing can be fun if you don't have to struggle drawing accurate features of the object or portrait that you wish to draw.
You might have already used a tracing paper for sketching or outlining a painting. Well, a Camera Lucida exactly does that for you.
However, it should note that it's just an instrument.
Any drawing device is only as good as the person who is using it, has good painting and drawing skills. While using Camera Lucida, you still need to decide what you should add and what not. Read a review of the latest Camera Lucida here on Amazon.
In this article, we will outline how to transfer a portrait using the Camera Lucida and how to deal with possible errors. In short, we will outline how the instrument works, and all of the possible benefits the artist.
What is a Camera Lucida?
Before moving towards the technique of using Camera Lucida, first, you should have a brief of what Camera Lucida is.
What is the Camera Lucida? A Camera Lucida helps you draw a representation using a conventional perspective or the facial features immediately. A Camera Lucida is an optical instrument that was patented in 1806. William Hyde Wollaston, a British Scientist, introduced this instrument to facilitate accuracy while sketching figures and objects.
The instrument consists of the four-sided prism, and this prism is mounted on a small stand which is supposed to be placed above the drawing paper.
The artist places one eye close to the prism, in such a way that half of the pupil is over the prism.
By doing this, the observer will be able to see the reflected image of the figure that is placed in front of the prism.
The original version of the Camera Lucida was pretty hard to use since the spectacle lens was weak. At the same time, there were other issues as well. As a result, the observer could not focus as he would like to.
The Modern Version
In 1880 an advanced version of Camera Lucida was introduced in the market. This microscopic version was able to provide a clear image of the object on the paper.
The observer could look through the prism and get the reflected image of the objected on the paper. The modern version consists of two mirrors, a half-silver one and a normal one. The object reflects from the 1st mirror to the second one.
You see the reflection through the mirrors directly on the paper. This is probably a “magic” done through the reflection of mirrors. Doesn't the whole concept sound great?
How to Transfer or Draw a Portrait by Using the Camera Lucida?
Anyone can transfer a portrait using the Camera Lucida, but to draw a portrait correctly, you need to know specific skills. A Camera Lucida allows you to trace the object on the drawing paper. Here are some simple steps to use the instrument:
Setting the Camera Lucida
First, you need to set up the painting board at a forty-degree angle. We recommend you to put it on your laps & rest the board against the edge of a painting table. Now put a piece of A3 size paper on this board.
Next, twist the lens of the Camera Lucida so that the eyehole is there at the top of the paper. Adjust the arm according to the distance between you and the paper.
As you look through the hole, you will see the full paper as well as the reflection of the object or the scene entirely on the paper.
Technical Errors that Might Occur
Many painters complain that they can't see the whole image of the object on the paper or the full paper through the eye whole.
It happens when there is a misbalance of light between the paper and the subject.
Here's some tip that might help you.
If you cannot see the drawing on the paper, then place a small black paper on the board. Hopefully, now you can see the image. To get better results to throw some light on the paper. Still, if you are unable to see the drawing paper, then throw some light on the paper by using a lamp or torch.
A common problem that occurs while using Camera Lucida is some parts of the image, and the paper gets too bright or becomes too dark. Eventually, when you start using the instrument, these errors can happen.
Over time and as you use it more, you will develop an idea on how to balance the light setting to see the object on the paper.
If you find that there is too much light or the image appears to dark on the paper, do not worry.
Just use the other eye to look at the original scene and draw it accordingly. While using the instrument, you can't just trace the exact image of the original drawing. You need to have proper painting or drawing skills to use your imagination and make some modifications.
Note: There is no Zoom in feature provided by a Camera Lucida. If you need to see the subject large, you will have to move closer towards the subject and adjust the controls of the Camera Lucida accordingly.
Also, any slight movement of the head will move the paper, thereby rendering it difficult to obtain an accurate drawing of the subject.
How is the Camera Lucida Beneficial for the Painter?
As mentioned earlier, a Camera Lucida can't teach you how to draw.
Judgments associated with the drawing of the subject need to be made by an artist. The character of the creator decides, which details need to be combined or rejected.
What the Camera Lucida does is it eliminates the need for measuring the exact features of the original drawing, thereby saving a lot of time and effort for the painter.
Rather than measuring the features of the subject, the painter can focus on other things like modifying the painting and add up his creativity to it.
So basically the painter does not have to spend excessive amounts of time on just sketching the subject. Drawing a simple drawing on an A2 paper can be achieved in just five minutes.
Jotting down the benefits of the Camera Lucida, we can see the instrument:
- Eliminates the need for measuring the original subject.
- Speed up the sketching process.
- Reduces the amount of time and effort you have to spend on sketching outlines and contours.
- Is super portable and small so it can be used anywhere at any time.
- Allows no distortion of the original subject.
Can I Copy a Photograph using Camera Lucida?
Yes, you can! You need to screw two brackets from the end of this board & prop a piece of this card against it. Now attach your photograph with the card & then proceed the similar way you would draw a normal subject.
Tips for Using Camera Lucida while Transferring a Portrait
Transferring a portrait using the Camera Lucida can be a bit tricky in the first instances. Here are some tips that might help you out to efficiently use the Camera Lucida for transferring a portrait on a paper.
Mark few points on the subject & regularly check to ensure whether these points are aligned in the right place or not.
Sometime you might end up seeing the unwanted reflection of an object that lies directly above you. You can eliminate such unwanted reflection by rotating the prism hole or the eyepiece.
Start with a drawing which is simple and easy. In the very beginning, if you start drawing something complex, you won't be able to adjust the light balance and draw efficiently.
When you are unable to see the subject through the eyepiece, attach a small-sized black card.
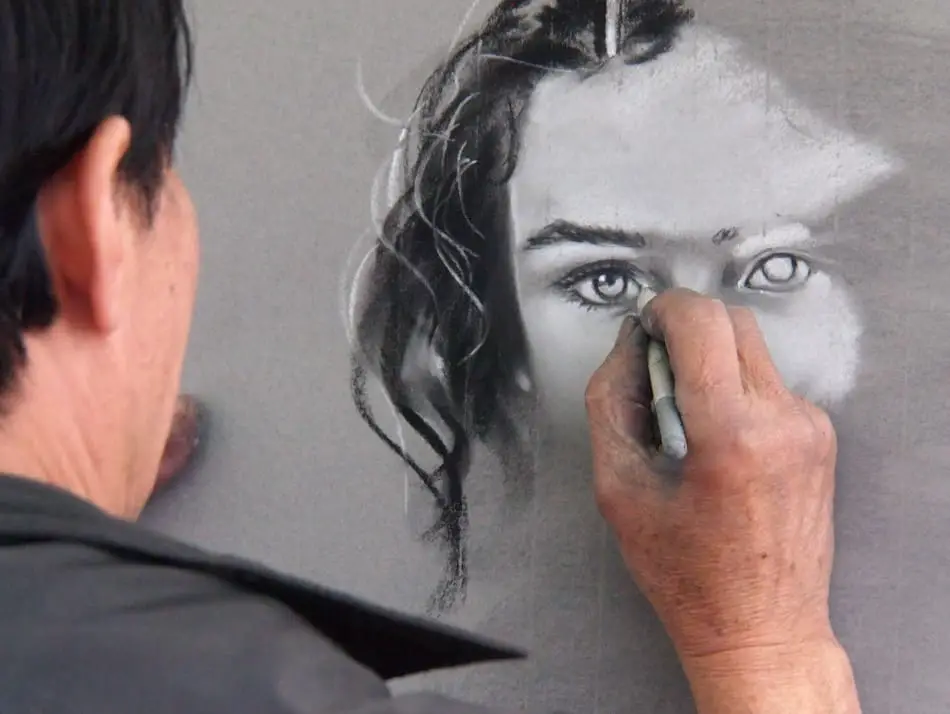
Stage 1. Draw four points. These points can be referred to when aligning your image the drawing or photograph is knocked or moved.
Stage 2. Begin by drawing a light faint contour outline. This will allow you to establish the basic features of the portrait in proportion.
Stage 3. Observe the lightest and mid tonal sections of the portrait and work to add value and tone to your drawing. Constantly refer back to the image you are drawing. This will facilitate the reproduction of an accurate representation of the image you are drawing.
Stage 4. Continue to draw and add detail to the portrait until you are satisfied with the end result.
Final Thoughts
The Camera Lucida has made much fuss for quite a long time. There are many debates on whether an artist should use it or not.
Many conclude that this is a medium of cheating, and an artist should not go for any shortcuts. However, as Hockney says, “The lens of the device can't draw the line, only your hands can do that…”
It means that the Camera Lucida only helps you to outline the subject fast and in a simple way. Rest the painter's hands are responsible for bringing life to the painting.
Most artists, who use this Camera Lucida, use it to get the necessary work done faster. The rest detailing and the artist himself does modifications.
Now that you know how to transfer a Portrait using the Camera Lucida and the tricks to use the instrument, the next question that might pop in your mind is where you can buy it?
Well, several companies sell a replica of the modern version of the famed Camera Lucida at affordable rates. Click here to visit Amazon online stores.
I hope these tricks and tips of using Camera Lucida for transferring a portrait was helpful for you. Share it and enlighten others!
