Artistic skills have always been talent-driven; however, sometimes, you still need the training to perfect every bit of it. Drawing a tree branch with leaves may look simple and straightforward; however, this is not always the case. Sometimes what we need are the guiding tips on how to do this fast and accurately.
So, where do you start? It's simple. Grab your work/drawing book and a sketch pencil, then follow the procedure below. Let us begin with the baby steps on every detail you need to learn: Draw a Tree Branch bearing or not bear leaves.
Related Posts:
- How to Draw Realistic Rain
- How to Draw Clouds with Charcoal
- What are the Basics of Sketching?
- How to Draw Rocks and Cliffs
A Quick Tutorial on How to Draw a Tree Branch with Leaves
Draw the branch
You always start with the branch. Branches may look different; however, you need a sketch that depicts reality. In most cases, therefore, a lengthened S-curve will do. Note that this s-curve needs to be two joining at one end to form a tip.
Draw small curves to begin the branch
Next, you will need to draw smaller s-curves now branching from the main branch. These should neither be in a standard shape – some could be F-shaped while others ?S'. From the smaller branches, you can add tinier branch components to complete the entire branch sketch.
Add Texture and Surface
Note: Tree branches are never smooth. Therefore, in your drawing, you can make them look bumpy and with small bends that give them a realistic appearance.
2. Draw the Petioles
Once you have your branch, next, add the petioles. These are the tiny little branches that advance to hold the leaves. If you so wish, this procedure can always come after you have drawn the leaves; however, it still works.
Like the rest of the branches, Petioles remain relatively basic in terms of their shape – they are thinner towards the base's tip and thicker. A good drawing of the petioles ensures that leaves are exposed at the branches' right angles and elevations.
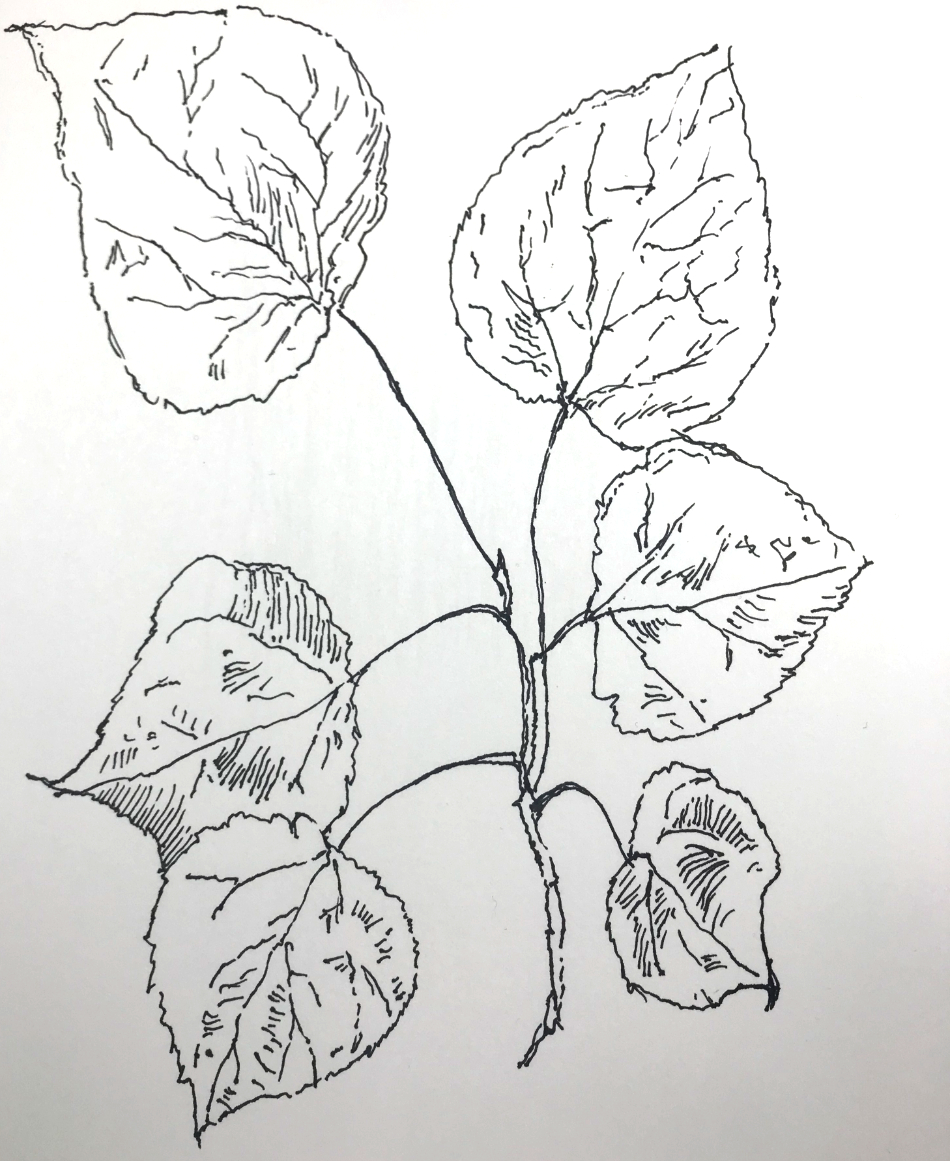
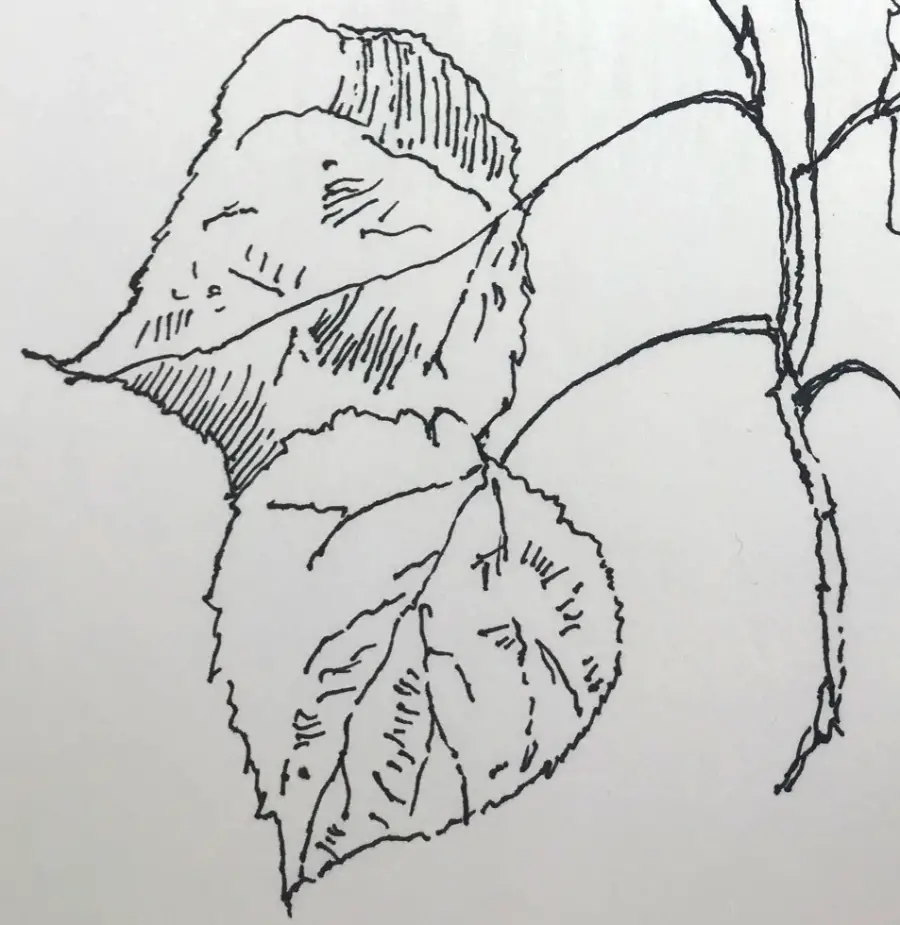
3. Draw the Leaves
Leaves imitate the heart-like shape. While drawing, ensure they are of different sizes to bring out the natural appearance. Note that like in a real tree, some leaves will overlap and sometimes point in different directions – this should well appear in your sketch. Diversity in shape and positioning is the trick here; you want to make the leaves look as natural as possible.
4. Finish up
The last finishing step in this procedure is doing little touches to have a quality finish. Therefore, you might want to add little shading, more bends, or more sub-branches to make the entire sketch more realistic in appearance.
Depending on how fast you are, drawing a tree branch with leaves can only take you a few minutes, maybe 10 to 20. The constant practice could even make it lesser.
How to Draw a Simple Tree Branch
A superficial tree branch refers to a simple sketch of how a tree branch would look. Here you do not need any coloration, leaves, or excessive sub-branches– the procedure, therefore, the process is simple.
1. Sketch the Branch
Sketch the joining to form a tip on one end while the other remains open. The joining branch should look bumpy and with bends – however, this is never ultimately necessary for a simple sketch.
2. Polish it Up
Add any feature that would add a realistic appearance of your sketch to what it represents. A simple tree branch sketch should not include any complicated features. What you can do is making the Image smooth and as realistic as possible.
How to Draw a Twig with Leaves
There is a difference between a twig and a branch. A twig refers to the smallest branches in a tree. Depending on the size of the tree, they are always different in size as well. The steps to draw a beautiful twig with leaves are equally simple. Follow the steps below to sketch one.
1. Draw the Twig
A twig is a branch only that it is smaller. It means, therefore, the formula remains the same. Draw a lengthened ?S' shaped curve. For a more realistic appearance, ensure to feature bumps and bends in the drawing.
2. Draw the Petioles
Once you have your twig, next is fixing the petioles. Like the twigs and branches, the petioles are neither all that straight; they also feature slight bends, which you should imitate in your drawing. Also, note that their bases tend to be thicker while their tips are thinner. Depending on the tree twig you are drawing, you can include thorns and some other bumps and bends to make it more real.
3. Add the Leaves
Next, after the petioles, you will now add leaves. The leaves come with an almost similar shape, heart-like.' While drawing, always consider the size differences – not all leaves in a twig are of the same physical measure. You may also want to depict some overlapping and overlaying to create a norm situation.
4. Finish up
This step is all about polishing up the Image you have just drawn. Here you will be fixing any drawings that went wrong. If you so wish, include the midribs and vans, making the sketch more real and appealing. Drawing a twig with leaves is an easy process that takes only a few minutes, 10-20. It would help if you had the most mastery of the procedure and substantial creativity to imitate it in reality.
Conclusion
If you are looking forwards to be a pro artist, here is always the simple start. Drawing a tree branch with leaves, a twig with leaves, and so on are the basics. With quality practice, it is easy to attain the high-level experience and expertise you need in this field.
If you are looking for a simple drawing tutorial for kids, here is where you can start also. With these highly- illustrative procedures, you can show them step by step how to come up with beautiful images of this nature. So far, several techniques can be used to do all these; surprisingly, some can start with a different procedure but still sketches a quality image of a tree branch with leaves. Keep trying, a soon you will be there!
