The grid method offers a simple method to create realistic drawings in proportion to many younger artists and school-age children.
Read on to find out various methods to scale up a drawing using the grid method precisely to scale and image into a larger drawing.
Related Posts
- How to Sketch: The Complete Guide
- What Are the Basics of Sketching?
- Can You Draw Without Guidelines?
- What Are The Common Uses of Sketching?
What is the Grid Method
The grid method is a simple geometric framework of even regular squares drawn in a simple symmetrical relationship. The grid can be used in the same way as a map reader plots the different locations on a map to draw an accurate drawing.
Specifically, the grid method is valuable to produce a larger size layout drawing say 5 x, to scale on a canvas or board. This method is used wildly in schools and colleges with students who require extra guidance on making a drawing bigger.
How to Use the Grid Method
Enlarging detailed images onto a scale is a relatively simple process once the basic knowledge of scaling a picture is obtained. If you are planning to draw from a photograph or an artist reference, it is possibly a good idea to make a copy of that image just when you make a mistake when drawing the grid.
One trick is to draw a proportional, symmetrical grid, say 5 x square, onto a transparent acetate sheet. This can easily be placed on top of the drawing you are trying to enlarge. However, if you want to employ a more straightforward method, you should draw the grid directly onto your reference.
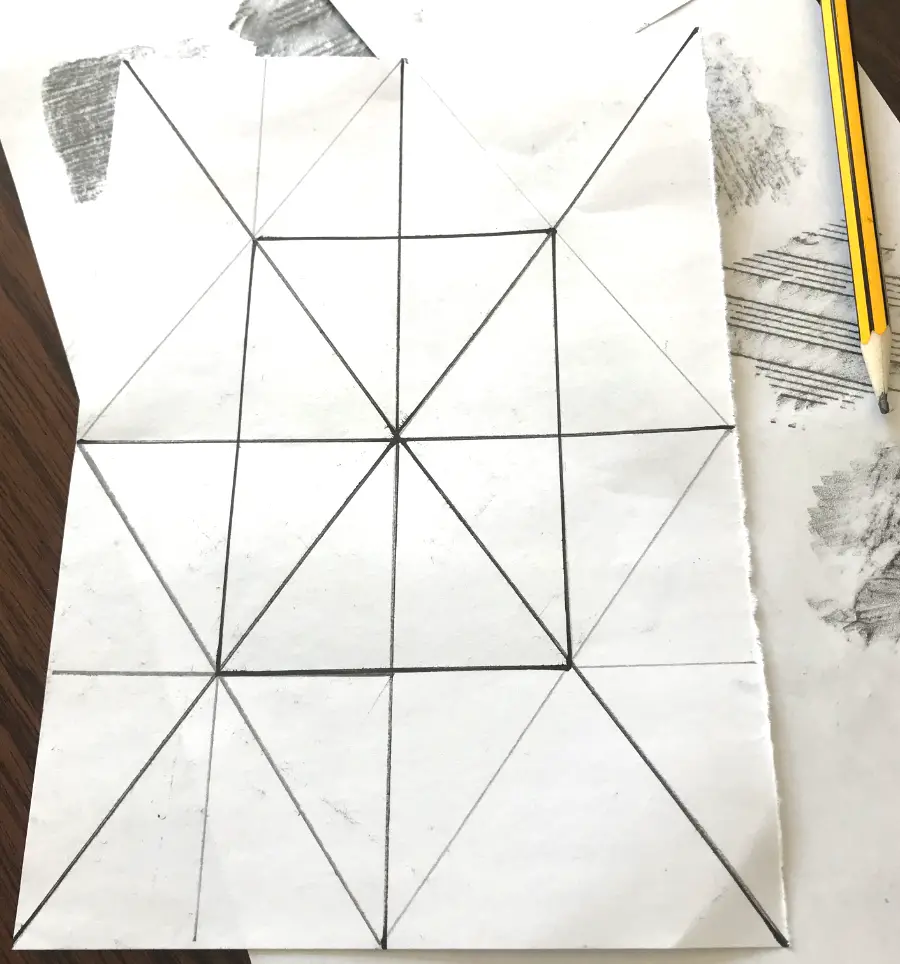
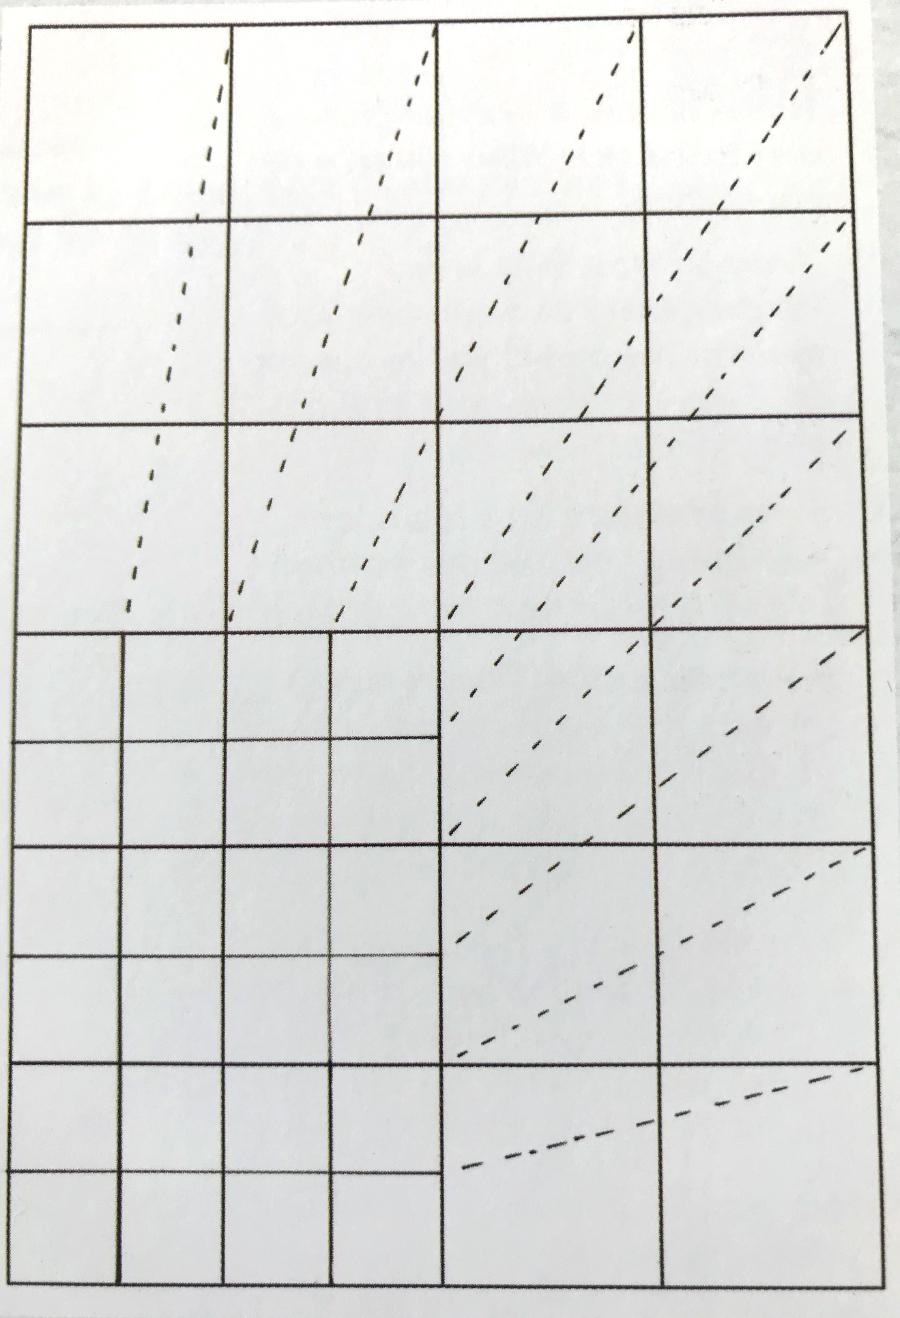
Drawing the Grid
The purpose of the grid is to divide the image you intend to scale up into distinct sections. To draw your grid, you will need to divide your reference into equal distant sections using a ruler to measure the points' intervals.
Measure the Paper
To start to measure the size of the sheet of paper you intend to scale. The next step is to divide the sheet into equal sections. For example, if the paper is 10 centimeters, you can divide it into five segments of five centimeters.
Measure the Size of Your Image
Alternatively, you can draw the grid straight over the top of the picture you wish to draw. Make sure you measure with a ruler the length and width of the subject-matter. Even the numbers are more comfortable to divide, plus you can use a calculator if you have trouble completing this.
Drawing onto Tracing Paper
You can draw a grid upon tracing paper as that has the added advantage of producing the grid reusable to use on several different images. In the long run, this will have the added advantage of speeding up creating larger size drawings say 5 x much quicker.
What is Scale
The importance of size, scale, and proportion is essential if you are looking to create realistic-looking drawings of objects. Matching the dimensions and scale of an observational drawing's different components that you intend to scale up.
- Measure your image first
- Divide the length into an extract size
- Take a larger paper and divide the image into sections
- Check the same amount of squares down and across
- Number columns
Make Sure to Check Your Proportions
It is essential during the process of upscaling and enlarging that you regularly check the dimensions of the separate parts of your drawing. This can instantly and simply be accomplished with a ruler, straight edge, once you have drawn your representation's principal portions.
How to Enlarge a Drawing to Scale?
The artists at LZMStudio utilize a drawn framework to both upscale and downsize images of simple objects. Applying a grid drawn directly over a plastic sheet with a permanent sharpie and a large ruler is divided into one niche section.
This method enables the artist to easily compare an original larger image to a smaller drawing completed on paper in pencil. They make sure that the transferred drawing's proportions and shapes coordinate with those of the larger image by using a clear ruler overlayed on the drawing.
This method is ideal for enlarging drawing and increasing the size into larger outline drawings to prepare more detailed shaded drawings.
Use the Grid Method to Upscale onto Canvas
One of the most significant concerns artists face when trying to draw and scale an image onto a larger canvas is incorrect proportions. Another issue is that many younger artists and art students experience working directly from photographic, electronic references, or images of artists' work; this method can also pose problems for an artist who wants to enlarge an image. This is where the real benefit of using the grid method can aid your work.
The artist Pypahs Art uses the following grid method to make small size drawings appear larger by drawing them onto canvas. Using the method explained earlier in this post, you should divide your image into equal squares.
Limitations of the Grid Method
Suppose you experience difficulties in trying to add detail to a painting or drawing. In that case, you should add smaller squares to the grid, as this will enable you to focus on the subtle changes or areas of detail contained in your painting on canvas.
Some artists believe, however, that the grid method is not an efficient process for adding details to a larger drawing, and its benefit comes from the ability to convey the correct proportions of a drawing from one source to another.
If you are looking to modify the dimensions of your drawing or canvas painting, say from an oblong photograph to a square canvas. You will need to discard areas of the drawing which are not visually appealing or not of interest.
You are looking to obtain the shape and proportions of a square grid, then you will need to erase sections of your original drawing or photograph. This will allow you to focus entirely on images that look like the original, drawing the basic outline shapes and preparing for painting onto canvas.
Drawing From Photo
The Art Fusion youtube channel also applies the primary grid method to create a detailed zebra painting. Using a grid drawn over a detailed image of a zebra using the lines and the same methods employed by other similar artists.
The grid numbers with a number on top and the letters A-G on the side. This allows the artist to quickly refer back to the original image when preparing the canvas for painting.
To begin the place the smaller image flat on the canvas. This process is critical as it enables the artist to plot the main areas of visual interest by directly drawing guidelines onto the canvas—for example, the Zebras nose's tip and the amount of negative space around the main subject.
Next, they measure the subject's length relative to the space plotted onto the canvas and then divide this area into a grid of the same size and proportions as the primary image.
A simple trick that helps aid the transfer of measurements onto the canvas is to plot the measurement on a short piece of timber, which can then be moved across the top bottom and sides of your canvas more quickly than a long straight edge.
How Do You Enlarge a Drawing Without a Grid?
On simple method is to use a lot to upscale drawings and painting and art-related visual references are to use a digital screen projector. Simply contact your digital device, which contains the drawing or image you wish to enlarge to the projector via a cable.
The drawing can then be easily projected onto a screen, canvas, or a large sheet of paper drawn as a large-size version of the original drawing or painting.
This method is used widely in educational contexts to equip students to transfer and upscale drawings to multiple sizes. This method's beauty is that it quick and easy to employ, and it enables the artist to quickly render and establish to proportions and contours of a drawing before any further details are added.
Concluding Comments
I hope you have enjoyed reading this post and how you found it useful and informative. Be sure to read any other related blog posts related to the related posts section.
