You don't have to be a professional artist to learn how to draw and sketch effectively. However, though the artist who can draw and sketch with ease are more likely to become more competent artists to create creative visual sketches.
There are various methods to sketching that you can apply to advance and improve your ability to draw.
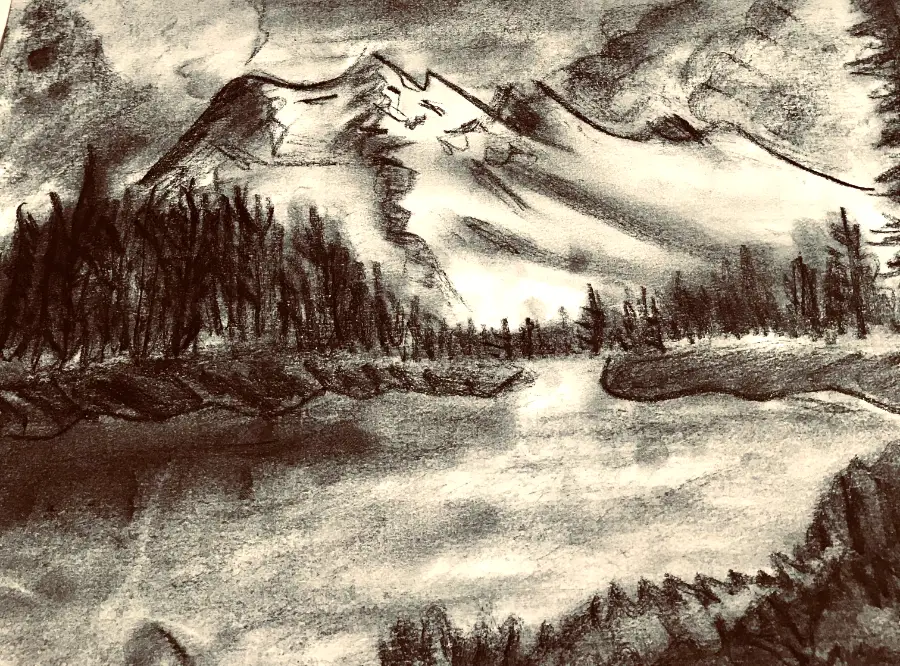
Please look at this drawing and sketching video course I have created. Use this link.
What follows is a complete Guide on How to Sketch
How do You Begin Sketching?
For any beginner learning how to sketch, you need to have the appropriate drawing supplies. This is as easy to include the standards such as sketching paper and a pencil. And to be honest, it can be any kind of paper that has a good tooth to it. I like using scrap paper or anything handy. If you're starting out, it doesn't need to be the premium brands used for doing a final sketch or drawing.
When I mention premium brands, these are the expensive sketch pads meant for serious artists. Don't spend so much money on sketch paper since any bargain brand from the dollar store is adequate for practice sketches. Look for clearance sketch pads that have to give you a decent stock paper ranging from 50-100 sheets. This is really good if you have 60-68 Lb paper stock, but keep in mind that thicker paper is pricier.
Also, have a decent set of sketching pencils. Use a set that gives you a selection of hardness and tones. The darker the tone, the softer the graphite will often be. Harder graphite will be lighter and last longer.
Here are a couple of good examples:
CANSON RECYCLED SKETCH PAPER70 LB.
MISS LOVE 12-PIECE GRAPHITE PENCIL SET
Practice Sketching Techniques
Many techniques will make your head spin if you're new to sketching. It seems that everyone has their own method for sketching, but the basic elements never change. Here's what I recommend for basic skills that are excellent for any beginner to practice.
• Learn to Draw Basic Shapes
There are so many basic shapes that relate to everything that we see in our everyday world. Professional artists use basic shapes as building blocks when drawing characters and buildings. These aren’t limited to perspective, defining scale, and weight in your sketches. Yet the most straightforward starting point to begin sketching is with basic shapes that are simple to create. These basic shapes can then be connected together with connecting lines.
• Learn to Draw With a Rough Outline
Any connecting line is what defines your overall sketch, so I don't care how many artists will tell you differently. Sketching is often defined as drawing a picture, but for me, it's running lines lightly over each other to get the overall shape. Since these lines are drawn using light strokes, it makes final darker lines that complete your sketch. This is why you want to practice with pencils that have harder graphite, so you don’t go too dark.
• Don’t Focus on Fine Detail
A sketch is pretty much an idea or starting point rather than a final image. Don't get into fine detail until you have a sketch that captures the overall shape you want to capture. The detail is essential, yet it's the afterthought that's like adding toppings on a pizza. Your shape is going to be just as essential to have the right perspective. The angle and corresponding shape are what help convey visually what people will see in your sketch.
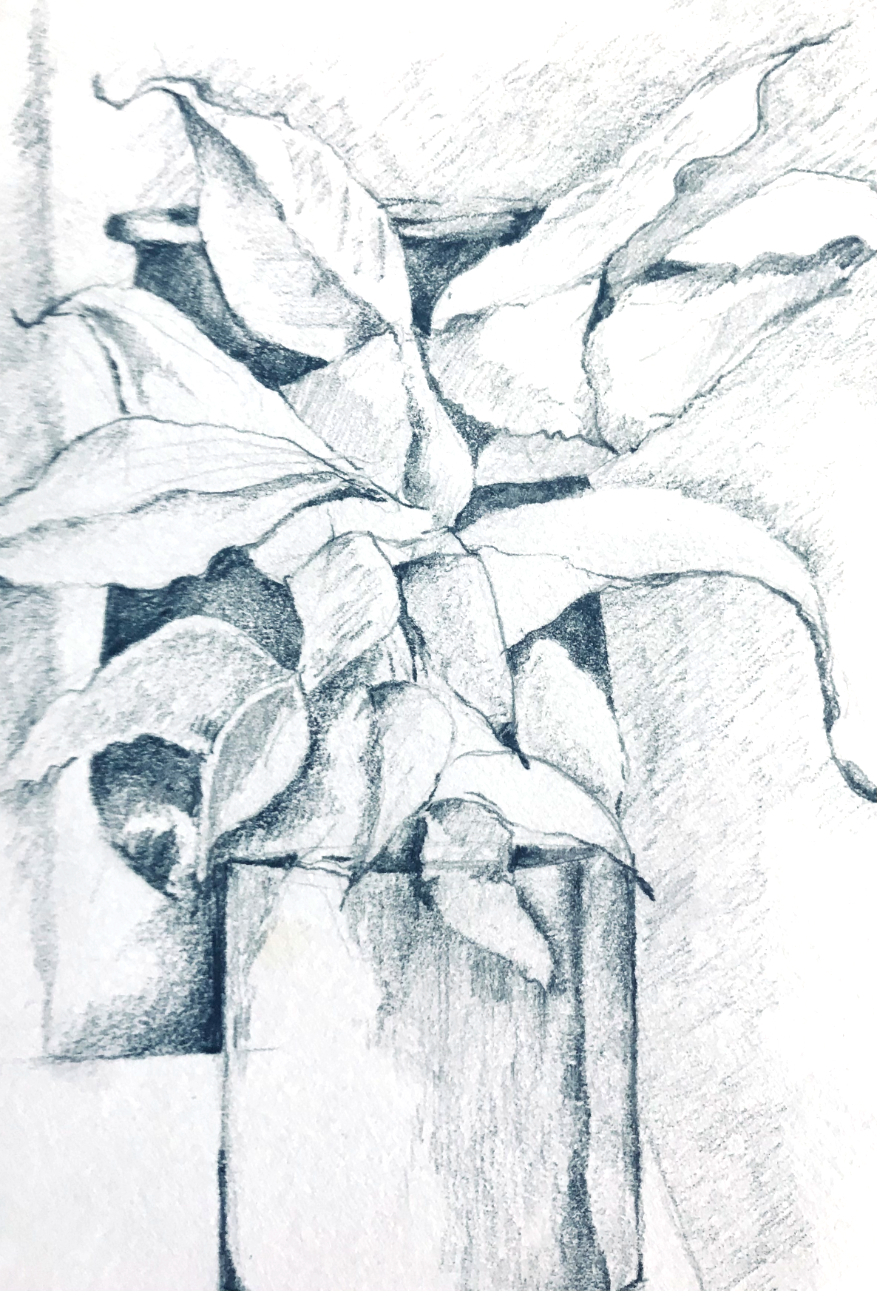
• Use Examples That You Can Easily Copy
All artists practice their sketches using real objects that are in front of them. To get the best view for sketching, place an object at an appealing angle. Use lighting from a window or from an adjustable lamp to light the still life. It also helps to close one eye several times to get a 2D perspective. This also makes it easier to see the overall shape while you further define the angle. This also happens before any shading, or fine details are added.
How Can You Learn Sketching and Drawing?
Some people take drastic steps by taking-up drawing classes and then fail in the first week. The reason is not that they aren't artistic, but because they don't have the patience to practice. I've been an artist all my life, and I can tell you that practice makes perfect. It doesn't matter how rusty you may be after learning these skills; practice helps you hone your sketching skills.
Without this basic requirement, your experience in drawing won't move you forward. You should also enjoy sketching at any time of the day or night. Sure, learning the basics of drawing, at times, have a lot of repetition. Well, this is what any art job will entail if you work for a large company. This is called ‘drudgery' in the art world and involves repeated and often tedious work.
To keep your sketching lively and fun, don't just sketch things that keep your interest. Mix the fun with seemingly dull aspects. This mixture is good to balance-out the feeling you can experience from sketching. This balance is better for you, so you can build up a tolerance for drawing what you like and what you don’t. Chances are likely that a future job will see your sketching strengths are well-rounded.
You might also be surprised that potential job offers include aspects of your sketching that you don’t enjoy. Whether you accept a job from an employer that likes your work, it’s an opportunity that gets you in-the-door. These industries and positions are very rare, which is why this kind of practice will be so essential later on.
Sketching and Drawing Equipment You Will Need?

I have my methods of keeping my sketching equipment in a little crash kit. It’s essentially a tackle box that was made for fishing. I liked that it held enough room for everything I needed to go anywhere. Some artists have much smaller kits that hold everything in a pencil tin. It shows you that everyone is different, and not every artist needs a big box. When you first start sketching, you'll want to start with a good selection of drawing tools. Click here to read my post: What Equipment do you Need for Urban Sketching?
• Pencils/pens
Whether you like using pencils or pens to sketch, have at least one kit in your collection you like using the most. They don't have to be the best or the most expensive. They simply need to work well for you. I found the best way to test pencils that you want to buy at the art store. They have sample paper, so you can try them out before you buy them. This way, you can feel the smoothness of the graphite.
Pens are a bit different unless they have tester pens. It takes a delicate touch to draw with a pen, so a fine liner is always the best. It's also harder to erase pen marks unless you find one that's erasable. The ink isn't really able to disappear entirely and uses friction to appear less visible. This is why you should really concentrate on pencil graphite that can be removed without much fuss.
• Drawing paper
Sketch paper all comes with different weights and textures for the bite. The heavier textured paper helps deposit more graphite onto sketch paper. Heavier textured paper is also suitable for general shapes and forms and making shadows. Smoother paper is better for adding detail, so it matters what kind of sketching detail you like to create. It also says that smoother paper is better suited for creating a final sketch that can be colored.
The biggest issue is choosing what size sketch pad you want to use. Standard sizes like 9” x 12” are OK for smaller sketches, whereas 11” x 14” is better for making life portraits and landscapes. There is also the oversize variety with 18” x 24” to have several sketches on a single page. Just keep in mind that large sketch pads don’t always fit into a backpack.
• Eraser/kneaded eraser
Having an eraser on hand helps clean-up pencil sketch lines in a hurry. In the various lines that help create your shape and form, excess lines that don’t make the final sketch can be removed. You can use either a standard eraser or a kneaded eraser, aka gummy eraser’ to remove these needless sketch lines. A standard eraser that is good for graphite is not from natural rubber, so be sure to choose a good vinyl eraser that removes graphite lines quickly.
• Carry and storage cases
Tin pencil boxes come in all shapes and forms, so suitable for a beginner sketch artist? The tin's size should be something that holds all your pencils, erasers and drawing supplies. Make sure that it doesn't open so easily or is sensitive to rust. Tin cases are fine, but they should keep your pencils dry. A good plastic case is just as sturdy and moisture-proof just in case anything gets wet.
• Sharpening supplies
The real secret to having a good sketching pencil is keeping them nice and sharp. This is why you need to have a mini pencil sharpener. Some artists will take it one step further and use a razor knife to get different tips. A simple hand sharpener is just as good if the blade is nice and sharp. Many people don’t know that disposable plastic pencil sharpeners can be bought in bulk at places like Staples or Amazon.
Learn How To Draw Basic Shapes
It's a simple exercise that starts with basic shapes you can start to practice with. Basic shapes are among the easiest of all the natural shapes we see everywhere in our lives. If you can draw a circle, square, triangle, or rectangle, you can start building base shapes from scratch. Perhaps you've heard that Disney artists use basic shapes when building characters. These shapes are essential to use when making animated and cartoon characters.
It also extends itself into the world of life, drawing and drawing basic objects. You would be surprised at how many things can be sketched using basic shapes. Now while this works for animals and characters, it won't translate so well for freehand sketching. Click here to read my post: What are the Basics of Sketching.
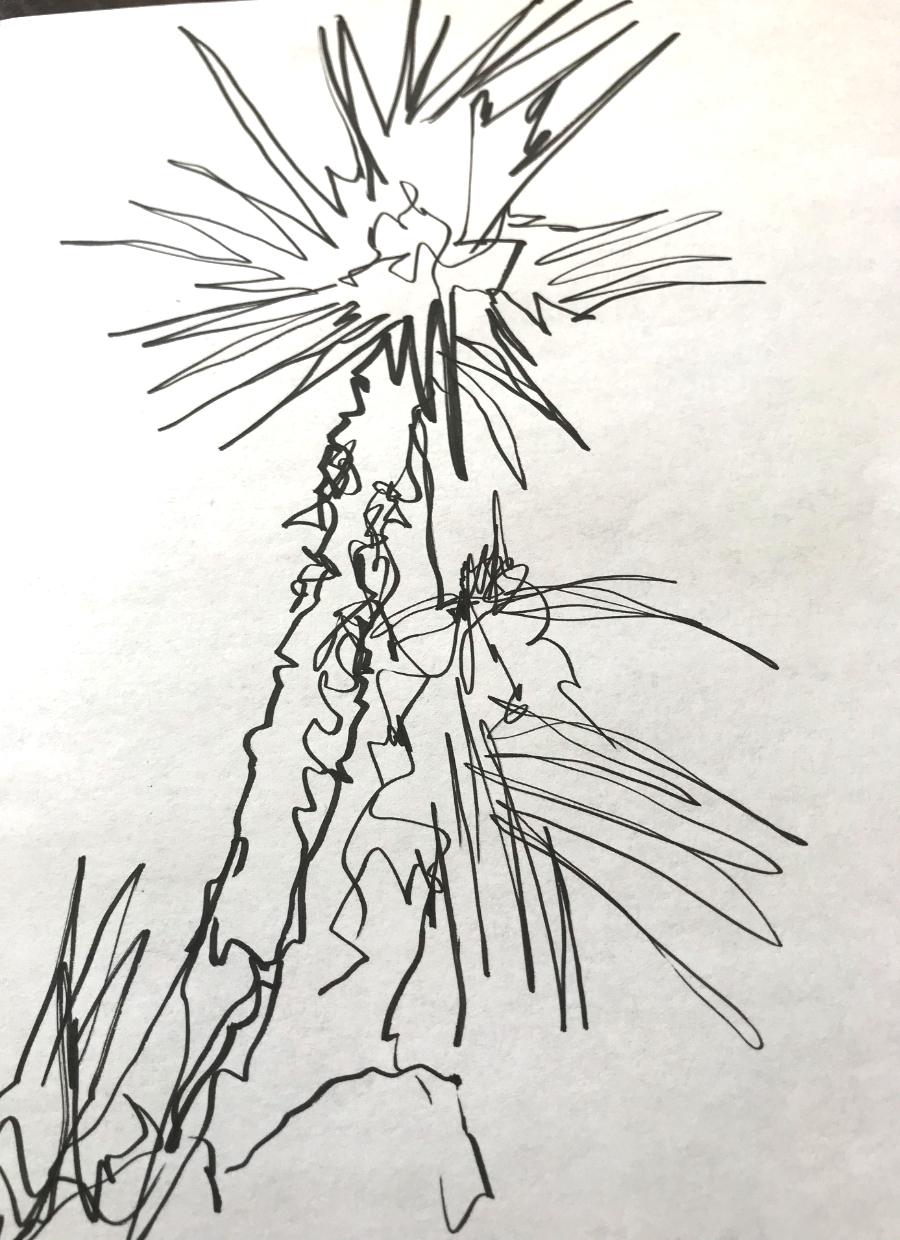
Learn How to Draw and Sketch Lines
Some lines that are meant for sketching need to be drawn with a freehand. To do this, you need to look at your object and squint one eye. The first step is to draw a basic outline shape. If this requires several lines defining the overall shape you want to create, then start from the most extensive parts and any connecting shapes. Just remember how to sketch lighter lines that are easier to erase, so narrow down them bit by bit.
Use your eraser to correct the lines as you go, but try to save this until the end. When you put in your darker lines for the basic outline, then any mistakes can be removed. Trying to erase as you go will make it harder to see the desired shape you want to make.
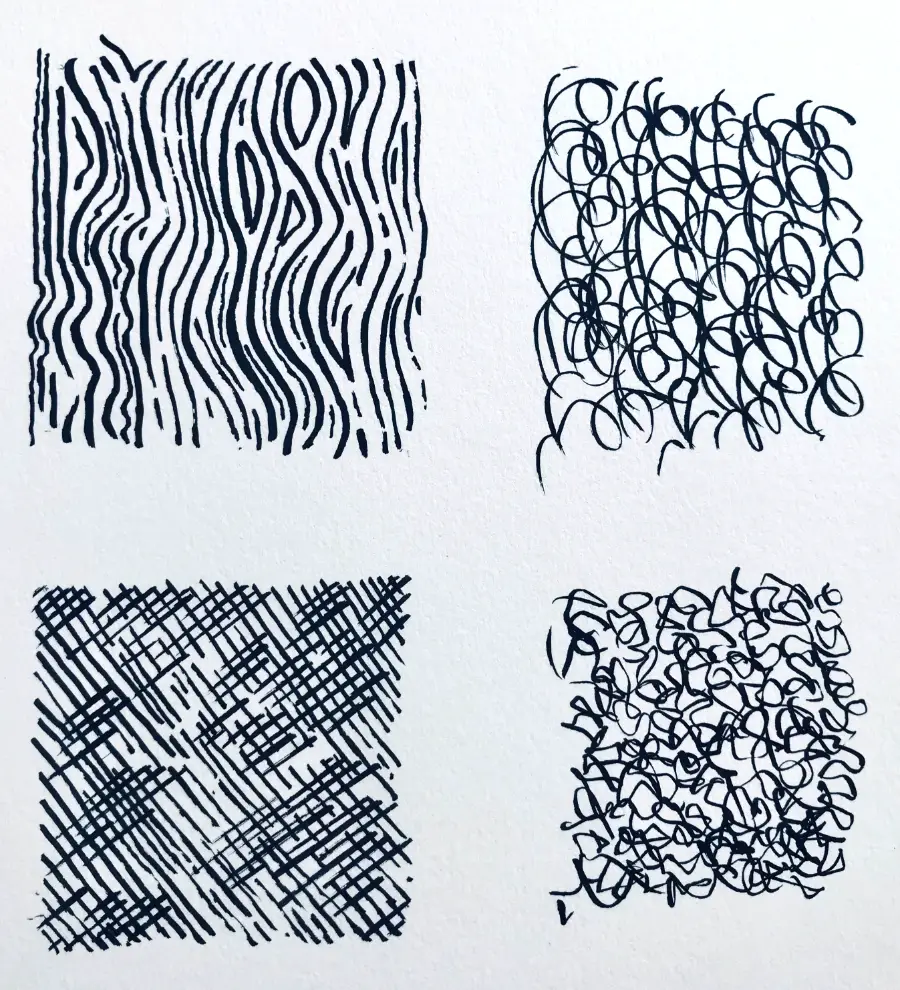
Sketching Lines in Pencil
I know this will sound odd to say but use your pencil like an extension of your fingers to draw. Use light strokes that you can see visually but not so hard. They are very dark. The whole idea of drawing a line is to create a broad stroke. Just like a painter, these lines can be curved, rounded, angled, or straight. Give each line that you draw are a certain amount of freedom to exist.
As you go back and draw over them, they can be corrected and more focused. This is the real meaning of sketching, which might appear to some as scratching. This is the whole reason for light strokes and gives you plenty of room for mistakes. While looking at your sketch, compare these drawn lines to actual objects, pictures, or from memory to see how well they match. Then slowly go back and add darker final lines to finish your sketch. Click here to learn how to sketch lines and develop line drawing techniques: Line Drawing Techniques.
Learn How to Sketch With Pen
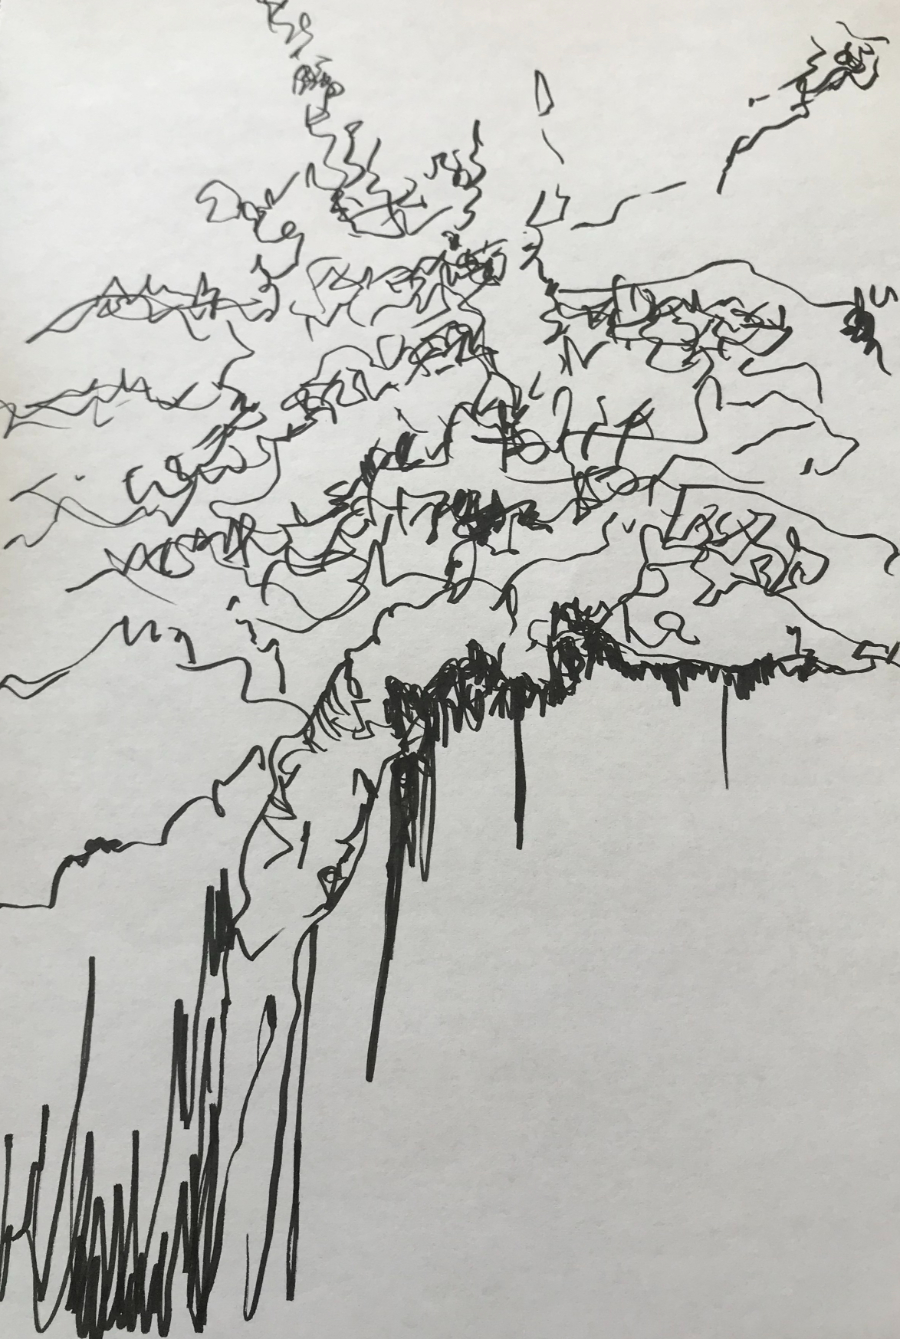
Sketching in pen is also called a thumbnail sketch since it’s usually pretty rough. It gives an idea that’s as basic as it gets. I don’t recommend making pen sketches until you have enough practice at pencil drawing. But that doesn’t mean you shouldn’t give it a try. It’s just harder to control the strokes unless you have a fine line marker. I’ve seen plenty of thumbnail sketches on napkins to see how hard this trick is to pull off.
This will be a lot easier on any decent sketch paper since the napkin will tear very easily. Sketch paper will be sufficient for drawing broad lines that look like scattered scribbles. It's a style that not many people like to see for this reason. Unless you draw the sketch with a pencil first and then finish it with a liner pen, it will look more professional. Click here for more detailed information. Read my blog post: How to Sketch with a Brush Pen.
Sketch on Location
Remember how I mentioned that I have a tackle box full of drawing pencils and equipment? Well, your sketching experiences should allow you to capture all sorts of ideas once you get to an exciting location. Perhaps you’ve decided to go to Yosemite Valley to capture a sunset? Or maybe you want to draw a famous building early in the morning? Your drawing kit can include a variety of colored pencils or pens. Click here to find out more about learn how to draw directly on location with my eBook and Audio Guide: A Guide to Drawing.
These can hint at hues and accents that won’t be seen at any other time of day. So having a complete kit is simply a good idea. But if all you have is a basic kit, this isn’t a bad thing either. You can work your way up to a more extensive kit as you go. Being on location is all the more reason to bring extra supplies just in case…
Learn How to Sketch Faces

Can you sketch a face or a caricature of someone that you know? Sketching often involved drawing faces and people, which can be hard to get a likeness. This is why sketching needs to be freehand, so these lines can converge with many softer lines. Sketching faces can be a challenge that requires practice unless you just have a knack for it. Learn how to divide a face using a mathematical measurement. Click here to learn how to sketch faces: Portrait Drawing Tips of Beginners.
This means that a face is separated into 1/3 sections, starting with the forehead, eyes, nose, mouth, and chin. You can find free tutorials on Youtube that show how this is done. It's a straightforward formula that works incredibly well for sketching faces.
Learn How to Sketch Objects

The best method is starting with fundamental building blocks to see what you can make from them. A household object is fun, allowing you to see the base shapes in many of them. Bottles are long cylinders and rectangles, while boxes are rectangles and squares. When it comes to rounded shapes, fruits and vegetables offer the best object for combining rounded base shapes.
If you look at a banana, it’s funny how it’s really a curved rectangle with tapered edges. Get good at tackling common objects to become familiar with these everyday items. These shapes will lend further practice to drawing trees or buildings for later sketch projects.
Learn How to Draw Figure Sketches
One of my favorite reference tools is the standing mannequin that can be posed. It might not be easy to find these, so a decent toy like a G.I Joe or realistic jointed Barbie doll is also good. If you have a friend who doesn’t mind being a model, they can stand-in as a reference model to get the basic outlines. First, start with learning how to draw a skeleton to get the basic outline and build-up from there. You can read my detailed blog posts: How to Practice Drawing Anatomy.
If you go with a freehand sketch, you still need to know some basic anatomy to get the proportions right. There are rules for how the human body is built. The same goes for animals, so practice drawing these figures in stick form before fleshing them out completely.
Learn How to Draw and Sketch
Like I mentioned before, there are lots of free tutorial videos on the internet these days. It’s not hard to find a subject that covers everything you need to know about sketching anything. The most significant task is to practice, practice, and practice! The more you learn about sketching tricks, the faster you can build up a basic shape with more accuracy. Even if it seems mundane, remember that all drawing is all about improving your drawing skills.
Sketching with a pencil only makes it faster to bang-out something that can be improved as you go. As you finish off lines, you can make more defined strokes to create the object's weight in the picture. It also makes your sketches have more life to them also.
Can You Teach Yourself How to Sketch
You can teach yourself how to sketch using all the energy you put into a sketch. Put your emotion and enthusiasm to fair use even if you feel frustrated. Just remember that sketch lines can always be erased in the end, so there aren't permanent mistakes that will ruin your final sketch otherwise. The one thing that I can say is that speed account for a lot. So, if it takes you an hour to draw something at first, that time will get shorter the more you practice.
Don't try learning in a group since this is just too much of a distraction. It's best to practice all you can use the quiet and calm of your room or an outdoor location. Better yet, listen to earbuds or headphones to enjoy music that is inspiring as you sketch. I find that movie soundtracks and film scores are the most uplifting while sketching and drawing.
What are The 5 Basic Skills of Drawing?
To learn how to sketch, some rules need to be followed, and these are the top 5 rules that are easy to follow. If you learn all 5 of these rules for sketching, you'll get to be pretty good in a short time. Here's why:
• Edges
Your outline of anything that you draw is going to let people know what they are looking at. Scratch-out your basic outline from the very start, and you can nail any object or shape in minutes.
• Shapes
Perfect your lines, so they include curves and rounded shapes. This is vital to organic objects and characters alike. Since your shape is fine-tuned during the process of cleaning up your edges, this gives any drawing a more realistic shape.
• Proportion and Size
It goes without saying that scale helps show how big or how small your sketch is supposed to be. This can include angles, which is a little more advanced, but not without its reason for being. You want to express gravity, movement, and presence with your sketch.
• Shadow and Lighting
This is the final touch that adds more depth to a simple 2D drawing and sells the whole idea of what you want to show. When coloration is complete, it also shows where the object is placed and the distance it is to the viewer. Shadows also tell you where the light source is to make something appear more dramatic.
• Expressed Thoughts
Do you have a message that you want to get across to someone looking at your picture? Artists will add different emotions, or what I call a back story’ to your picture. This is hard to translate for most beginners but is a huge selling point in your final work. Everyone interprets what they see unless you add some visual pointers and messages.
Outlines and Edges
Unless you are just making a black and white sketch, outlines should be appropriate to the sketch itself. It doesn’t hurt to add other effects with lighting to make a sketch appear more 3D looking. This is where highlight and shadow will make even black and white pictures have an incredible impact. Keep all the darker edges that are on a shadow side be bolded, while lighter edges can simulate reflecting light.
You can also do a lot of good with a quality white highlight pencil that brings instant highlights on top of darker edges if you already drew them. Remember that your eraser is your friend, too, so anything with 3D depth to it can be shaded appropriately.
Composing a Drawing
What story are you trying to tell with your sketch? It can be something as simple as a single word, an emotion, or a thought. In the film world, you see all sorts of film characters. Turn your sketch into a character and use any of these three topics as a message. Click here to learn how to draw compelling compositions. Read my blog post: Principles of Composition.
• Use a word
Action words like fast, slow, mighty, weak are all good at describing a sketched scene. Use a single word for each picture to see how close you can get to this message.
• Use an emotion
We all experience emotions every day, so words like happy and sad are pretty commonplace. Try an emotional word like confident, frustrated, anxious, or envy to convey a complex mix of emotions.
• Use a thought
This is an exciting concept that you might have seen before. Thoughts including: ‘What a day,' ‘You don't see that every day,' or ‘I told you don't open that door.' Famous artists such as Trevor Henderson and others put these messages into their pictures all the time.
Drawing Form and Shadow
These two go together when it comes time for shading to sketch your finished art projects. The form you draw does need to have a bit of mass, so the shadow can help make this possible. Just be sure to study how natural shadows fall in real life. The best method for drawing shadows right is to use little models with an adjustable lamp acting as the sun (or light) to get the right shading.
Drawing Line
Always keep your pencils nice and sharp when drawing. Otherwise, your lines just end up looking too soft and fuzzy looking. This is OK if you want to have a dreamy looking picture. The better you get ad sharpening a pencil, the sharper a finished line can be. As for the sketching part, lines don't need to be as sharp. You can start out with a sharp harder pencil that will keep its shape for more extended periods.
Gestalt Drawing and Sketching
As if learning sketching tricks could get any more confusing for this guide. The Gestalt theory is confusing sounding but is actually a concept based on what we perceive. The best examples are the pictures showing the ‘old hag and the beautiful woman,' which is a visual illusion of perception. We see what our mind tells us to see frequently. But it doesn't end there, since sketches can stretch the boundaries of what is possible and what is not.
These are visual drawings that hide images within images, instantly creating a story. Gestalt sketching takes some time, but it's well worth the thought that goes into it. If you want to know more about this drawing theory, take a look at this:
Create Art With My Favourite Drawing Resources
General Drawing Courses. I like Udemy if you want to develop your knowledge of drawing techniques. Udemy is an excellent choice due to its wide range of creative courses and excellent refund policy. They often have monthly discounts for new customers, which you can check here. Use my link.
Sketching and Collage. Take a look at this sketching resource I have created. Use this link.
Proko. Is one of my favorite teachers who surpasses in the teaching of Anatomy and Figure drawing. Prokos course breaks down the drawing of the human body into easy-to-follow components aiding the beginner to make rapid progress. For this, I really like Proko.
Art Easels. One of my favorite ways to draw is by using a drawing easel, which develops the skill of drawing on a vertical surface. The H frame easel is an excellent vertical way to add variety to the style and type of marks you create when using a drawing board.
To see all of my most up-to-date recommendations, check out this resource I made for you.
