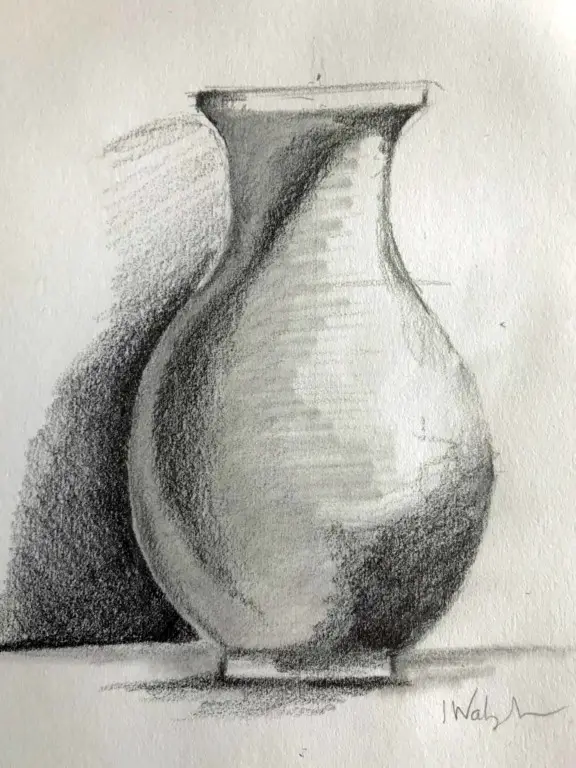
If you are looking to develop your still-life drawing skills. If you are having trouble drawing objects accurately, then this post will point you in the right direction.
How to Draw a Vase? To accurately draw a vase in pencil, begin by measuring the proportions of the objects you are drawing.
- Establish and draw basic proportions.
- Draw a rectangular or square box.
- Add a centerline
- Draw elliptical shapes at the top and bottom of your drawing
- Check the proportions of the vase are accurate
- Add shadows in the form of value and tone
- Add any additional background features to the drawing.
Learning to draw a still-life vase accurately is a transferable skill that is well worth developing.
For example, developing an understanding of proportion is a skill that can be used in many different ways.
Step-by-Step Drawing of a Vase
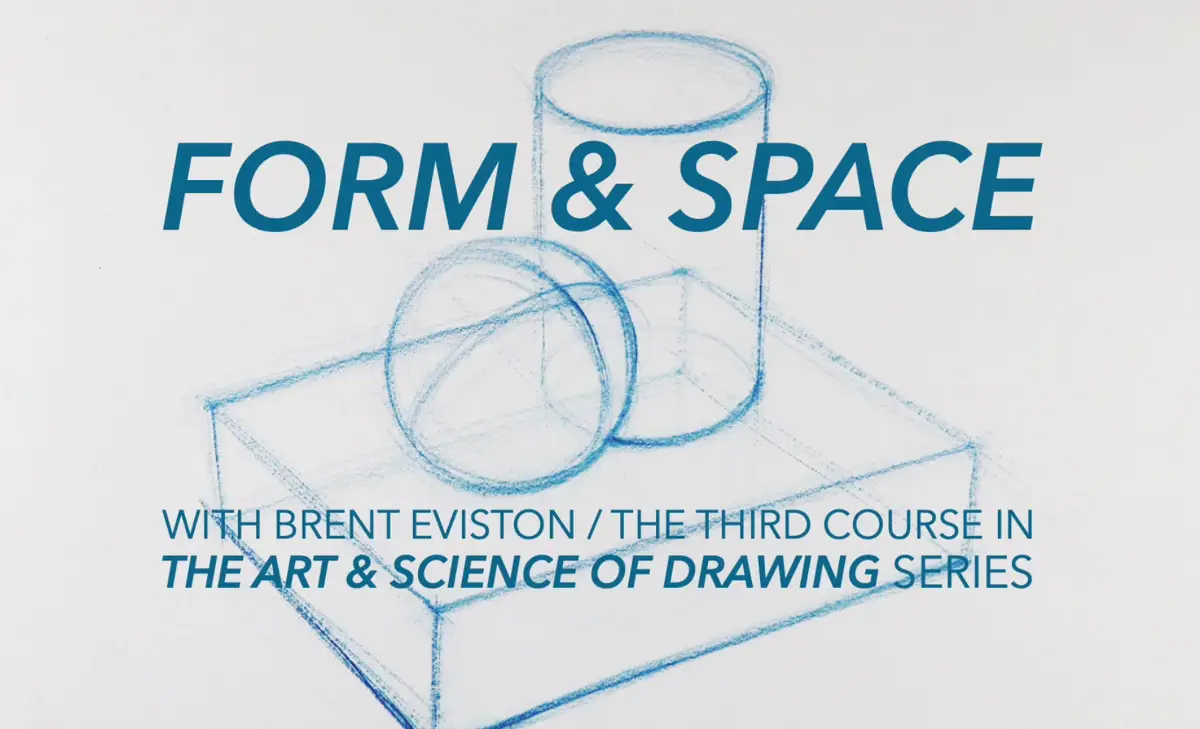
Follow this step-by-step guide to help you draw a simple Still Life Vase. For further detailed instruction, take a look at this popular drawing course.
Establish and Draw the Basic Proportions
Understanding and drawing the proportions of the vase you have chosen to illustrate is the first step in developing an accurate portrayal of the object.

Developing the right mindset is also crucial as the form of the vase is an essential first step.
Thinking and drawing in terms of form and outline will help you draw more accurately.
To achieve this, begin by drawing a faint rectangular box.
Draw a Rectangular or Square Box
Measure the height and width of the vase with a pencil. To do this extend your arm full length and align the top of the pencil with the top of the vessel.
You can then compare height to width quickly and directly. If you haven't tried this before repeat the process a few times.
This will enable you to get a sense of the proportions of the vase. If you are drawing several objects, you can repeat the process.
Draw a Centerline
Most drawings that contain regular symmetrical objects will have uniform proportions which are the same.
Regular forms are more straightforward to draw accurately than irregular shapes. And an excellent way to illustrate a symmetrical shape is to begin by drawing a centerline.
A centerline is a line drawn from the top of your form to the bottom. This will act as a pivotal point of reference around which the rest of the vase can be drawn and referred to when rendering the three-dimensional form of the vase.
Draw the Basic Outline Form
The next stage in the process of drawing the vase is to draw the basic shape of the form of the vase. For illustrative purposes, we will be drawing an oval-shaped vase.
To draw the oval and use the centerline as a point of reference, use a faintly drawn continuous line to draw the outline shape. As referenced in previous posts, try to relax the arm and draw from the elbow and shoulder.
This will improve the quality and fluency of the line you are drawing with. For more information about this, read my post, Are Your Drawings Not Improving? Here’s How to Get Better
Draw Elliptical Shapes at the Top and Bottom of your Drawing
To convey the three-dimensional form of the vase you are drawing. You will need to draw a curve that depicts the structure of the vase.
This is achieved through the addition initially of elliptical shapes at the top and the bottom of the vase. A further ellipse may need to be drawn in the center of the drawing if need be.
When ellipses are added to your drawing, the vase will quickly begin to convey a sense of three-dimensional form.
.
Viewpoint and Perspective
When drawing elliptical shapes, there are several things you will discover and need to understand to draw accurately.
| Eye Level | Viewpoint is essential to establish where in the composition you are looking. Is it upwards, downwards or online with the vase. |
| Perspective | An ellipse is basically a circle in perspective, the shape of which will change according to the height from which it is viewed. |
Practice drawing ellipses at various heights and views. To practice drawing these shapes at different heights.
Bearing this in mind when drawing, the ellipses at the bottom should be more full than the ellipse at the top of the vase if it is viewed at eye level.
You may need to draw a further ellipse in the central part of the object if the form of the vase dips of protruding inwards in a pear-like fashion. As you progress on adding tone and shade to the vase, the centerline and ellipses will allow modifying the graduation of tone correctly.
Check the Proportions of the Vase are Accurate
Once all of the primary lines and shapes are in place, you should have something which resembles the shape and look of a vase. The next stage in this process is to carefully check the proportions of the drawing.
Begin by performing a quick visual check. You can use a pencil or a ruler to compare the different sections of the drawing. Another way to
How to Shade a Vase
To create a sense of three-dimensional form with your drawing the application of value/tone is critical.
The first thing you will need to establish before you can begin adding shade to your drawing is a light source.
Using a pencil, you can begin to add shade to one side of the vase facing away from the light source. You can then start to graduate the shadow using smooth shading towards the center of the vase.
When applying value and shading there three things you will need to focus on to improve the quality of your shading and drawing.
| Pressure Control | Regulate the amount of pressure you place on the pencil as you blend dark to light. |
| Uniform Shading | Graduate your shading without resorting to mark-making. |
| Light Source | Understand the difference between a form shadow and a cast shadow. |
Drawing Additional Background Features
The addition of background features into your drawing is a good way to add stability and visual interest to your pictorial design.
This can be achieved in a number of ways. Drawing a simple background line will create the illusion that your vase is situated on top of a table.
To increase the level of visual interest you can build up elements to your composition.
Repeating Shapes. Drawing a lager or small vases or additional objects id a good way to add visual contrast. These elements can be drawn in exactly the same way as the vase.
Add flowers. The contrast between natural and manufactured forms is also a way to improve the visual appearance of your drawings.
If your drawing flowers in a glass vase for example. The reflection and refraction of light on the surface of the glass is also an effective way to improve your drawings.
Additional Questions
How to Draw a Glass Vase in Pencil
To begin using a step by step approach outlined in the first part of this post. You will now be ready to start your drawing.
Treat the surface of the vase as a series of light and dark patterns, and not as a complicated reflective surface.
The drawing of shadows and reflective surfaces is a subject which many novices perceive to be challenging to draw.
However, if you really put your mind to it, you should easily be able to draw this subject using a simplified approach.
Step 1.
Focus on observing and looking closely at the reflections you are drawing. The rule here is' look more than you draw,' is especially important.
Step 2.
Now that you have identified areas of light and dark contrast and value look closely at the difference between the light and dark reflections.
Step 3
Where you see differences between light and dark begin to sketch faint outlines. The trick here is to treat the surface as a collection of light and dark patterns.
Not and complicated combination of reflective shadows.
Step 4.
Next, begin to add lighter areas of shadow. You should aim at this point to have drawn a basic outline of the vase and the shadows and the reflections on the surface of the glass.
Using the side of the pencil begin the process of creating smooth graduated blending from light to dark.
Step 5.
To aid you in the process of blending and shading use a blending stick to help graduate sections of tonal shading.
It is also a good idea to focus on developing small sections of your drawing step by step and progressively build up areas of light and dark patterns.
Create Art With My Favourite Drawing Resources
General Drawing Courses. I like Udemy if you want to develop your knowledge of drawing techniques. Udemy is an excellent choice due to its wide range of creative courses and excellent refund policy. They often have monthly discounts for new customers, which you can check here. Use my link.
Sketching and Collage. Take a look at this sketching resource I have created. Use this link.
Proko. Is one of my favorite teachers who surpasses in the teaching of Anatomy and Figure drawing. Prokos course breaks down the drawing of the human body into easy-to-follow components aiding the beginner to make rapid progress. For this, I really like Proko.
Art Easels. One of my favorite ways to draw is by using a drawing easel, which develops the skill of drawing on a vertical surface. The H frame easel is an excellent vertical way to add variety to the style and type of marks you create when using a drawing board.
To see all of my most up-to-date recommendations, check out this resource I made for you.


