Why Are Drawing and Shading With a Pencil so Hard?
Why is shading so difficult? Whether they have been drawing for a while or someone who is just getting started. The truth is that drawing and shading with a pencil aren't complicated.
It only seems that way if you don't have a solid foundation of proper technique as a part of your skillset. Like anything else in life or in art, it takes time, patience, and practice to learn how to properly shad with a pencil.
There are two main mistakes that many artists make when shading with a pencil that can quickly ruin a drawing. First, it's common for artists to fail to get a full range of values when shading.
You have to render in the darkest shadows and show the brightest highlights if you want a drawing to look realistic. Second, it's widespread for artists to spend far too much time blending their drawings. If you blend your drawing too much, it will lose detail, turning it into a smudgy mess.
It's okay to let some of the pencil marks show. If anything, it gives a drawing more texture and character.
Please look at this drawing and sketching video course I have created. Use this link.
How Do I Get Better at Shading?
If you're hoping for a quick and easy solution that will enable you to become a master of shading with a pencil, you're going to be disappointed. When you want to get better at anything, there's only one way to do it, you do it by practicing.
Now, the good news is that if you're an artist, then practicing your craft is something you should enjoy doing. It may not be the most exciting thing in the world, and you may wish you could just skip a few steps and start creating masterpieces. But you can't. You have to put in the work.
You have to practice until shading with a pencil becomes second nature to you. Why is shading so hard, it isn't once you have spent enough time honing your skills.
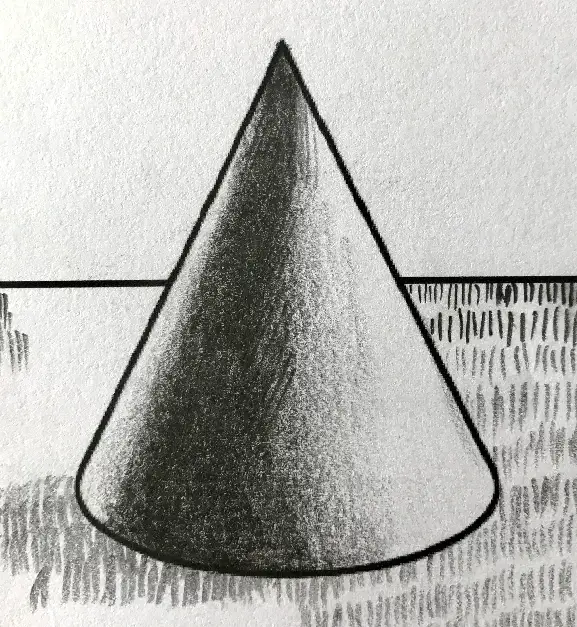
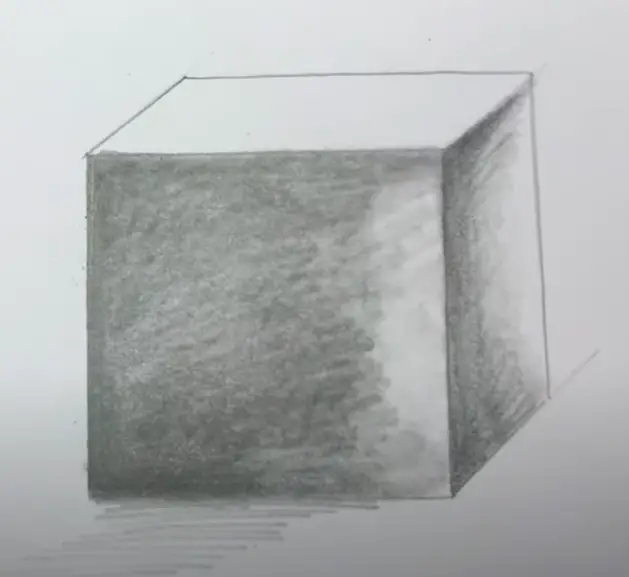
What approach should you take when practicing pencil shading techniques? You should start out by shading simple geometric shapes. Cubes, triangles, and spheres are all simple shapes that you can work on to begin mastering your shading skills.
Try setting up something simple at home. Maybe use a ball and a box, then set up a light source. Sketch it out quickly, but then pay extra attention to shading.
Try different techniques. For example, hatching and cross-hatching are often thought of as techniques when drawing with ink.
Practice using a rougher shading technique to add texture. Also, practice blending so you can learn to strike a balance between creating soft transitions while also keeping your drawing from becoming dull and smudgy.
Related Posts:
- Understanding Value in Drawing
- How to Draw Shadows on the Face
- How to Draw a Portrait in Black and White
Holding the Pencil
It's widespread for artists of all experience levels to make mistakes when gripping their pencils. When you first start any drawing, you should be holding your pencil loosely and making large movements using your entire arm.
You aren't looking for precision. What you are looking for is some spontaneity when you first start a drawing. This will give you a creative foundation for the rest of your drawing. After the rough sketch of your drawing is finished, it's time to hold your pencil tighter and begin using a more controlled approach.
This is the same way you should approach shading a drawing. Start out loosely to get a general idea of light and darkness, then go in and use a more controlled approach to finish rendering it.
Don't Shade too Light
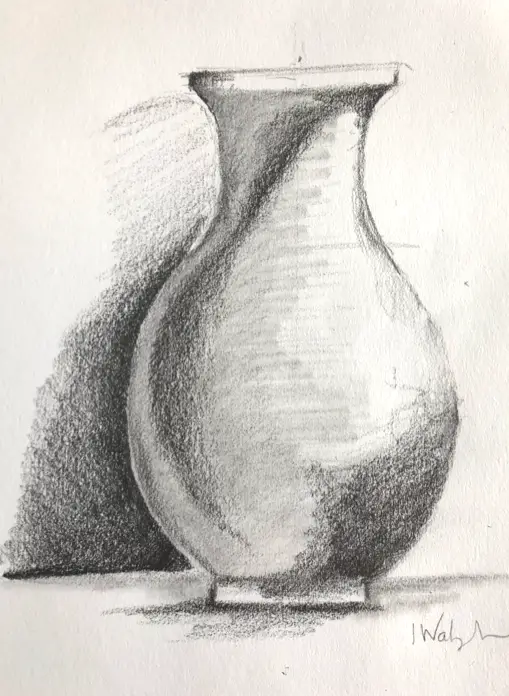
A widespread mistake made by artists just starting out is failing to add enough graphite to a drawing to achieve the darkest values. When you look at the world around you, you should notice a full range of values.
There should be a full range of values in your drawings because a full range of values is what you see when you observe the world. Don't be afraid to go too dark with your shadows. If you don't have the darkest values in your drawing, then your drawing will lack depth.
You also need to ensure that any of the mid-tones you create are dark enough to be easily visible. The best way to shade your drawing is to start with a sketch, then gradually darken it and add more mid-tones and dark values.
Don't Shade too Dark
While you need to avoid creating too light shading, it's just as vital that you don't go too dark. It's very easy to get carried away when you're working on a drawing and end up adding too much graphite. Always remember, strive for a full range of values.
If you have a drawing dominated by dark values, this can be just as problematic as having a drawing that lacks enough dark values. The easiest way to avoid having too many dark values is to start working from light to dark.
Every few minutes, make sure that you take a break, step away, then look at your drawing again. Taking a break every few minutes will help you avoid getting tunnel vision where you can't see problems until it's too late to fix them.
Start Shading Simple Shapes and Forms
Most artists aren't huge fans of drawing simple forms. It can be a bit tedious, but it's also one of the best ways to develop your skills in shading with a pencil. One of the reasons this is a great way to practice is that it gives you the ability to work quickly.
If you are drawing something complex, such as a person, then it will take you a while to create the sketch that you are going to render on. On top of that, if you are trying to creating a realistically shaded drawing, you'll need a model to work from.
Getting a model to work from takes time, then you add in the time it takes to sketch the person.
It all adds up to a lot of effort just to get some practice in. Now, once you've mastered the basics, you should definitely move on to more complicated subjects. But until then, why spend a lot of time when you don't have to?
To draw a simple shape should take you a minute at the most. Setting up that shape and a light source might take a few more minutes, but even then, the amount of time invested into the practice drawing is minimal.
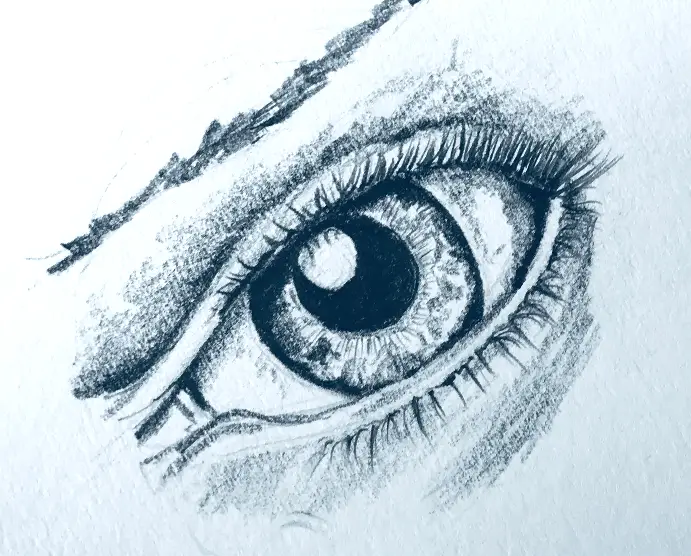
The other reason that drawing simple shapes makes sense is that more complex subjects can be viewed as simple shapes. For example, a human head is a sphere, as are the eyes. A nose is a triangle that sits on top of that sphere.
Everything you draw, from landscapes to portraits, can ultimately be broken down into simple shapes and forms. So, when you're practicing shading simple shapes and forms, you're gaining valuable experience for work that you'll produce once you're more comfortable with shading.
Create a Tonal Grid
The first step in your process of mastering shading with a pencil is to create a tonal grid. What is a tonal grid? It's a grid that depicts a full range of values. How many squares should be in your grid?
That's up to you, but the more you have, the more of an understanding that you'll develop about the different values that you can create using graphite.
A tonal grid is both a reference tool as well a way to practice shading.
Each square you shade in will help you understand what kind of pressure to use to create different values. It may take you a few attempts before you can create a tonal grid that goes from light to dark in a series of subtle gradations, but it's time well spent.
The first square should be white, and the final one should be the darkest value that you can create.
Flat Shadows
Rendering in flat shadows can be very challenging for any artist, so don't become discouraged if you find yourself struggling in this area. The first thing you need to realize is that rendering flat shadows may not even be in your best interest.
Flat shadows can be very dull, which is why having some variation in your shadows can be a good thing. Most shadows that you see in the world around you are going to change from light to dark.
There will be gradations in the shadow, which makes rendering flat shadows unnecessary.
But what should you do if you need to render flat shadows? In that case, powdered graphite can be an ideal solution for you.
Powdered graphite is just like the graphite that you find in your pencils, just in powdered form. Now, before you get started, you should know that powdered graphite is messy.
Powdered graphite is applied with a brush and gives you the ability to lay down a flat, even layer of graphite, creating a flat shadow. It takes some practice, but once you're used to using powdered graphite, you should be able to create even shadows that aren't possible with pencils.
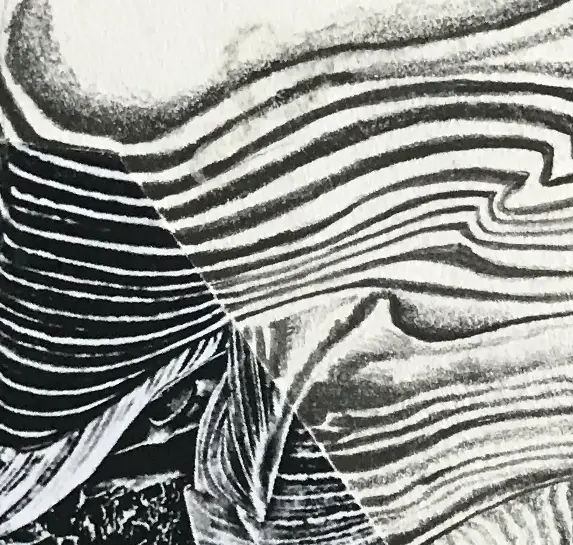
Flat Textures
Textures are an essential part of any drawing. Creating flat textures can be challenging, but it's simply a matter of putting in the practice time to get to where you can do it consistently.
Graphite is exceptionally versatile, and its ability to depict a wide range of values makes it ideal for creating the appearance of textures on a flat surface. The most important thing to remember about creating textures is to focus on lights and darks.
Using highlights and shadows will create the illusion of a three-dimensional image on a flat surface, which gives you the ability to create flat textures.
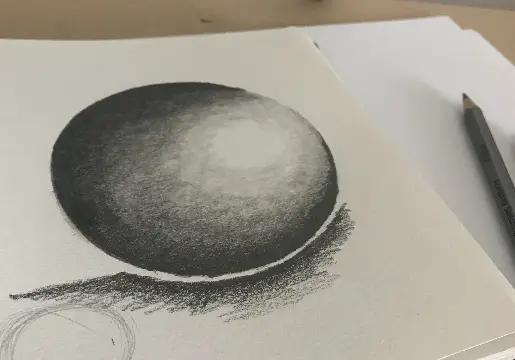
Understanding Light Source
The single most important thing you need to keep in mind when drawing anything with shadows is the light source. The light source for anything determines where the highlights, mid-tones, and shadows will be.
This is another instance where practicing with simple geometric shapes becomes an invaluable tool. Everything that you draw can be broken down into basic geometric shapes, so practicing understanding the light sources will help you as you branch out to more complicated subjects.
How Do I Make my Shading Smooth?
If you're having trouble creating smooth shading, you're not alone. Graphite naturally creates a rough texture when you write and draw with it.
It's only through careful blending that you can create a smoother look with it.
When trying to blend graphite, blending stumps is your best friend. Blending stumps are tightly wound pieces of paper that form a solid shape similar to a pencil. They can be used to blend graphite, charcoal, or any other type of dry media.
Using blending stumps will enable you to have a lot more control when you are drawing. They come in different sizes, so you can work on large areas, and you can do precision work as well.
Another option that you might want to consider is using water-soluble graphite. Water-soluble graphite is slightly softer than traditional graphite, which makes blending it easier.
It's also water-soluble, so you can use it much like you would use watercolor pencils.
If you decide to try water-soluble graphite, make sure that you use heavier paper to handle the water. Hotpress watercolor paper is an excellent option because it holds up when wet and smooth, enabling smoother shading.
Different Between Rough and Smooth Shading
The difference between rough and smooth shading is about the amount of time you spend blending your drawing. You have rough shading if you use rough, quick strokes to create shadows and don't blend them.
If you spend time blending the graphite to create a smoother surface, then you have smooth shading. It's not that complicated. What is more complicated is deciding when to use each kind of shading. Sometimes, rough shading is better, and there are others when smooth shading is more effective. How do you decide which to use?
In most cases, using a combination of smooth and rough shading is your best option. Take a moment to think about what you want your drawing to say, what style you want it to have, and how you want your subject to be perceived.
This will give you the insight you need to decide on when to use smooth and rough shading.
Regulating the Pressure on the Pencil
Regulating the amount of pressure you put on your pencil will enable you to determine how much graphite you put down on the paper. By learning how to control the pressure you use, you can control how dark or light the marks you make will be.
This enables you to create everything from light mid-tones all the way to the deepest shadows. When drawing, one thing to keep in mind is that using too much pressure will break your lead, and it can also damage your paper.
When creating extremely dark areas, it's best to use moderate pressure and put down multiple layers of graphite.
How Do You Do Shading Easily?
If you're looking to do shading easily, then using the side of a pencil lead will enable you to quickly put down a light layer of shadow. You can continue doing this with sketches to create a spontaneous-looking drawing.
But, what do you do when you want to have a more complete-looking drawing without spending a considerable amount of time shading?
First, start by putting down a light layer of graphite over the entire drawing. This will be your base tone.
Next, use a kneaded eraser and erase areas of the drawing where you want there to be highlighted. The final step is to start putting down darker areas on top of the base tone to create varying shadows.
Why is Art so Hard?
Asking why art is so hard is something that many novice artists ask. It's also something that more experienced artists ask when they hit a creative wall. Art can seem to be next to impossible at times, and at other times creating a drawing can feel like the most natural thing in the world to you.
It all depends on your state of mind. What you have to realize is that art is only as hard as you make it. Almost every artist is a perfectionist.
We see flaws in our own work that most people would never notice. But it's those flaws that we focus on, and it's those flaws that can make the creative process so tricky.
Art isn't hard, the hard part is accepting that you may never be pleased with your work, and that's fine. What's important is that you have fun and you share your vision with the world.
Create Art With My Favourite Drawing Resources
General Drawing Courses. I like Udemy if you want to develop your knowledge of drawing techniques. Udemy is an excellent choice due to its wide range of creative courses and excellent refund policy. They often have monthly discounts for new customers, which you can check here. Use my link.
Sketching and Collage. Take a look at this sketching resource I have created. Use this link.
Proko. Is one of my favorite teachers who surpasses in the teaching of Anatomy and Figure drawing. Prokos course breaks down the drawing of the human body into easy-to-follow components aiding the beginner to make rapid progress. For this, I really like Proko.
Art Easels. One of my favorite ways to draw is by using a drawing easel, which develops the skill of drawing on a vertical surface. The H frame easel is an excellent vertical way to add variety to the style and type of marks you create when using a drawing board.
To see all of my most up-to-date recommendations, check out this resource I made for you.