Want to learn how to draw a guitar? Well, it's a process that is similar to any other type of subject matter you may want to draw. Start out by choosing your paper and your pencils. If you are looking to create a very tight and realistic image, then using something with a smooth finish like bristol board is your best bet.
If you are looking to create a more stylized and rough-looking image, then using a paper with more tooth-like cold press watercolor paper is a good option. You have to decide what style you are looking to create and set up a guitar with appropriate lighting as a reference.
If you don't have a guitar you can use as a model, then you can use a photo. You also have to choose what types of pencils to use. While you have decided to focus on graphite pencils, don't forget that there are different varieties of pencil graphite that differ significantly in hardness. The harder lead will give you a lighter line, while the soft lead will provide you with a darker line. Now, it's time for the fun part, drawing your guitar!
How To Draw A Guitar Step By Step
After you have chosen your materials and have your guitar set up as a reference, it's time to get started. But where do you start? Start out by creating a very rough and light outline.
Keep your arms loose and make light, wispy strokes. You aren't trying to draw details here, just a general outline. After you have your rough sketch done, it's time to start establishing value. Start out by looking for the areas that are going to be the darkest. One trick that may help you is to squint your eyes and look at your model. This will help you to pick out your shady areas. When it comes to your darks, don't be afraid to make very intense darks. If there are dark shadows on your model, then make them dark. Then start to add mid-tones. If you notice that the light areas have become grey, you can use a kneaded eraser to lighten them up. After your values are established, then you can go in and use a harder pencil with a fine point to add details.
How To Break Down The Form Of The Guitar Into Simple Basic Shapes
When you are preparing to draw your guitar, try to focus on seeing the basic shapes that make it up. Don't draw a guitar, instead, sketch out the shapes that make up its body. The neck is a rectangle, and the main body is either a roughly rectangular shape or a roughly oval shape. By starting out with basic shapes, you can establish proper proportions, and make sure that your perspective is solid before you start getting into the process of adding details. The simple, basic shapes of the guitar are the foundation that the rest of your drawing will be built on.
The Trick To Drawing Basic Shapes
The trick to drawing basic shapes when you want to learn how to draw a guitar is to focus on each shape individually instead of trying to focus on drawing the entire guitar. Picture each shape and start to sketch them. Whatever you do, don't use a ruler! Will a ruler give you straight edges? Yes. Will a ruler also lend itself toward helping to create a boring, lifeless, and dull drawing? Yes! Don't be worried if your lines are a little crooked. You are just sketching out shapes now. Once your shapes are set up, then you can go back with a ruler and straighten up any lines that need adjusting.
Basic Contour Outline Shapes
What is a basic contour outline? It's a simple outline that helps to define the shape of a drawing. A contour drawing is done quickly, and it is done without lifting the pencil from the paper. This helps you to develop a quick, rough impression of your subject. While you will definitely want to put in subtle details later, a contour drawing is a great way to create a lively composition. When doing your basic contour drawing, you should use a hard lead pencil to keep your strokes light, which will make erasing them more manageable. Unless, of course, you want to leave those initial marks in place in order to create a sketch-like effect from your finished drawing.
Drawing The Proportions Of The Guitar
If you want your guitar to look like a guitar, then you need to get the proportions correct. Unless you are planning on drawing an abstract guitar. Assuming you are trying to create a realistic guitar, proper proportions are essential. So, how do you achieve them? You do it by paying attention to the relationship of the shapes that make up the guitar. When you are sketching out your contour drawing of the guitar, keep your lines light and loose, but also make sure that you slowly start to get those shapes to relate to one another. If you have problems with proportions, one trick you can use is to draw a grid on a photo that you use for reference, then transfer that grid to your drawing. Then as you sketch, you can compare each square of the grid between the photo and your drawing to ensure that they line up.
Apply Value And Tone To Your Drawing
After you have established the shapes of your drawing and made sure that the perspective and proportions are correct, you need to start adding value and tone to your drawing. Value and tone are what transform a line sketch into a finished drawing. One common mistake that people make when drawing is to be too afraid to really put in the dark values. Your drawing should have a range of darks, mid-tones, and highlights. If it lacks any of these, then it won't have a realistic look when you are finished. So, when it's time to put in the darkest shadows, really put them down. You might even consider using graphite sticks to get a darker look. For mid-tones light strokes that are blended with your finger or a blending stub work best. Finally, make sure that your highlights are really light, which can be accomplished through the use of a kneaded eraser.
Other Types Of Guitar You Can Draw
If you are interested in drawing something different than a traditional guitar, then drawing an electric guitar or a bass guitar may interest you. A conventional guitar has rounded edges and a soft wooden finish. Electric and bass guitars are the polar opposite of this. They have a plastic finish and hard edges. Most importantly, they also have electronic components that can be fun and challenging to draw. The point is that if you want to have fun drawing guitars, don't limit yourself. Explore your possibilities and try new things.
Drawing A Guitar Using Different Media And Drawing Techniques

Learning how to draw a guitar step by step using a pencil is a great starting point. But why stop there? Why shouldn't you explore your options? This is art, after all, and art is all about being creative. When you think about it, the very nature of your subject matter here should push you to be more creative. You are drawing a musical instrument, so embrace it! Try putting on some rock music and seeing how it moves you. Picture the melody in your head and let that influence you and the decisions you make when you are planning your drawing.
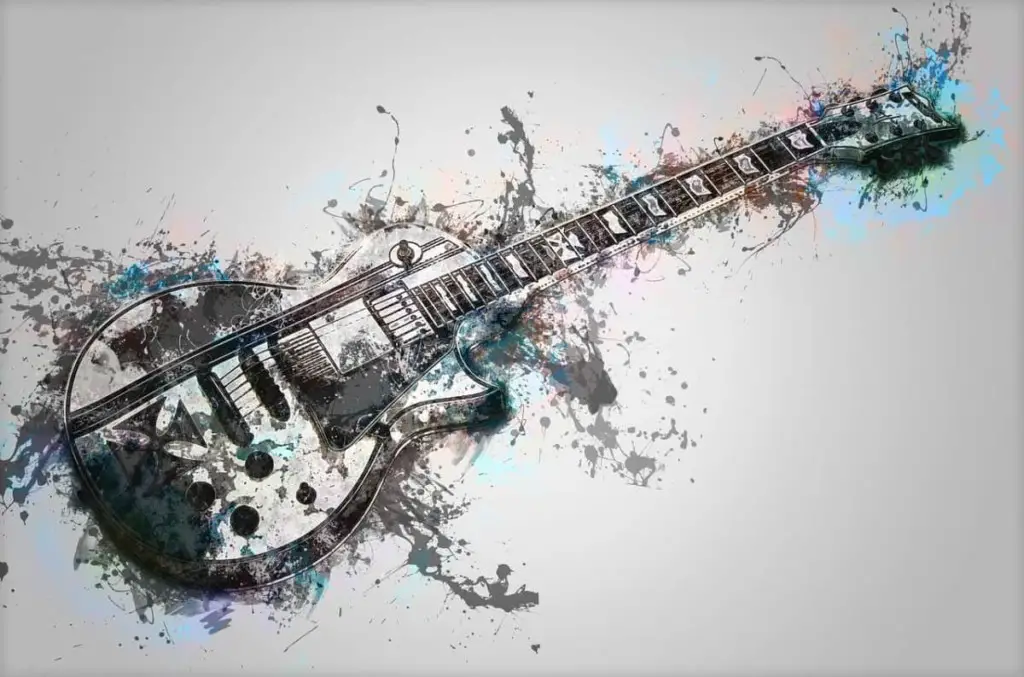
As for your drawing materials, why restrict yourself? Pencils definitely have their place, but they are far from your only option. Why not use colored pencils? Or ink and wash? Or better yet, oil pastels? Oil pastels are quite possibly the best medium you could work in when trying to create a colorful and vibrant guitar picture. Oil pastels allow you to create a painterly effect, but the most significant advantage is that they will enable you to do this without having to go through the time-consuming process of setting up your painting supplies.
If you prefer to work in paint, the possibilities there are nearly endless as well. You could opt for the randomness of a watercolor sketch, or you could try your hand at painting a photo-realistic image of a guitar using oil paints or acrylics. Or, you could mix your painting mediums to create something unique. Just remember that if you decide to work in both acrylic and oil, you can't mix them. You also can't paint in acrylic over oil paint, but you can paint in oil over acrylic.
No matter what you decide, as an artist, there really is no wrong approach. Feel free to experiment. If you are most comfortable using a pencil to draw with, then maybe you can try drawing with sketching pencils. These are similar to watercolor pencils, but they are graphite instead of color. Or you could add a few splashes of color on top of your pencil drawing with marker, ink, or oil pastel. Try new things, and in time you should be able to develop a style uniquely your own.
