Learning how to mix and blend watercolor pencils can give you the ability to create stunning pieces of artwork that combine elements of watercolor painting and colored pencil drawing. Watercolor pencils offer incredible versatility, which makes them appealing to colored pencil artists and well as watercolor artists.
When using watercolor pencils, it's possible to achieve a high degree of precision and control, and many artists find it easier to control than traditional watercolor paint. On the other hand, watercolor pencils can be used to create the same type of spontaneous effects that watercolor is known for. No matter how you choose to use them, spending time learning how to mix and blend watercolor pencils will help you to grow as an artist.
Soft Graduated Blending With Watercolor Pencils
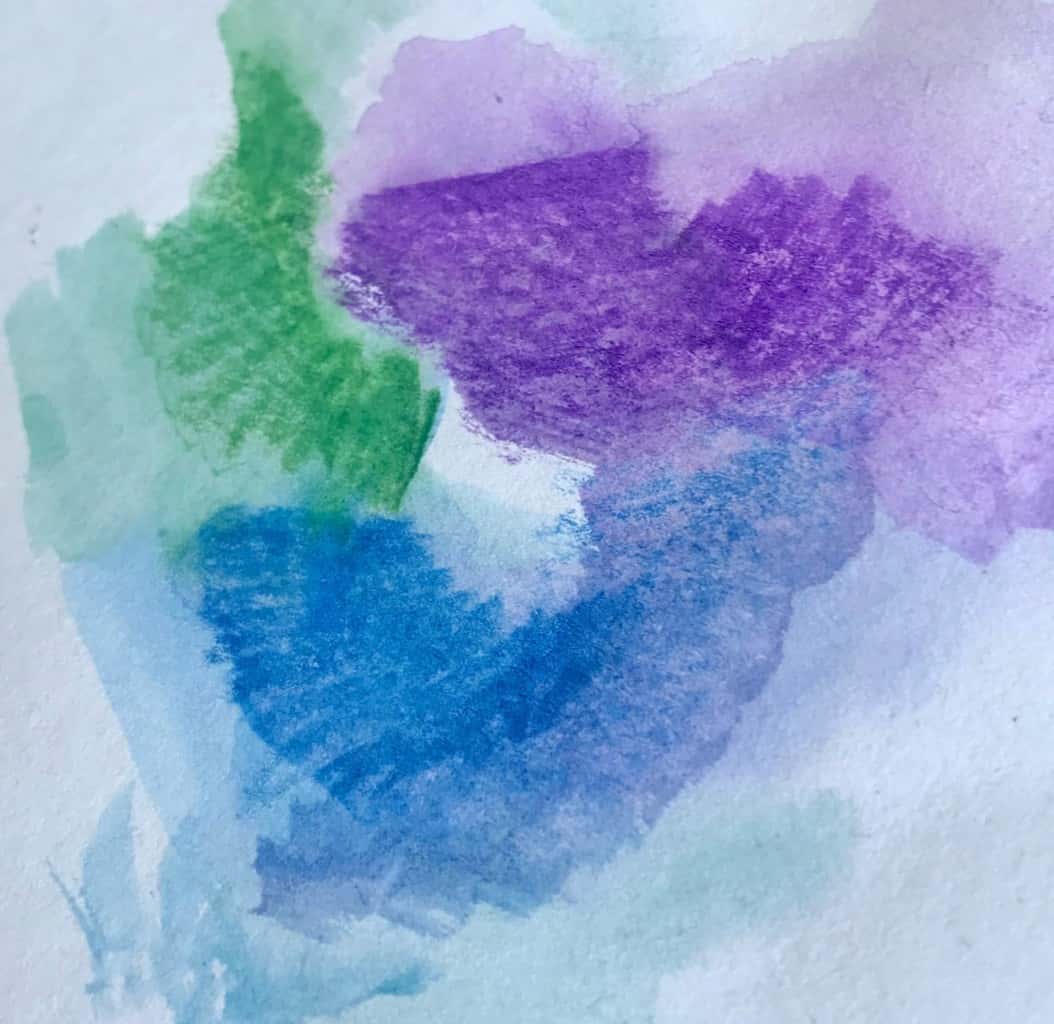
Achieving soft graduated blending with watercolor pencils can be done in a variety of ways, some more difficult than others. The easiest way to make soft graduated blending is by using watercolor pencils the same way you would use traditional colored pencils. You should start with the area that is darkest, then slowly decrease the pressure you are applying so that less pigment is placed on the paper. You can also mix in darker colors in areas that are darker to create a deeper shadow. The following watercolor pencils give excellent coverage. Derwent Colored Pencils, WaterColor, click here to visit amazon.
If you want to use your watercolor pencils to create a painting, you can achieve graduated blending by applying pigment from heavy to light. You would then go over the pigment on the paper to transform it into paint. The hard part here is controlling the water level that you add and create an even wash that slowly c. hanges from dark to light. If you are interested in using watercolor pencils precisely, a set of water brush pens is an excellent investment. These types of pens have an internal water reservoir, so instead of having to dip your brush in water frequently, you just squeeze a little, or a lot, to release water.
Additional Posts You May Want to Read:
- How To Sharpen A Colored Pencil The Right Way
- Colored Pencils: 30 Tips That Will Improve Your Drawing
- Best Colored Pencils for Coloring and Blending
- The Best Online Drawing Courses that are Actually Worth the Money
Adding Darker Shadows
Any experienced artist will tell you that one of the keys to creating realistic looking artwork is to have a wide range of values. Simply put, you can't be afraid to add the darkest shadows on a drawing or painting. Without the darkest values, a drawing will lack depth, look flat, and won't have a realistic look to it. So, how do you create darker shadows on a drawing or painting? You just use black, right? No!
If you are doing a monochromatic piece that is black and white with shades of grey, then yes, you would use black to create darker shadows. But, if you are doing a piece that has color in it, then using black is usually something you should avoid. Using black for shadows can deaden a piece of art, creating negative areas that draw in the eye and ruin the overall look of the piece. Black can be used, but using pure black for dark shadows doesn't usually work well.
So, if you aren't going to use black to create shadows, what should you use? You should use a complimentary color. Complimentary colors are colors that are opposite one another on the color wheel.
When used together in a drawing or painting, they create an interesting visual dynamic that tends to pop off of the page and attract the eyes of viewers. While you can use complementary colors together in a drawing or painting, you can also layer them to create shadows. When mixed together, complementary colors produce either a neutral grey or a brown tone. To get a darker tone, you would simply add more of the darker of the two colors you are mixing. Now, while using pure black for shadows should be avoided, you can add black to a mixture of complementary colors to deepen the shadows. Just be careful to not overdo it so that your shadows become predominantly black.
What's the best way to mix complementary colors to produce dark shadows? With watercolor pencils, you have a few options. The first option is to work in layers. You'd place a layer of one color down, then you would layer the complement to that color over the first layer. You can repeat this process repeatedly if you are trying to saturate the paper to create a very intense color. Now, you can either leave your watercolor pencils as they are, or you can add water to blend them together. If you add water, you need to be careful to not overdo it because you can end up with a muddy mess. If this does happen, you can always go back over the top of it once it has dried and then add more of the primary color that you are working with.
Apply Color With A Dry Pencil
One of the main reasons that artists love watercolor pencils is the versatility that they have. You can draw with them. You can paint with them. You can also paint with them then draw over the top of the painting. Most people that use watercolor pencils use them the same way they use colored pencils, at least initially. You simply draw the way you would with colored pencils, blending and layering colors to achieve the effect you are looking for. After you have finished your drawing, you can go back and add water if you want to, or you can leave your picture as is. One important thing to remember about watercolor pencils is that water will activate or reactivate them. So, it's essential that you protect your finished drawings and paintings. Placing them behind glass works, or if you don't want to frame everything you finish, you can also seal them with an acrylic spray once you are finished with the drawing or painting.
Using A Damp Paintbrush
If you are going to work with watercolor pencils, you should definitely take advantage of their full potential by adding water to the equation. If you aren't going to add water, then why wouldn't you just work with traditional colored pencils instead? Adding water to a watercolor pencil piece is the best way to bring it to life and get the most out of the medium. When adding water to your drawing, you can either add a lot of water to create a spontaneous looking watercolor painting, or you can add a little water, just enough to blend the color together. You need to make sure that you are using paper that can stand up to the water you are adding to it. Using water on regular paper will warp and destroy it, so working with watercolor or mixed media paper is your best option.
If you are planning to work with watercolor pencils and use them to create painterly effects, then investing in water brushes would be well worth it for you. Water brushes enable you to set up and start painting within minutes. Instead of having to fill up a cup of water, you can just start painting.
This is especially useful when you are going to be painting away from your home or studio. Watercolor pencils and water brushes will give you the ability to quickly set up a portable watercolor workstation, so you can enjoy painting outdoors or anywhere else that feels like an excellent location to paint at.
Combining Different Groups Of Colors
Working with color is intimidating for many artists. Very few artists start out working in color. If you can think back far enough, your first experiences as an artist were probably doodling with a pencil. Even if you were an avid crayon user as a child, you probably still spent a lot more time drawing with pencils than with anything else when you were first starting out as an artist.
So, it makes perfect sense that you would be more comfortable working in black and white. In fact, many of the best black and white artists struggle with color. The good news is that color doesn't have to intimidate you, and once you learn to embrace it rather than fear it, you should see that it will let you take your artwork to another level.
The first thing you need to understand about drawing or painting in color is that it's the most natural type of artwork you can create. When you draw in black and white, you are translating what you see in the world around you into different values of black, white, and grey. Drawing or painting in color opens up a lot of new possibilities for you to explore, and after some initial struggles, you should find that working in color feels very natural to you.
Working with different groups of colors takes practice. Sure, you can just start drawing and painting what you see around you, but if you want to create striking images, you need to learn how to use color to your advantage. One way that you can use color to create vibrant images is to utilize complementary colors.
Complementary colors are colors that are opposite from one another on the color wheel. For example: red and green, purple and yellow, or blue and orange. This doesn't just apply to these colors, they are simply examples. When you put two complementary colors next to each other in a drawing or painting, it creates a visual sizzle that draws in the eye of the viewer. If the subject that you are drawing or painting doesn't have complementary colors in it naturally, feel free to use artistic license to alter your composition so that it does.
Another way to create a visually striking image is to use spot color. What is spot color? Spot color involves drawing or painting a picture using various hues of the same color. For example, you could paint an image using different values of blue. Then, you add a dash of spot color to the image, this spot color should be a color that is very different from the main color you painted with, in fact, using a complementary color here would be ideal.
Spot color is often executed using primarily various shades of black and grey, with a single part of the image in a bright color. If you are going to try to use spot color, make sure that you use a color that is noticeably different from what you execute the rest of the drawing or painting in. You should also utilize this different color on a part of the drawing or painting that you want the viewer to focus on, since using spot color will make that part of your artwork a natural focal point.
Considering Color Mood
What overall mood do you want your drawing or painting to convey? Is it a happy image? A sad one? One that evokes fear? What is your point? What do you want your image to say to the viewer? These are all questions that you should answer before you start your drawing or painting. If you don't have a solid plan in place and make things up as you go, then there's a good chance that your drawing or painting will turn into a muddy mess.
Now, if you were painting in oils or acrylics, you'd be able to paint over your mistakes. So, you can afford to be a bit more spontaneous and simply paint what feels right when you are working with these mediums. But with watercolor pencils? Painting over mistakes isn't going to work out very well for you. That means that you need a plan.
Generally speaking, if you want a drawing or painting that evokes sadness or darker emotions, you want to use a darker color scheme. That means using lots of blues, violets, purples, and greens. If you are painting a happy scene, you should be using bright colors. While you can do whatever you want when you are painting, since creating art is all about pushing boundaries and breaking the rules, there are still times when you should stick to what is considered conventional wisdom.
This is one of those times. After all, if you are painting a scene that shows pain and sorrow, using bright pinks and oranges isn't going to go over very well. This is just one of many possible examples that show you how much color can impact your artwork.
Mixing Dark Color Scheme
Working with a dark color scheme can be very challenging for even the most experienced artists. It's effortless for a dark drawing or painting to look flat, especially if you use black heavily. Using black in a limited way is fine, but using a lot of black usually ends up being a mistake. The best way to create a dark color scheme is to use a combination of complementary colors and analogous colors. Analogous colors are colors that are next to each other on the color wheel. So, how does all of this work? The best way to illustrate using color to create a dark color scheme would be with a simple example.
In this example, you are going to be creating a dark color scheme using primarily dark shades of blue. One exciting way to start out a watercolor pencil painting is to layout the initial design using a complementary color. So, here you are going to use a dark orange to sketch out your composition. Go ahead and fill in the darker shadow areas with orange as well before adding water to it and blending it.
Now, wait until it has completely dried, then start adding your darkest blues and purples on top of the orange. Combining the blue and purple over the orange should give you an intense but vibrant shadow. After your darkest values have been established, you can start adding lighter values to the piece.
Creating Earth Color Scheme
Earth tones can be used to create a very natural, soothing drawing or painting. But, earth tones that don't have a full range of values run the risk of being a flat and dull piece. Earth tones are various shades of brown, beige, and neutral greens. Earth tone paintings are usually painting depicting nature, but if you are feeling creative, you can use earth tones for creating just about any type of scene you can imagine.
The key to being able to use earth tones is to realize that there are different values of earth tones. You need to create a full range of values from highlights to mid-tones, and even dark shadows.
Cool Color Schemes
Cool color schemes are best suited for paintings that you want to have a more subdued, relaxed feel. When executing a painting using cool colors, you'll want to use blues, violets, and neutral greens. If you are planning on executing a painting using cool colors, make sure that you add a range of values. All blues in your painting shouldn't be the same value, and neither should any other color.
The key to creating a successful painting using cool colors is to use a range of values. The other key to succeeding when creating a cool color scheme painting is to choose the right subject. Cool colors are more somber, so make sure that you paint something appropriate for this type of color scheme.
Warm Color Schemes
Warm color schemes are the opposite of cool color schemes, and they should be used to paint vibrant, happy, and exciting paintings. Warm colors evoke a feeling of joy and happiness, so make sure that you paint a happy scene when using a warm color scheme. Warm colors are bright greens, yellows, oranges, and reds. When utilizing a warm color scheme, make sure that your painting has a full range of values. Failing to add different values will make your painting look flat and dull, even when you are using bright colors.
How To Create A Monochromatic Scheme
Drawing or painting using a monochromatic color scheme is probably something you already do on a regular basis. Not sure about that? Well, did you learn to draw with pencils? Do you create different values in your pencil drawings, all while using the same pencil? Yes? Well, then you are experienced in creating monochromatic color schemes. Monochromatic means one color, so all you are doing with this type of color scheme is using one color and creating a wide range of different values with it. While creating a monochromatic color scheme using graphite might come naturally for most of us, doing it in color is often much more challenging.
When creating a monochromatic color scheme in a painting, what you have to remember is that you translate what you see in the world into a new color scheme that you will paint in. When you look around the world, do you see many different values? Yes? Well, in order to create a successful monochromatic color scheme, you'll have to create a wide range of values. With watercolor pencils, it's particularly easy to create different values by simply altering the amount of pressure you are applying as you draw. More weight will put more pigment down on the paper, and less pressure puts down less pigment.
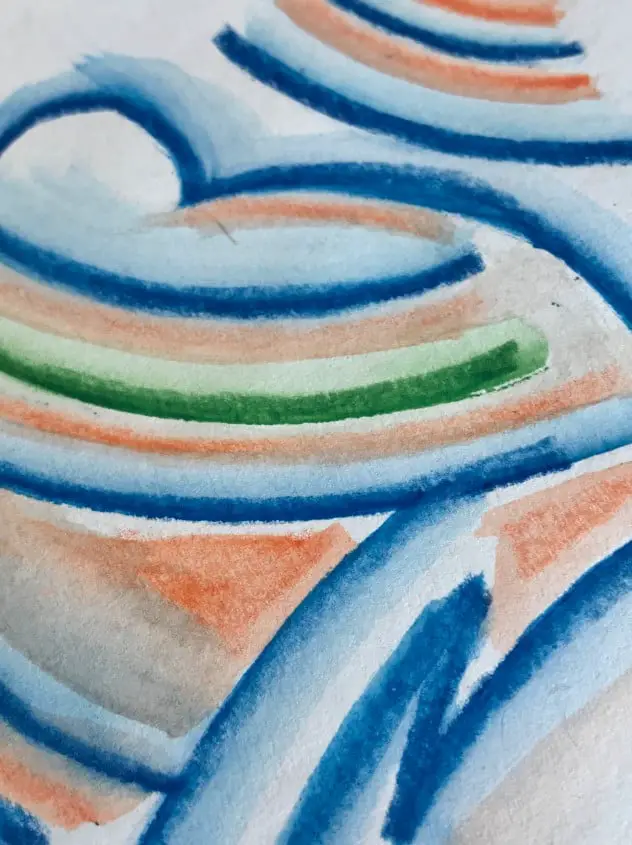
Mark Making With Watercolor Pencils
Making marks with watercolor pencils can be done wet or dry, further illustrating the versatility of the medium. The first way to create marks with watercolor pencils is to use them just like you would use traditional colored pencils. You draw, sketch, add lines, or add fields of color with a dry pencil. Now, when you are ready to see what watercolor pencils are capable of, you'll need to add some water to the mix. You can do it after the fact, but if you want to create a direct line of paint directly from the pencil, there are two ways to accomplish this. The first way is by dipping the tip of your pencil into a cup of water before drawing with it. This will activate the lead, turning it into paint. The second way is to mist your paper with water first, then draw on it while it's still damp.
Drawing Lines, Shapes, And Color With Watercolor Pencils
If you want to get better at drawing and painting with watercolor pencils, there's one secret tip you should follow. Practice, practice, and more practice. Okay, so it's not a secret tip, it's advice that every artist is told from a young age regardless of what medium they plan to use. How do you practice? You should practice by drawing lines and shapes. Drawing simple shapes may be a bit dull, but it will help you to develop your skills. Make sure that you practice drawing different types of shapes with varying sources of light. Remember, whenever you are depicting a complex scene, you should always try to break that scene down into simpler shapes. Learning to draw those simpler shapes now will improve your skills when you progress toward creating finished artwork.
Creating Linear Designs
Creating linear designs with watercolor pencils can be challenging if you are adding water to your picture. Drawing a straight line with a watercolor pencil is easy. It's even more comfortable if you use a ruler or straight edge. But, what happens when you want to use your watercolor pencils wet to create a straight line? Now you've run into something a bit more challenging.
First of all, you need to decide how precise you need the lines you are going to be drawing to be. Using a straight edge makes it easy, but it's also more time consuming than drawing a line freehand. While drawing a straight line freehand will result in some imperfections in the line, these imperfections can add to a drawing, making it look more appealing. Providing, of course, that the defects are minor.
The hard part of using water with watercolor pencils to create a straight line is controlled. Watercolor is naturally spontaneous and unpredictable, which, in the hands of a master, can create amazing pieces of art. But, when your goal is to create a straight line, the unpredictable nature of watercolor will work against you. So, what can you do? Option number one is to dip the tip of your watercolor pencil in water, then use a straight edge or ruler. Option two is to use a very lightly wet paintbrush when activating watercolor pencil marks by painting over them after they have been drawn out.
Blending And Burnishing
Blending and burnishing watercolor pencils can be done much like you would do it with traditional colored pencils. You layer the color, then you can use a blending stub or your finger to manually blend the colors together. Watercolor pencils aren't the most natural thing in the world to combine this way, but it can be done if you work at it.
The question here is, though, why would you work at it? Why wouldn't you take advantage of watercolor pencils by adding water to your drawing before blending them? You can add a little water to your picture, which will let you combine the pigment while still retaining the qualities of a drawing. Or, you can add a lot of water to fully transform your picture into a painting.
Recommended Watercolor Pencils
- The following watercolor pencils give excellent coverage. Derwent Colored Pencils, WaterColor, click here to visit amazon.
- This set of watercolors pencils offer excellent value. Arteza Watercolor Pencils, Professional Set of 48, click here to visit Amazon.
- These pencils have excellent solubility and lightfast ratings. Prismacolor Premier Water-Soluble Coloured Pencils, click to visit amazon.
- Faber-Castell Albrecht Durer Watercolor Pencils are highly pigmented leads which are able to resist breakage. Click here to see price on amazon.